
Last updated September 20, 2026
Full 25-point door and opener safety check with every visit - springs, cables, rollers, tracks, and your LiftMaster or Chamberlain opener included
You get a price before we start. It does not change when the truck arrives.
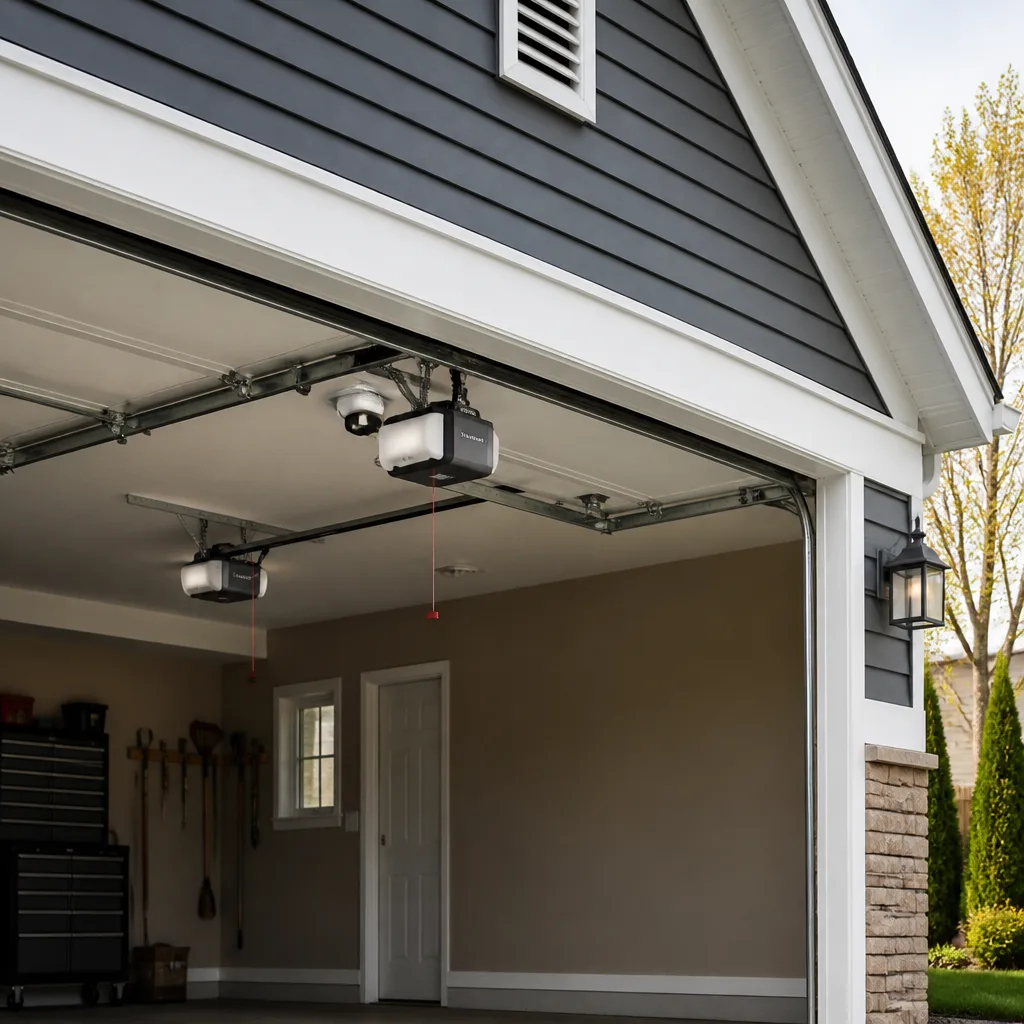
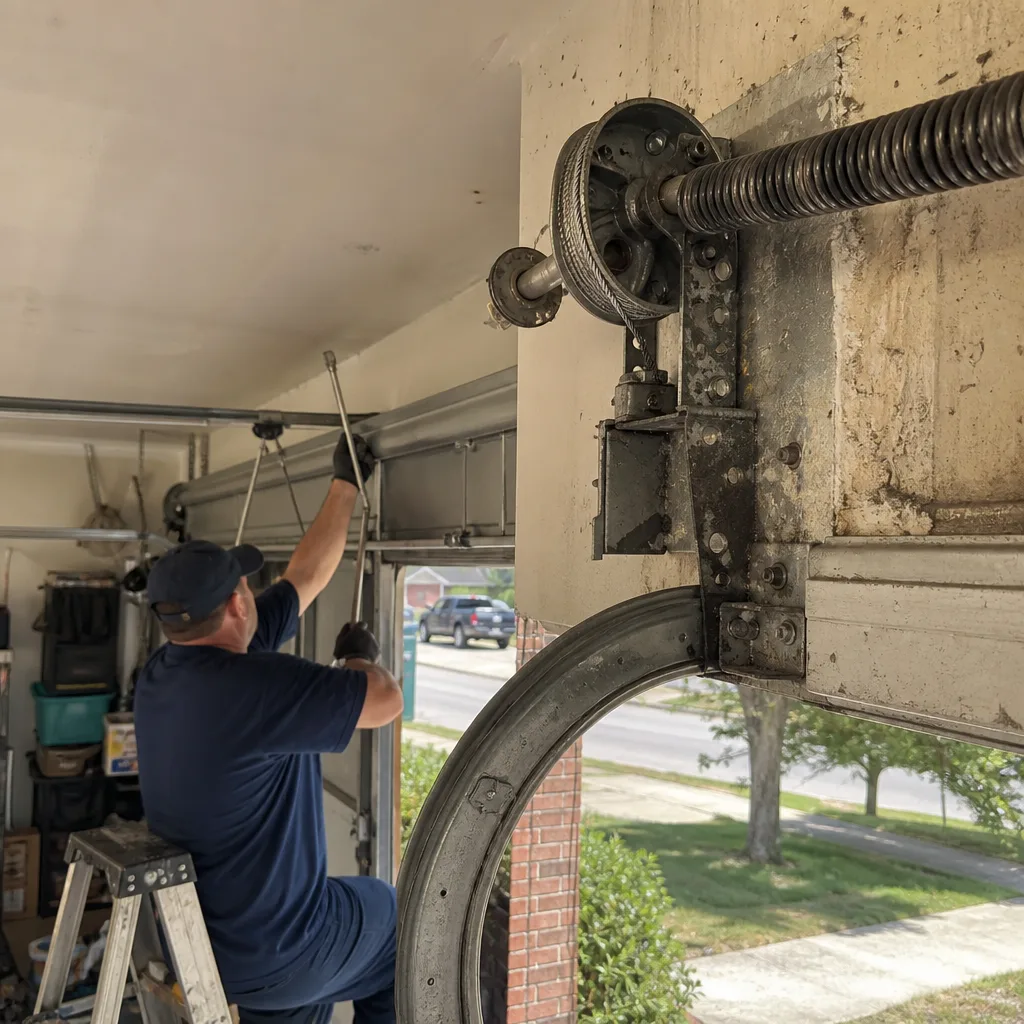 Before
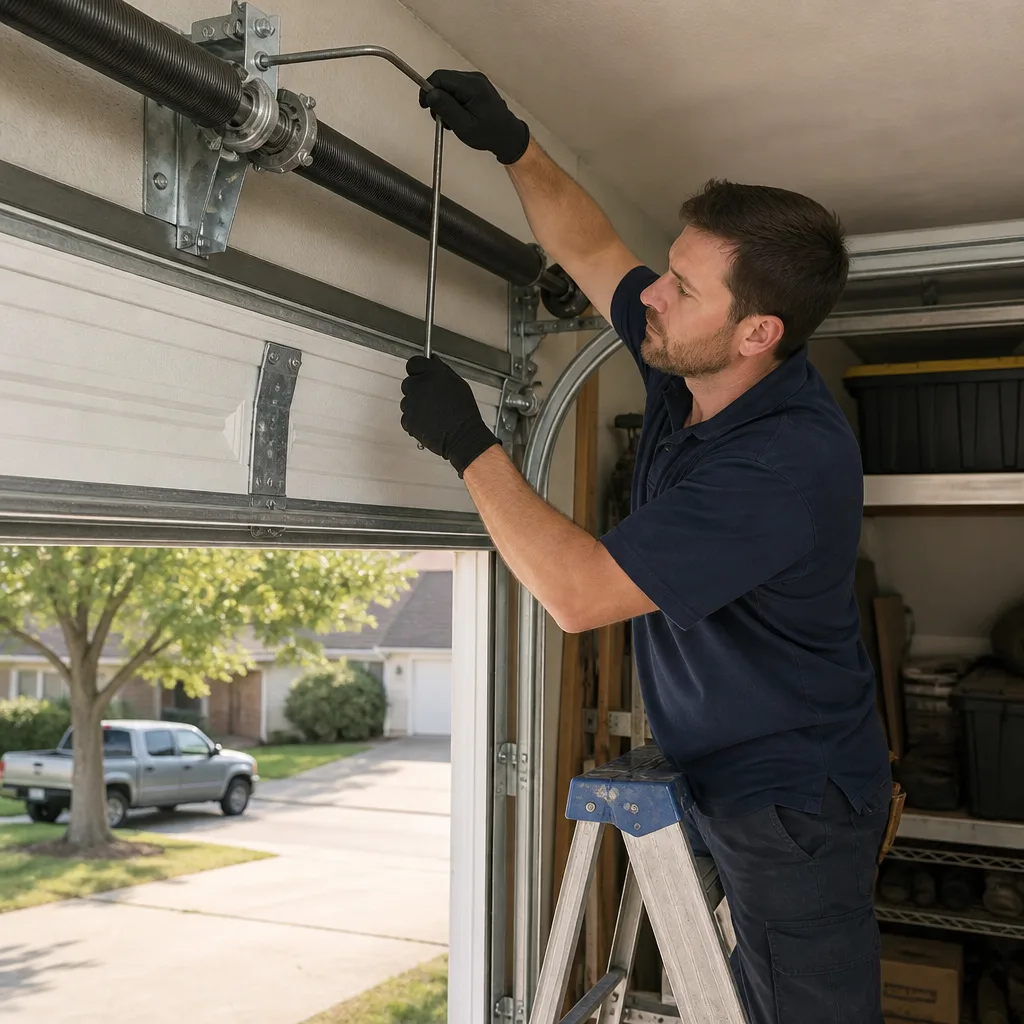 After
After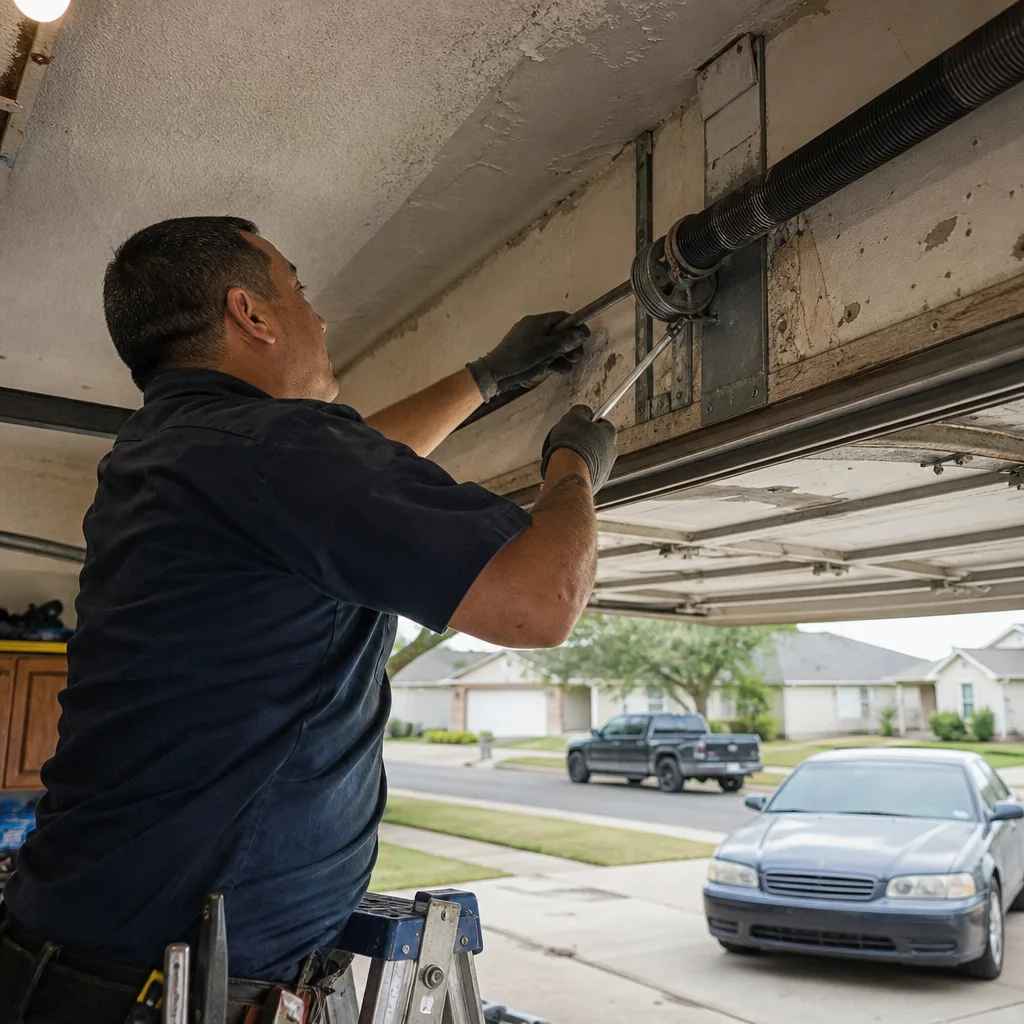 Before
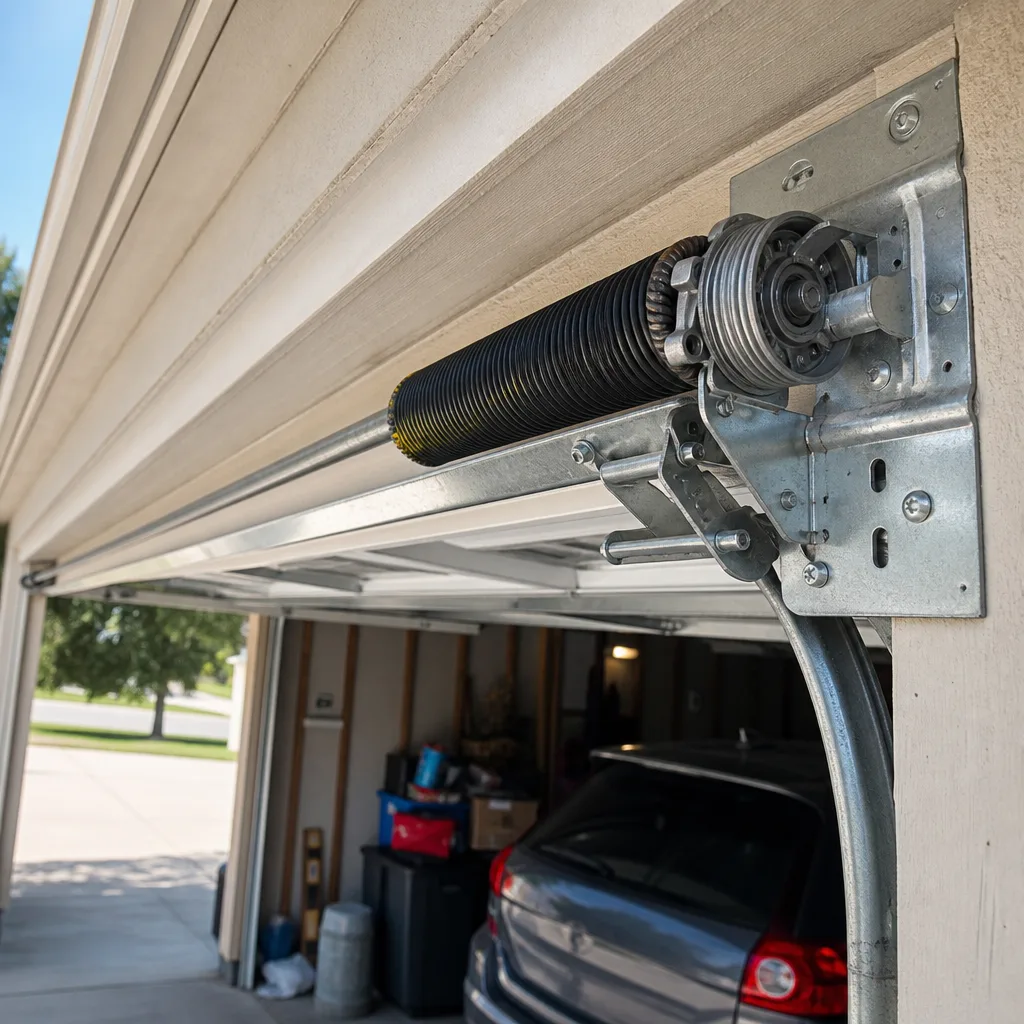 After
After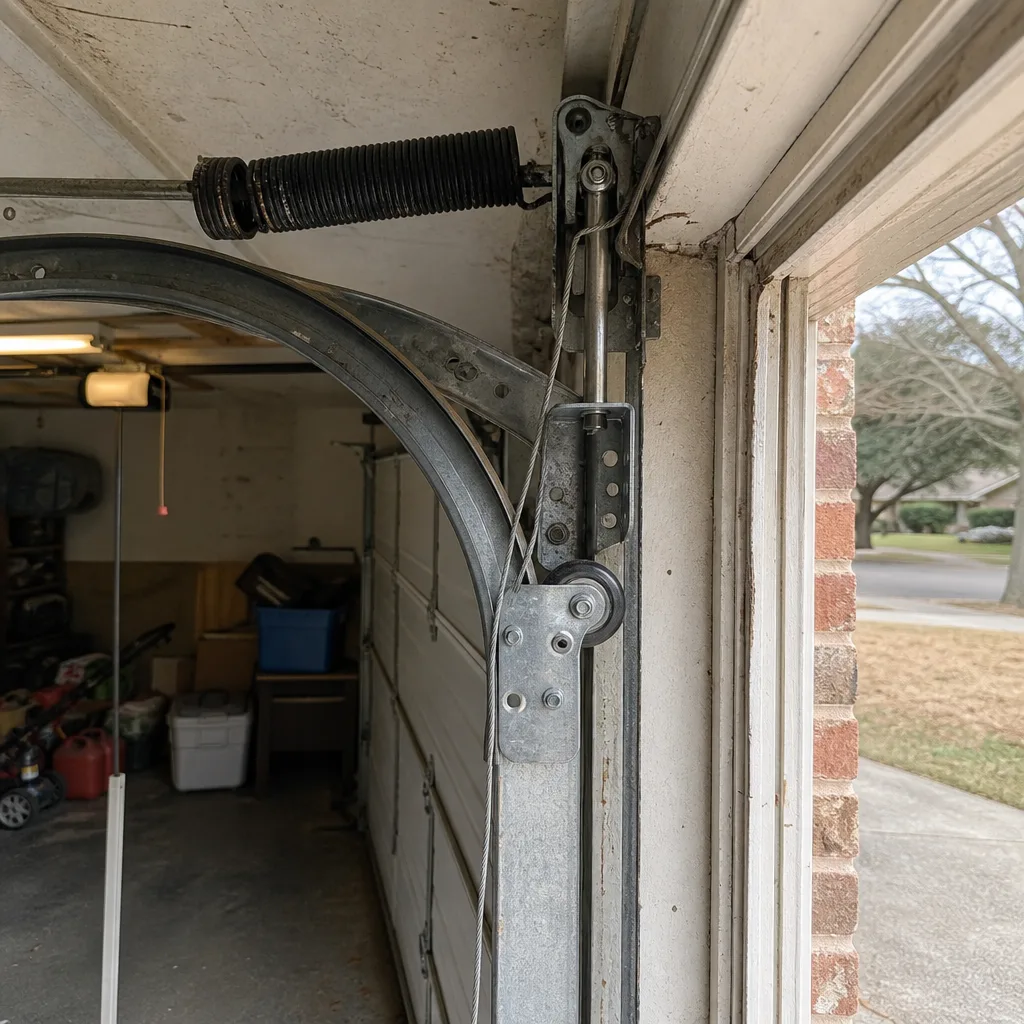 Before
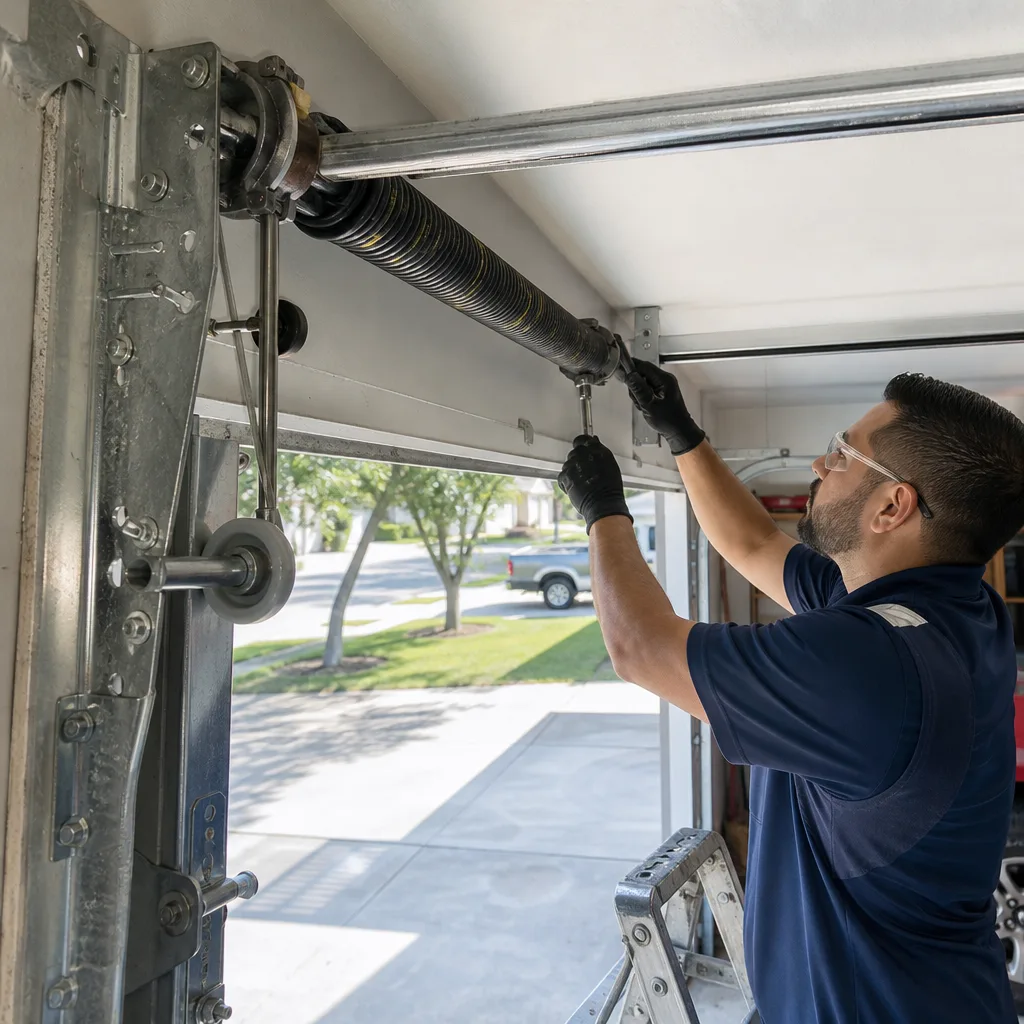 After
AfterGarage Door Warning Signs: A Garland Homeowner’s Reference Guide
Most warning-sign lists for garage doors are written to get a truck to your house, not to tell you what you’re actually looking at. That’s the gap this guide fills. We’re going to map twelve observable symptoms to the specific component causing them, assign each one a severity tier, and put a dollar range on the repair so you know what a fair quote looks like before anyone rings your doorbell. Garland’s climate does things to garage doors that generic advice doesn’t account for, and we’ll cover that too.
Quick Answer
A garage door that’s noisy, uneven, slow, or reverses mid-cycle is almost always giving you a specific, identifiable signal about one component: a spring, a roller, a cable, a sensor, or the opener itself. Most warning signs fall into three tiers: monitor it (cosmetic or early wear), schedule within 30 days (progressive damage), or do not operate the door (immediate safety risk). In Garland, heat and humidity accelerate certain failures, particularly torsion spring fatigue and track warping, so a symptom that might be minor elsewhere can be a precursor to failure here. For seasonal garage door care specific to Garland, routine attention can catch these issues early.
Table of Contents
- Symptom-to-Component Mapping: The Twelve Signs
- The Three-Tier Severity System
- The Listening Test: Spring, Roller, or Opener
- The Asymmetry Test: Why an Uneven Door Is Rarely a Track Problem
- Heat, Humidity, and Garland: What the Climate Does to Your Door
- How to Photograph a Symptom So a Technician Can Triage It Remotely
- Cost Ranges by Symptom: Garland Market Pricing
- Common Mistakes to Avoid
- When to Call a Professional
- Frequently Asked Questions
- The Bottom Line
BeforeAfterSymptom-to-Component Mapping: The Twelve Signs
Here’s the part most guides skip: the actual mapping. A symptom is not a diagnosis. It’s a clue. Here are the twelve observable signs we see most often on Garage Door Repair in Garland calls, cross-referenced to the part most likely responsible.
- Door reverses before fully closing. Most people assume the safety sensors are misaligned, and sometimes they are. But in Garland homes built before 2005, we more often find a warped track from years of heat exposure. The door hits the warp, the opener senses resistance, and reverses. Sensor misalignment is a five-minute fix. A warped track is a track replacement, which is a different repair at a different price point entirely.
- Loud bang from the center of the door when opening or closing. That’s a torsion spring breaking. The spring sits on a metal tube above the center of the door opening. When it snaps, the sound is unmistakable: a sharp crack that sounds like a gunshot from inside the garage. Do not operate the door. The spring is the primary counterweight, and the opener is now lifting dead weight it was never designed to handle.
- Door opens a few inches, then stops. This is usually a spring tension problem, not an opener problem. The opener’s force setting is tripping because the door is heavier than the opener expects. If the spring has lost tension or broken, the door won’t lift on its own.
- Door sags on one side when open. A visible lean means the spring tension is uneven or a cable has stretched. The door is hanging from one side while the other side’s support system is compromised. Schedule this within 30 days, but don’t wait longer because the stress compounds.
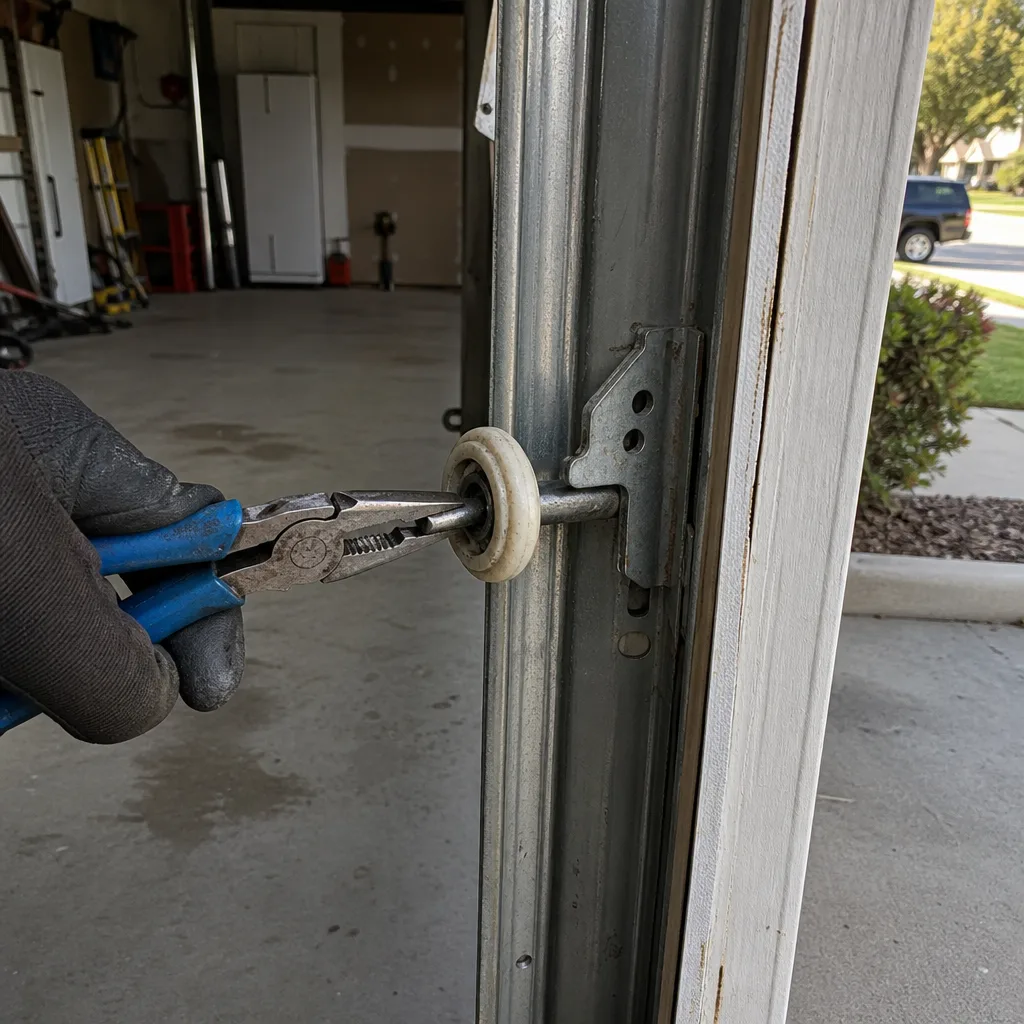
- Grinding or squealing noise when opening. Roller and hinge wear. The sound is metallic-on-metallic. Rollers on a standard residential door use ball bearings; when the bearings fail, the roller drags instead of rolling. Squealing is usually a dry bearing or a hinge pin. Grinding is typically a roller that has flat-spotted or seized.
- Door moves unevenly, one side dropping lower than the other during descent. This is the asymmetry signal, covered in detail below. The cause is almost always a cable or spring tension issue, not the track.
- Opener motor runs but the door doesn’t move. The trolley carriage, the part that connects the opener rail to the door arm, has likely disengaged or stripped. On Chamberlain and Genie openers, this is often a plastic carriage gear that shears by design to protect the motor.
- Door opens slowly, then accelerates. This is the classic signature of a spring losing tension. The opener is struggling through the first section of travel, then the spring’s remaining tension catches up and the door moves faster.
- Visible gap between door sections when closed. Hinge wear or section separation. The door panels are bolted to hinges; over time, the bolts can work loose or the hinge leaf can crack. A gap that lets light through at the seam means the door is losing structural integrity.
- Door slams shut on the final few inches. The cable drum or spring tension has changed, or the opener’s down-force setting is miscalibrated. A properly balanced door should close under control and land softly. A slam means something in the balance equation is off.
- Remote works intermittently or only from very close range. The logic board in the opener may be failing, or the antenna wire may be damaged. On openers older than ten years, this is often the first sign of logic board degradation, which is the opener’s brain.
- Door shakes or rattles excessively during operation. Loose hardware, worn rollers, or an unbalanced door. The vibration is the door telling you energy is being dissipated somewhere it shouldn’t be. If left unchecked, the vibration accelerates wear on every connected component.
The Three-Tier Severity System
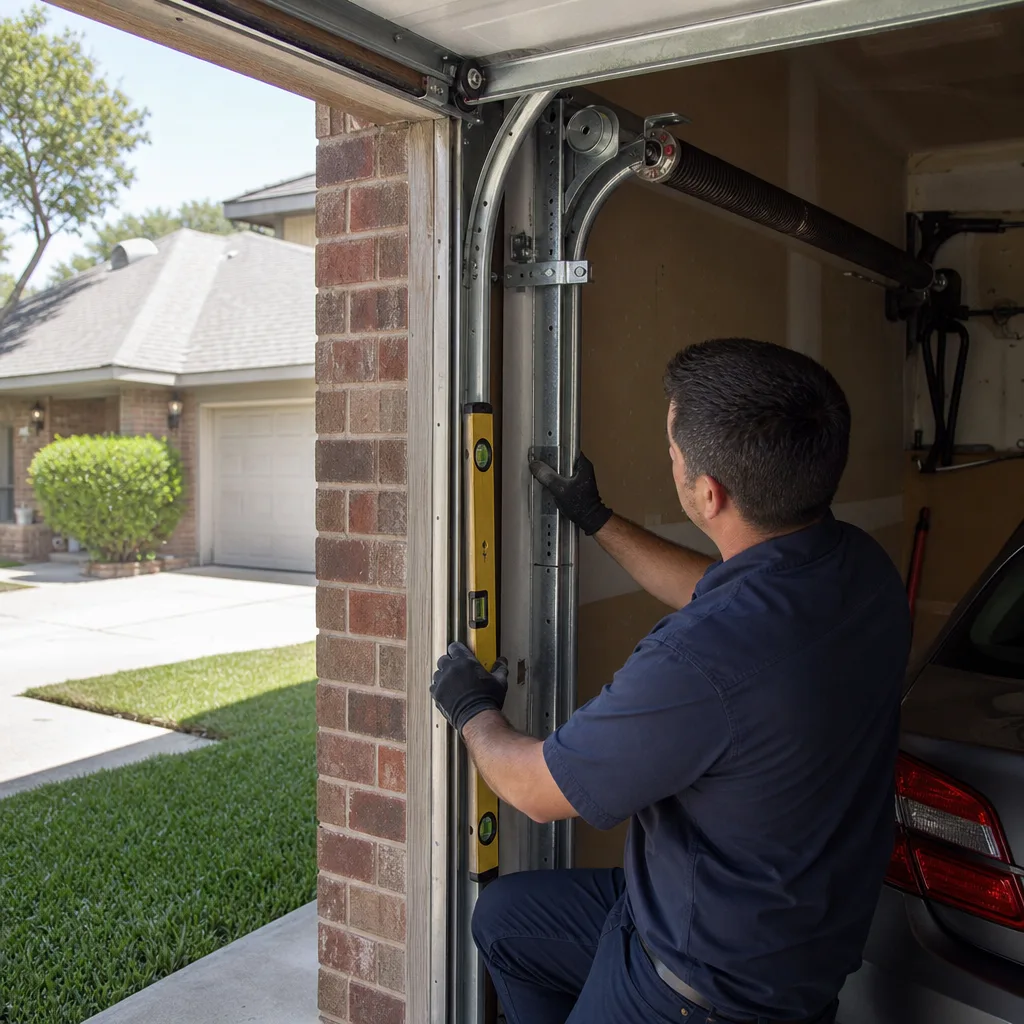
Here’s a framework we use on every diagnostic call in Garland. Assign a symptom to one of three tiers, and you’ll know whether you can sleep on it or need to stop using the door tonight. The physical criteria for each tier are specific, not vague.
Tier 1: Monitor It
These symptoms indicate early wear or cosmetic issues. You can continue using the door normally and check again in a month. The physical criteria: the door completes a full cycle without stopping or reversing, there is no visible gap between sections when closed, and there is no change in the sound character from one week to the next.
- Light, intermittent squeaking that comes and goes
- Minor cosmetic rust on the bottom panel corners
- Slow remote response that’s been stable for months, not worsening
- A door that’s a few seconds slower than it was when new but consistent
If the symptom is in this tier, do a simple test once a month: disconnect the opener (pull the red emergency release cord) and lift the door by hand. It should lift smoothly with moderate effort and stay put when you release it at the halfway point. If it does, the balance is still sound. If it doesn’t, the symptom moves up to Tier 2.
Tier 2: Schedule Within 30 Days
These symptoms indicate progressive damage. The door still functions, but the underlying component is deteriorating and the failure is a matter of when, not if. Physical criteria: the symptom is reproducible on every cycle, the door makes a new sound that wasn’t there a month ago, or the door fails the manual balance test described above.
- Rollers with visible flat spots or wobble (you’ll see the gap between roller and track widen and narrow as the door moves)
- A door that sags on one side when fully open
- Squealing that has progressed to grinding
- A door that visibly struggles during the first foot of opening
- Cables with visible fraying or kinking where they wrap the drum
Here’s the thing about Tier 2: the repair is almost always cheaper now than it will be after the failure. A worn roller set replaced before it seizes is a straightforward parts-and-labor job. A seized roller that’s been dragged for months scores the track, and now you’re replacing the track too. In Garland’s market, that’s the difference between a couple hundred dollars and a full track-and-roller job approaching double that.
Tier 3: Do Not Operate the Door
These symptoms indicate a component that has already failed or is imminently dangerous. The physical criteria are unambiguous: a loud bang from the spring area, a door that won’t stay open when lifted manually, a visible broken cable or spring, a door that drops when released at the halfway point, or any gap between door sections that you can see light through.
- Broken torsion spring (the bang)
- Frayed or snapped cable
- Door that freefalls when the emergency release is pulled
- Any visible separation of a panel from its hinge
- Door that came off the track entirely
If you’re in Tier 3, stop using the door. Disconnect the opener if you can safely reach the emergency release without putting yourself under the door, and call a professional. A garage door in this state is a loaded counterweight system, and the energy stored in even a partially wound spring is enough to cause serious injury. We’ve responded to Servo Garage Doors Garland home emergency calls where homeowners tried to manually lift a door with a broken spring and ended up with a door that dropped and pinned them against the frame. Don’t be that call.
The Listening Test: Spring, Roller, or Opener
Noises are the most common reason homeowners call us in Garland, but “my door is making a weird sound” is not enough information. Here’s a listening test you can perform in about three minutes that will tell you which component is making the noise. The key is to stand in a specific spot and listen at a specific phase of the cycle.
Step 1: Stand inside the garage, centered under the opener rail, about three feet back from the door when it’s closed. This position puts you equidistant from the spring, the roller tracks on both sides, and the opener motor. From here, you can localize sound direction.
Step 2: Open the door and listen specifically to the first six inches of travel. This is where spring noise dominates. A creaking or groaning from directly above the door in this phase is the torsion spring unwinding. A rapid ticking sound from above is the spring coils binding against each other, which happens when the spring is nearing the end of its life. Springs make their noise early in the cycle because that’s when they’re under maximum tension.
Step 3: Listen to the middle of the travel. This is roller territory. Rollers make a rhythmic, repeating sound that matches the speed of the door, coming from the vertical tracks on the sides. A metallic knocking that repeats as the door passes the same point each time is a roller with a flat spot or a cracked bearing. Roller noise is positional, meaning it happens at the same physical height every cycle.
Step 4: Listen to the last six inches of closing. Opener noise is constant throughout the cycle but most noticeable at the end when the motor works against the down-force setting. A growling or straining sound from the motor housing itself, not from the door or the sides, is the opener’s gear train or motor bearings. On Chamberlain and Genie openers, a stripped gear makes a grinding sound that’s continuous and clearly comes from the motor unit.
The distinction that matters: spring noise is early and from above, roller noise is rhythmic and from the sides, opener noise is constant and from the motor. If you can tell us which of these three patterns you’re hearing, we can bring the right parts on the first trip instead of diagnosing on site and scheduling a return visit. That’s the difference between one appointment and two.
The Asymmetry Test: Why an Uneven Door Is Rarely a Track Problem
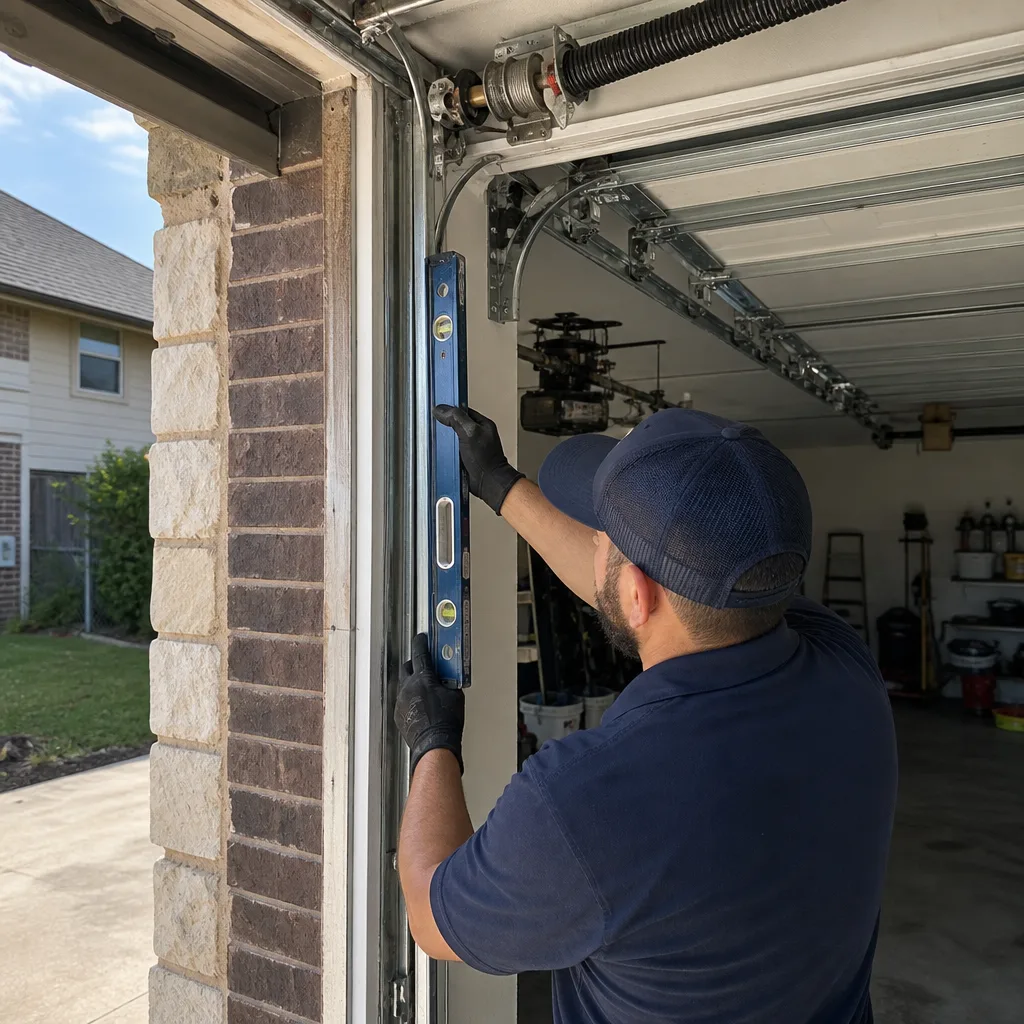
Here’s a distinction that changes quotes by hundreds of dollars, and it’s one we make dozens of times a year in Garland. When a door descends unevenly, meaning one side drops lower before the other and the door looks crooked while closing, homeowners almost always assume the track is bent. It’s not. The track is a passive guide; it doesn’t control the door’s descent rate on each side. That’s the job of the cable and spring system.
Here’s the mechanism, explained plainly. A residential garage door is a single solid panel assembly. Both sides must descend at the same rate or the door binds. The rate is controlled by two cables, one on each side, that wrap around drums on the torsion tube above the door. Those cables maintain equal tension because the spring assembly distributes force evenly. When one cable stretches, frays, or slips a groove on the drum, that side of the door loses tension control. The affected side drops faster. The door cocks to one side.
The track has nothing to do with it. The track is bolted to the wall and is either straight or not. A bent track causes the door to stick at a specific point in the travel, not to descend at two different rates from the start of the cycle. That’s the asymmetry test: a door that’s crooked throughout the entire descent is a cable or spring tension problem. A door that sticks at a specific point and then frees up is a track problem. If the door is uneven immediately from the moment it starts closing, you’re looking at cables or springs, not tracks.
Why this matters to your wallet: a cable replacement on a standard residential door in Garland runs in the neighborhood of $150 to $300, including the service call and the re-tensioning of the existing spring. A track replacement, depending on the section and whether it’s the vertical or horizontal portion, runs $200 to $500 or more. If you hire a company that diagnoses “track problem” on a door that’s actually got a cable issue, you’re paying for the wrong repair. This is precisely why garage door repair in Garland should always start with a diagnosis documented in writing, showing the actual component, before any replacement is quoted. Clause 4 of The Haven Standard exists for this exact scenario: the technician photographs the failed part before quoting the replacement.
Heat, Humidity, and Garland: What the Climate Does to Your Door
Garland’s climate is specific, and it affects garage doors in ways that don’t show up in national guides. We’re not writing about global averages here. We’re writing about what we see on service calls along Belt Line Road, through Firewheel, and across the older sections of the city near downtown Garland.
Torsion springs break more often in the heat. Torsion springs are rated for a number of cycles, typically 10,000 on a standard residential spring. But that rating assumes moderate ambient temperatures. The spring is made of high-carbon steel, and steel fatigues faster under sustained heat. In Garland, where the garage can reach 110 degrees or higher from June through September, the metal expands and contracts daily. That thermal cycling is mechanical fatigue. We replace more springs in August in Garland than in any other month, and it’s not because people use their doors more in August. It’s because the heat is actively consuming the lifecycle of the spring.
Humidity wrecks bearings and hardware. Garland’s humidity sits above 60% for most of the year, and garages in this area are rarely climate controlled. That moisture works its way into roller bearings, hinge pins, and cable drums, and the result is corrosion that starts as noise and ends as seizure. We regularly open up rollers on Garland doors that have visible rust inside the bearing race, a condition you simply don’t see in drier climates like the Texas Panhandle.
Tracks warp in pre-2005 homes. Here’s the Garland-specific insight that most national content misses. Homes built before roughly 2005 in this area often have thinner-gauge steel tracks than what’s installed on newer construction. Two decades of Garland summers, with the door closed and the garage acting as a heat sink, cause those tracks to develop a slow bow, particularly on west-facing garage walls that get direct afternoon sun. The warp is subtle, visible only when the door is halfway open and you sight down the track from one end. The symptom is a door that reverses mid-close because the opener’s safety system interprets the track resistance as an obstruction. The fix on a pre-2005 Garland door with warped tracks is track replacement, not sensor adjustment, and this is where many homeowners get burned twice: they pay for a sensor fix, the reversal continues, and then they pay for the track job anyway.
How to Photograph a Symptom So a Technician Can Triage It Remotely
We built our business on the idea that the customer should see the failed part before anyone quotes a replacement. The same logic works in reverse: if you photograph a symptom correctly, a competent technician can triage it from your photos and arrive with the right parts. Here’s how to do it properly, because most of the photos we receive are too dark, too far away, or angled at the wrong plane.
Step 1: Turn on the garage lights and open the door halfway. This is the critical position. With the door halfway open, the tracks are exposed from top to bottom, the cables are visible on the drums, and the spring is unloaded enough to see its condition.
Step 2: Take three photos from three specific positions. Photo one: stand five feet back from the center of the door and photograph the entire door face. This gives context and shows any unevenness or panel gaps. Photo two: stand under the opener rail, look up at the center, and photograph the torsion spring and the cable drums on both ends of the tube. Fill the frame with this assembly. Photo three: photograph the suspect area from two feet away, with the flash on if it’s dim. We need to see the texture of the metal, not a silhouette.
Step 3: Include a reference point in the suspect-area photo. Hold a coin, a key, or anything of known size next to the component. A crack, a gap, or a wear mark is much easier to assess when there’s a reference for scale. We photograph failed parts the same way before quoting: the part, clearly lit, with a reference object, and the photo goes to the customer. The same standard applies to photos we receive.
Step 4: If the symptom is a sound, send a ten-second video. Record from inside the garage, standing at the same spot described in the listening test above, and cycle the door once. We can identify a flat-spotted roller, a stripped gear, or a spring bind from ten seconds of clean audio. It’s faster than any written description.
This triage step isn’t a substitute for an on-site diagnosis, but it does let us tell you over the phone whether you’re in Tier 2 or Tier 3, and whether the door is safe to operate until the appointment. In the Garland summer, when demand spikes and wait times vary, knowing your tier before we dispatch is useful for both of us.
Cost Ranges by Symptom: Garland Market Pricing
Here’s the part most companies won’t print. These are the price ranges we’ve quoted and honored in Garland over the past several years for the most common warning-sign-related repairs. They assume a standard residential door, and they include parts and labor. Every one of these is delivered as a flat, written price before any work starts, per Clause 1 of The Haven Standard. No exceptions, no surprises, no “we’ll see when we get in there.”
| Symptom | Likely Component | Typical Garland Price Range |
|---|---|---|
| Loud bang, door won’t lift | Torsion spring replacement | $180 – $340 |
| Door uneven on descent | Cable replacement and re-tension | $150 – $300 |
| Grinding or squealing | Roller replacement (full set) | $120 – $250 |
| Door reverses before closing | Sensor alignment or track warp | $80 – $500 (depends on diagnosis) |
| Opener runs, door doesn’t move | Trolley carriage or gear replacement | $150 – $280 |
| Door slams on final inches | Spring re-tension or cable adjustment | $130 – $300 |
| Remote works intermittently | Logic board replacement | $180 – $400 |
A note on the spread in the “door reverses” line: that $80 to $500 range looks suspiciously wide, and it should. A sensor realignment is a ten-minute adjustment and costs very little. A warped track from heat exposure requires pulling the old track, cutting and mounting new track sections, and verifying alignment through a full cycle. The price difference is real, and the only way to know which one you’re facing in Garland is a documented diagnosis with photos. We don’t quote either repair without showing you which component failed and why.
Common Mistakes to Avoid
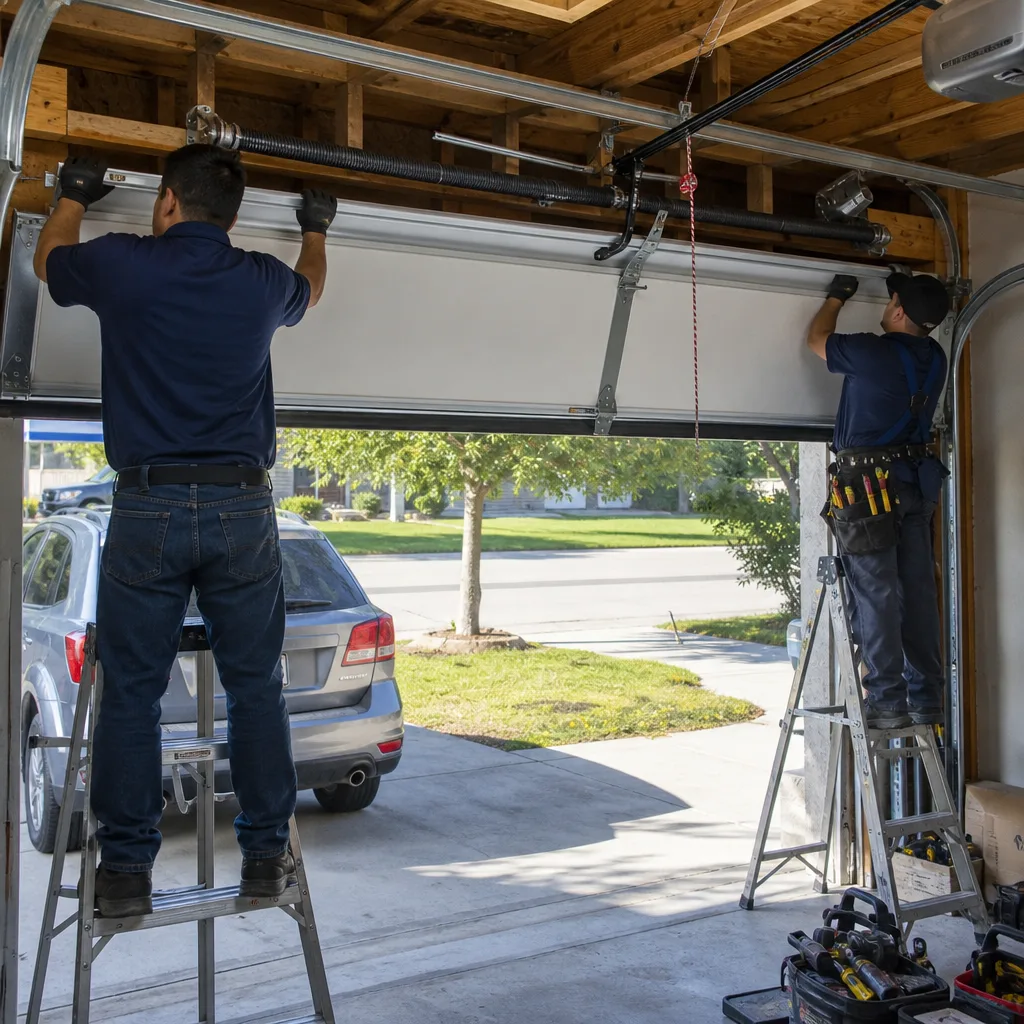
- Lubricating the track. The track is a guide for the rollers; it’s not a lubrication point. Grease on the track attracts dust and grit, and in Garland’s dry summer months that grit becomes a grinding paste that accelerates roller wear. Lubricate the roller bearings, hinge pins, and spring coils, not the track itself.
- Adjusting spring tension yourself. Torsion springs hold enough stored energy to cause serious harm. This isn’t a “watch a YouTube video and try it” project. Even with the proper winding bars, the margin for error is small, and the failure mode is violent. Two technicians on every job exist for a reason.
- Ignoring the monthly balance test. The manual balance test, the one where you pull the red cord and lift the door by hand, is the single most reliable early-warning check a homeowner can do. If you only do one thing from this guide, do that test once a month. It catches spring fatigue six months before the break.
- Repeatedly pressing the opener when the door won’t move. If the door won’t lift, the opener is either detecting resistance or the carriage is disengaged. Repeatedly cycling the opener overheats the motor and can damage the gear train. Press it once, diagnose, and stop.
- Assuming the sensors are misaligned every time the door reverses. In Garland, particularly on older homes, track warp is a competing explanation. Clean the sensor lenses and check alignment first, but if the reversal persists, you’re likely looking at a track issue, not a sensor issue. We’ve covered the cost difference above.
- Waiting until the spring breaks to replace it. A torsion spring at the end of its life gives warning signs: creaking, coils binding, visible gaps between coils. Replacing it before it breaks is the same price as replacing it after, but after gives you a door that’s suddenly dead, often at the worst possible moment. In Garland, that moment is usually a 105-degree July afternoon when you’re trying to leave for work.
- Getting a quote over the phone without an inspection. Any company that gives you a firm price over the phone, sight unseen, is either padding the number high enough to cover the worst case or planning to adjust it once they arrive. Written-price-first is different: it means the price is written before work starts, after a documented diagnosis. We don’t do phone quotes from a description, and we don’t trust them either.
When to Call a Professional
Call when the symptom is in Tier 3. That’s the line. A broken spring, a snapped cable, a door that freefalls, a panel that’s separated from its hinge: stop reading and call. Call when the manual balance test fails, because that means the spring system is compromised and the failure is imminent. Call when you’ve had a Tier 2 symptom for more than 30 days and you’ve been monitoring it, because we explained above what monitoring drift looks like, and the repair is cheaper before the component fails. And call when you’ve tried the listening test and the asymmetry test and you’re still not sure what you’re hearing or seeing. That’s what we’re for. Servo Garage Doors Garland offers free estimates in Garland, including for new garage door installation, and you can reach us at (469) 949-6806. The estimate is written, the diagnosis is documented with photos, and the price you’re quoted is the price you pay.
Frequently Asked Questions
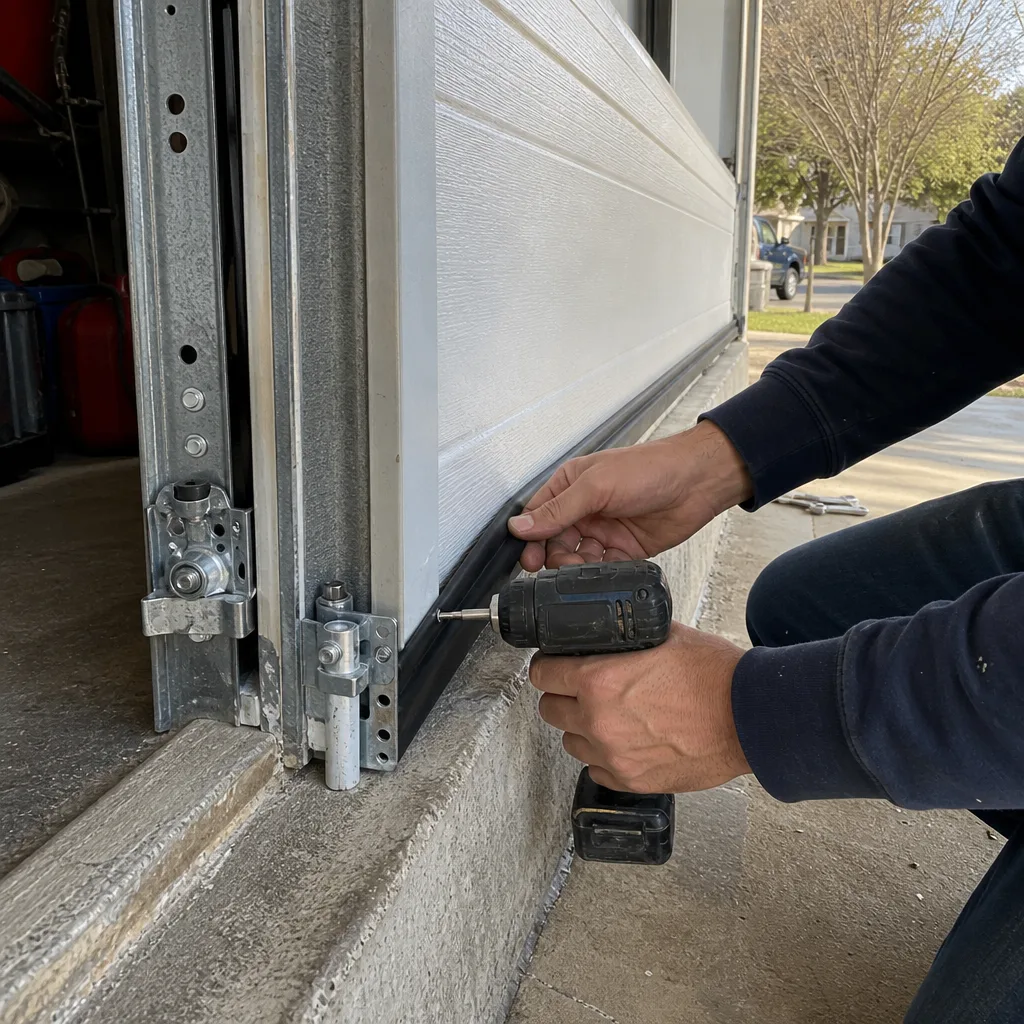
Garage door spring replacement in Garland typically runs $180 to $340 for a standard residential torsion spring, including parts and labor. The range depends on the spring’s wire diameter, length, and whether it’s a single or double spring system. We quote a flat, written price before any work starts, and you’ll see the broken spring in a photo before you’re asked to approve the replacement.
For spring breaks, cable failures, and other Tier 3 emergencies, same-day service is available in most Garland neighborhoods, including Firewheel, Rose Hill, and areas near downtown Garland. Emergency calls are answered by a live person 24/7, and you’ll get a named technician with an on-the-way text, not a four-hour callback window. Call (469) 949-6806 and we’ll tell you what’s available right now.
No. The price you’re quoted in writing before work begins is the price you pay, period. That’s Clause 1 of The Haven Standard, and it’s not conditional on what we find during the repair. If we open the door and find something additional that needs attention, we photograph it, show you, and give you a separate written quote for that work. Nothing gets added to your bill without your approval.
Yes. Our service vehicles in Garland carry torsion springs in the most common wire diameters and lengths, cable sets, roller sets, trolley carriages, and common logic boards for Chamberlain, Genie, and LiftMaster openers. The photo triage step described in this guide exists partly so we can confirm which parts to load. Most repairs are completed the same visit.
Disconnect the opener with the emergency release cord and lift the door by hand. If it’s heavy, won’t stay up at the halfway point, or drops when you let go, the spring is the problem, not the opener. If the door balances fine by hand but won’t open with the motor, the opener is the culprit. This test takes 60 seconds and saves you from replacing the wrong component.
It depends on the cause. If the sensors are misaligned or dirty, the reversal is annoying but not dangerous. If the reversal is caused by a warped track from Garland heat exposure, the door is encountering structural resistance, and continued operation will worsen the warp and eventually bind the door completely. If the door reverses and then you hear a grinding sound, stop using it and call. We cover garage door opener repair and installation for this exact symptom set.
The Bottom Line
A garage door gives you a warning before it fails, every time. The trick is knowing what the warning means. A bang is a spring, an early-cycle creak is a spring, a rhythmic knock is a roller, a constant grind is an opener, and an uneven descent is cables or tension, not a track. Assign the symptom to its tier: monitor it, schedule it, or stop using the door. Do the monthly balance test, learn the listening test, and photograph anything you’re unsure about from two feet away with a reference object in frame. And in Garland, remember that heat and humidity are working against your door year-round. When the symptom crosses into Tier 3, call (469) 949-6806. You’ll get a written price before work starts, a photo record when it’s done, and a diagnosis you can see for yourself.
Written by Marcus Deller, Owner at Servo Garage Doors Garland, serving Garland since 2015. Browse more guides & resources from our team.