
Last updated September 20, 2026
Full 25-point door and opener safety check with every visit - springs, cables, rollers, tracks, and your LiftMaster or Chamberlain opener included
You get a price before we start. It does not change when the truck arrives.
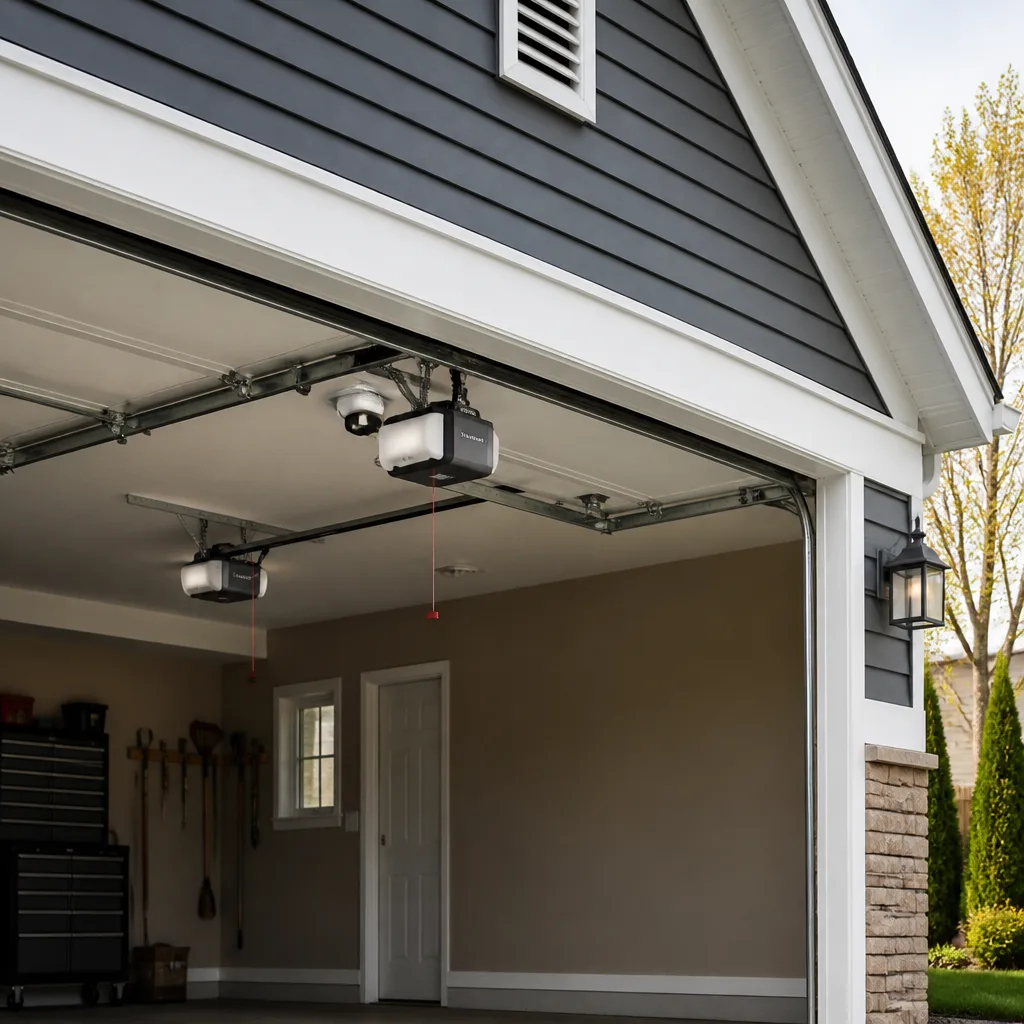
 Before
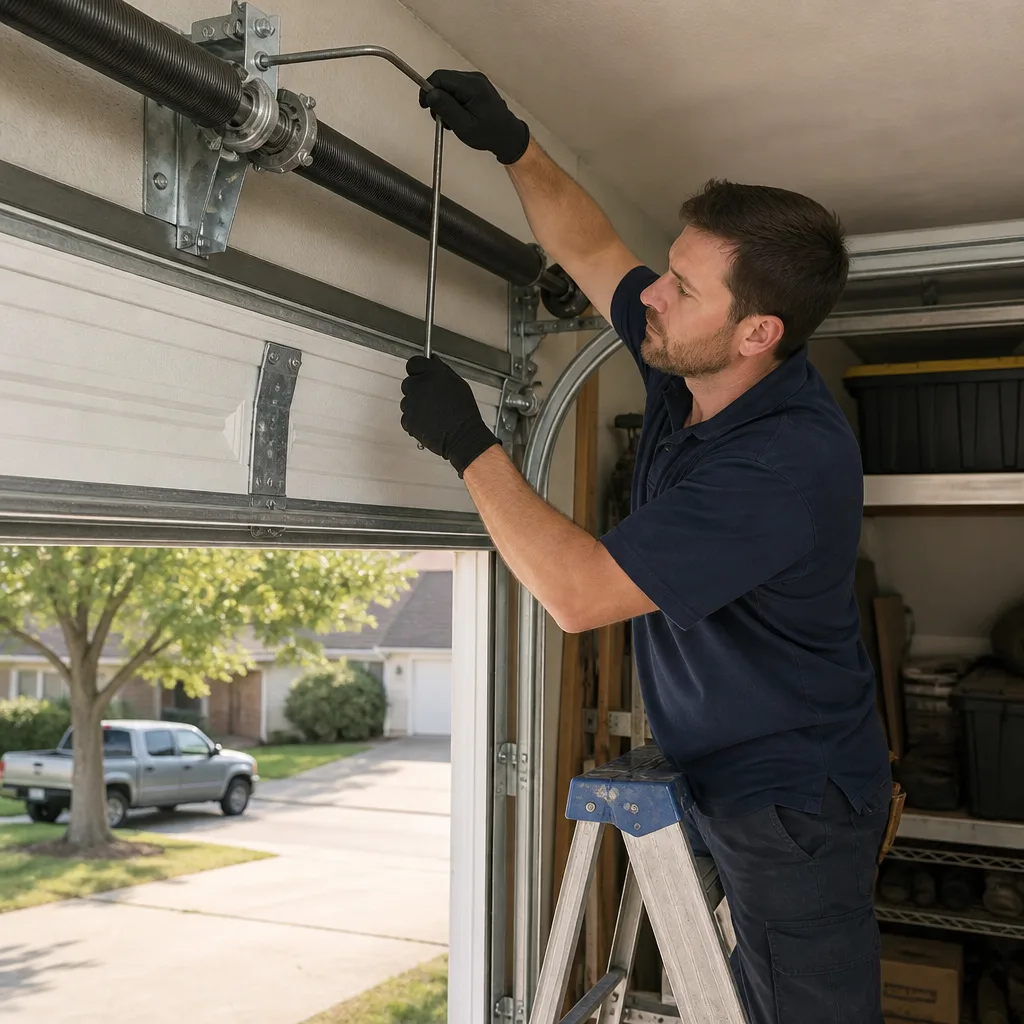 After
After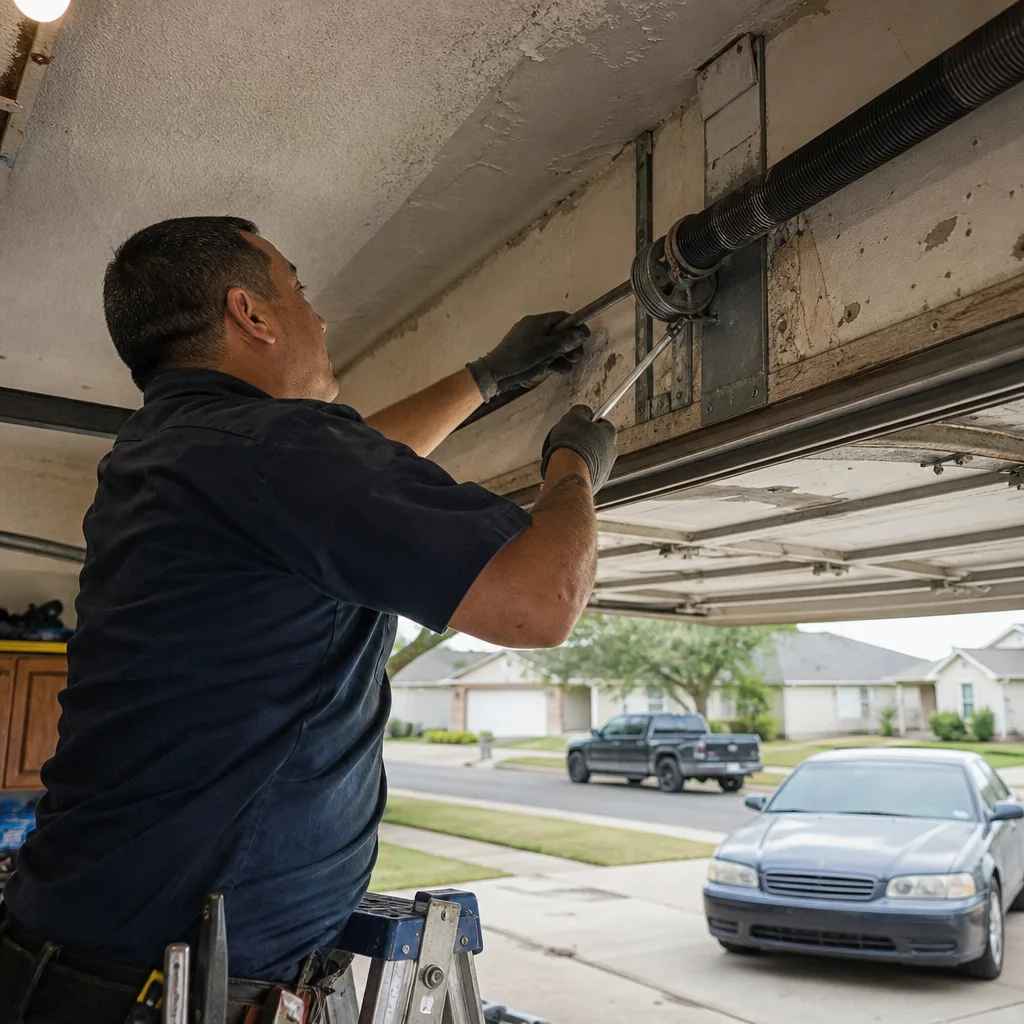 Before
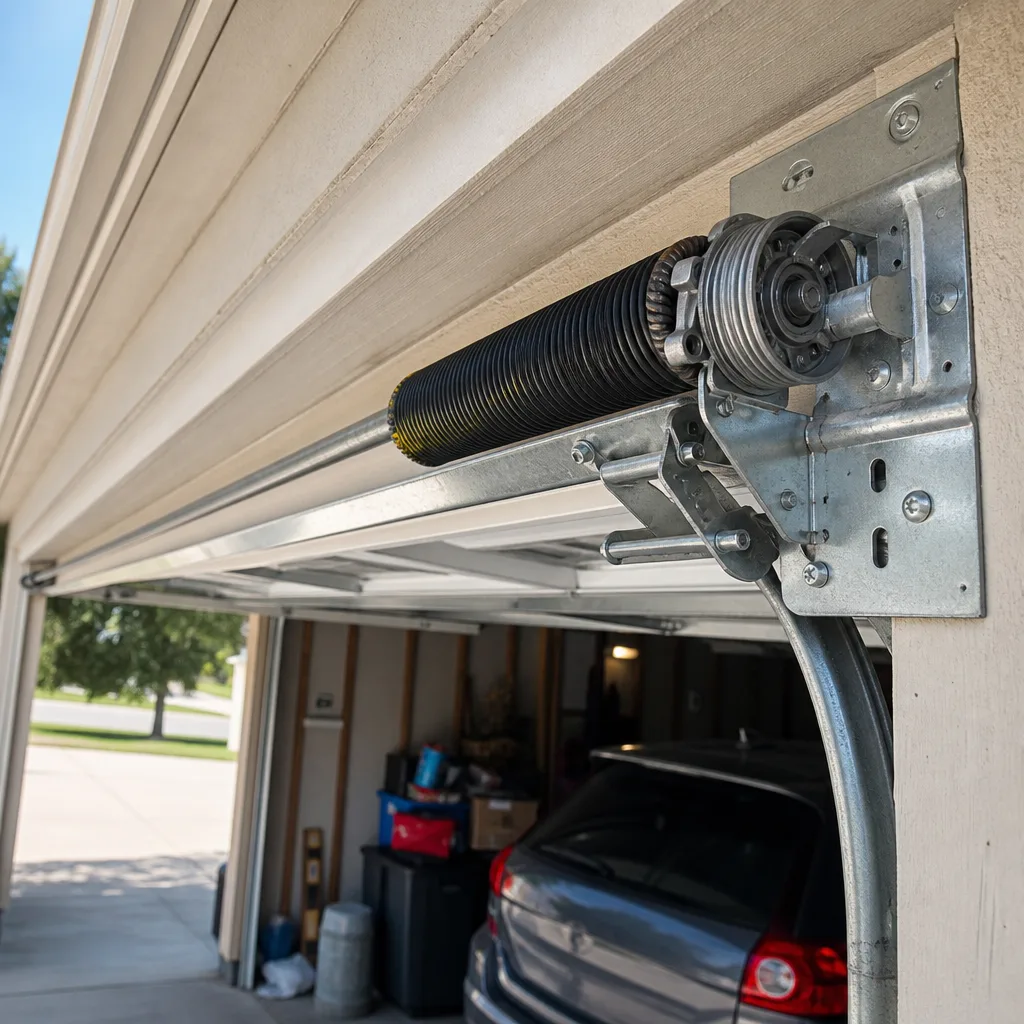 After
After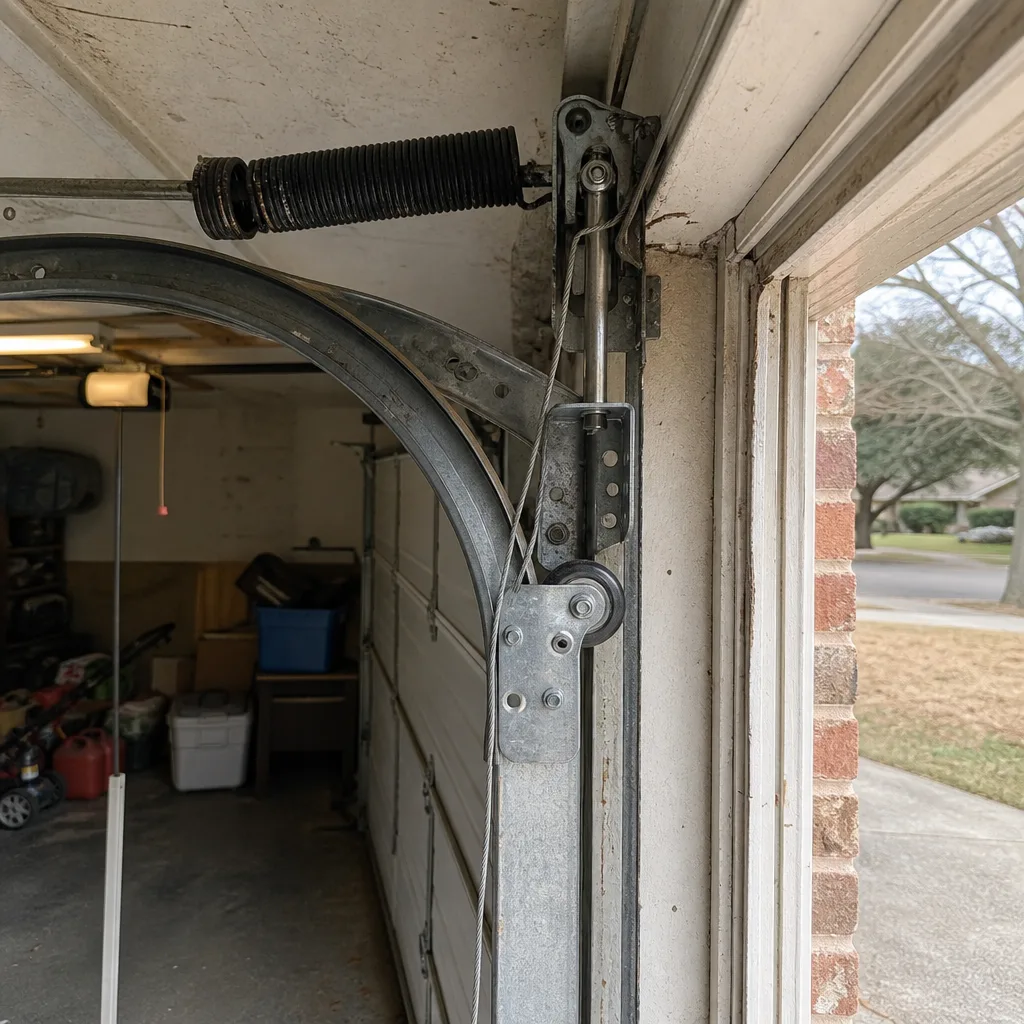 Before
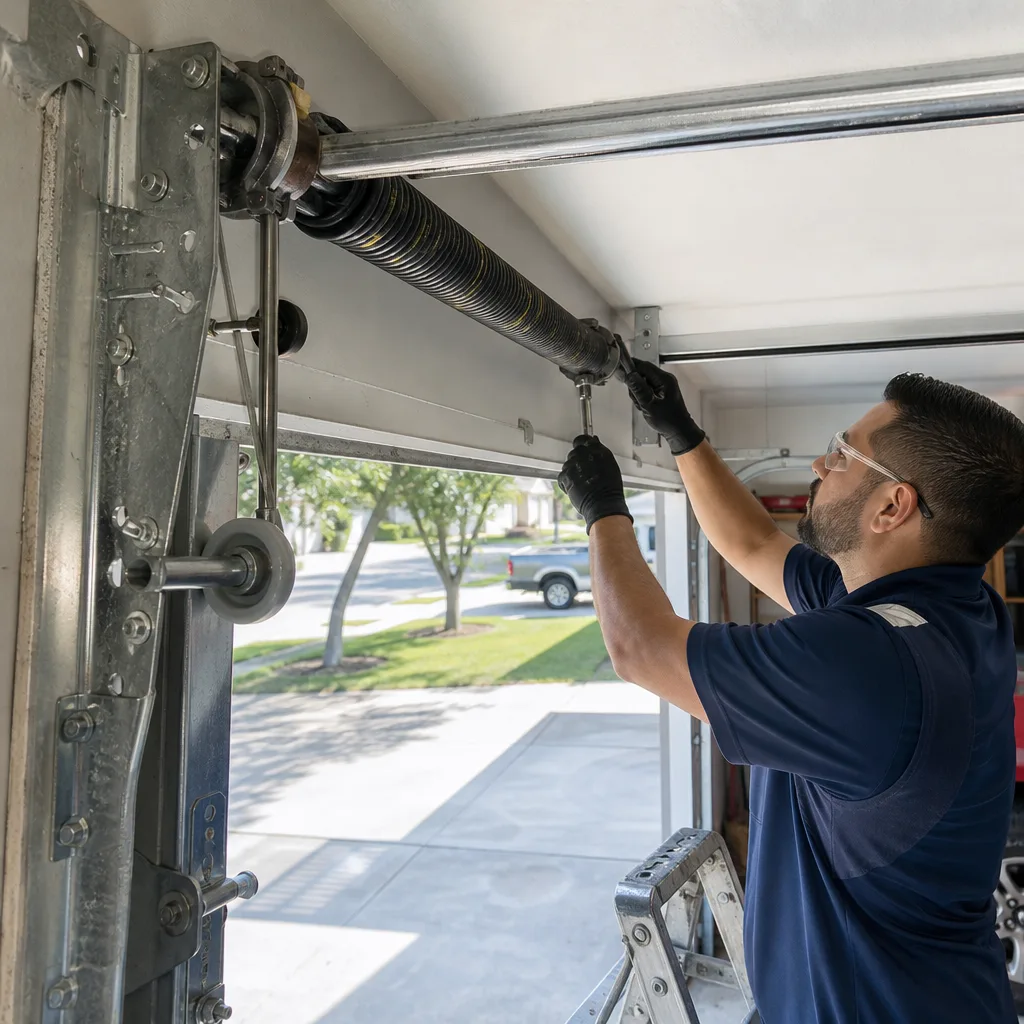 After
AfterDIY vs Professional Garage Door: The Garland Homeowner’s Decision Guide
A fully wound torsion spring stores between 100 and 200 foot-pounds of torque. The winding bars required to safely adjust it cost about $30 at any hardware store in Garland. What those bars don’t come with is the training to know that when a spring lets go, it doesn’t just break - it unloads every bit of that stored energy into whatever is in its path, including your hands, face, and eyes. ERs across Dallas County treat these injuries every year, and the patients are almost always experienced with tools, confident in their mechanical ability, and convinced it wouldn’t happen to them. This guide lays out which garage door jobs a Garland homeowner can genuinely handle, which ones belong in professional territory, and exactly where the line sits between the two - or explore more guides & resources for ongoing maintenance.
Quick Answer
Most garage door maintenance in Garland is safely DIY-able - bottom seals, weather stripping, opener remote programming, and the balance test all fall within reach of a careful homeowner (see our full Garage Door Repair Maintenance Checklist for Garland Homeowners). But torsion spring replacement, cable work, and any track realignment on a door under tension are not DIY jobs; the failure mode is a medical emergency, not a cosmetic mistake, and the tools plus the part plus the injury risk math doesn’t pencil out. If the job touches a spring, cable, or anything under load, call (469) 949-6806 - the estimate is free and the price is written before any work starts.
Table of Contents
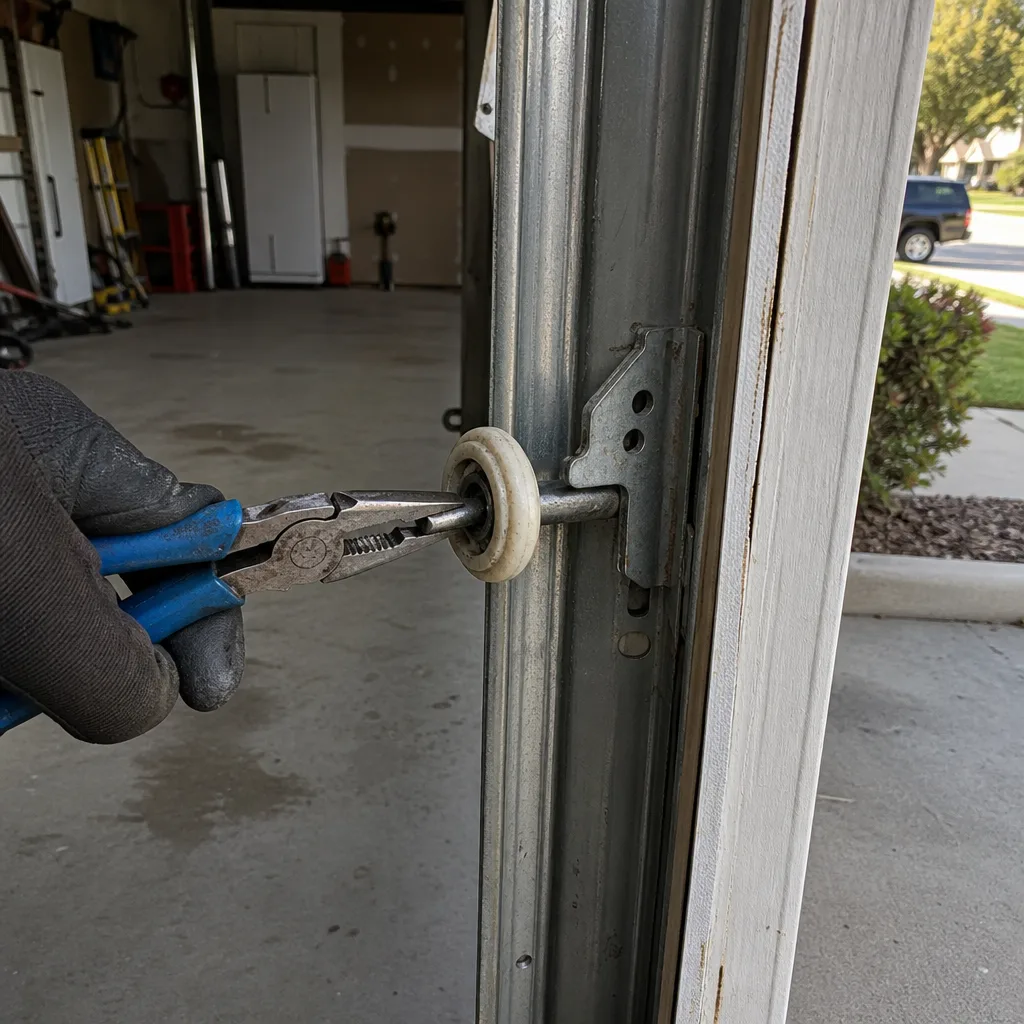
- The Task Classification: What’s DIY, What’s Never DIY
- Why Torsion Springs Change the Entire Conversation
- The Real Cost of a DIY Spring Replacement in Garland
- What You Can Do Before the Technician Arrives
- Garland Heat, Spring Temper, and the Limits of Visual Inspection
- Documenting Your DIY Work So a Future Technician Has a Real History
- The Tools You Actually Need for Legitimate DIY Work
- Brand-Specific Notes: What Changes from Door to Door
BeforeAfterThe Task Classification: What’s DIY, What’s Never DIY
Most garage door guides blur this line, and that blurring is where Garland homeowners get hurt. The rule we use on every single job is simpler than skill level or confidence: what happens if this goes wrong? If the worst outcome is a misaligned seal that you redo next weekend, it’s DIY territory. If the worst outcome is a trip to the emergency room or a several-hundred-pound door coming off its track at speed, it’s not.
Here’s the classification, laid out plainly.
Genuinely DIY-Appropriate Tasks
- Bottom seal replacement: The rubber strip along the bottom of the door degrades in Garland’s summer heat and cracks within a few years. Sliding out a $20 replacement seal and sliding in a new one doesn’t put you near any mechanical load.
- Weather stripping on the door frame: Same category, same risk profile.
- Opener remote programming: Reprogramming a Chamberlain or LiftMaster remote to a new code or clearing a stuck code is a button-sequence job, not a mechanical one.
- Battery replacement in remotes and keypads: Obvious, but worth listing because so many service calls turn out to be a dead battery in a Craftsman keypad.
- Balance test: Disconnect the opener (pull the red release handle) and lift the door by hand to the halfway point. If it holds, the springs are doing their job. If it droops or slams, don’t touch anything else - that’s the signal to stop.
- Visual inspection: Photographing rust, fraying cables, and visible wear costs nothing and builds the documentation record we recommend for every home.
Never DIY - Non-Negotiable Professional Territory
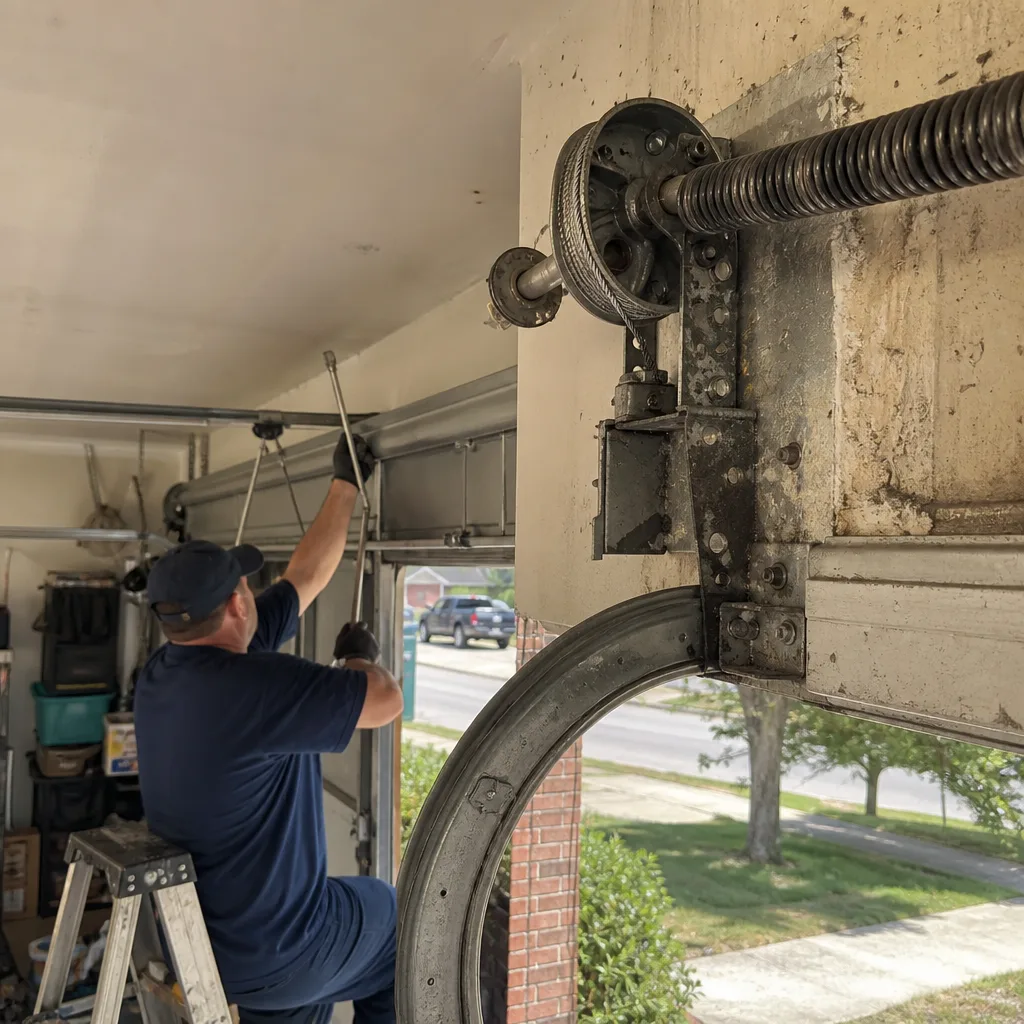
- Torsion spring replacement or adjustment: The spring sits over the door, stores the lifting force, and kills the standard for what “dangerous” means in a residential house. Under no circumstances is this a weekend project.
- Extension spring replacement or adjustment: The older spring type running along the horizontal tracks. Lower torque than torsion springs, but when one lets go it becomes a projectile. Same rule applies.
- Cable replacement or reattachment: Cables are under the same tension as the springs. A frayed cable means uneven load, and when a cable snaps the door can drop.
- Track realignment: Tracks are bolted to the frame, and when they’re out of square the door binds. But the door and springs are still under load, and any realignment means working in the path of that energy.
- Door panel replacement on a door with springs attached: The springs don’t know the panel is off. They’re still loaded. Removing panels changes the weight the springs are counterbalancing, and that math shift can release the spring.
If you remember one thing from this section: the line isn’t “how hard is it” - it’s “what’s under tension.” Nothing with a cable or a spring attached is DIY territory, full stop. We are Servo Garage Doors Garland home to the plumbing, electrical, or carpentry tradeperson’s skill set; we’ve worked behind several garages-turned-workshops in Garland neighborhoods like Duck Creek and Springpark and know the full range of what these structures hold.
Why Torsion Springs Change the Entire Conversation
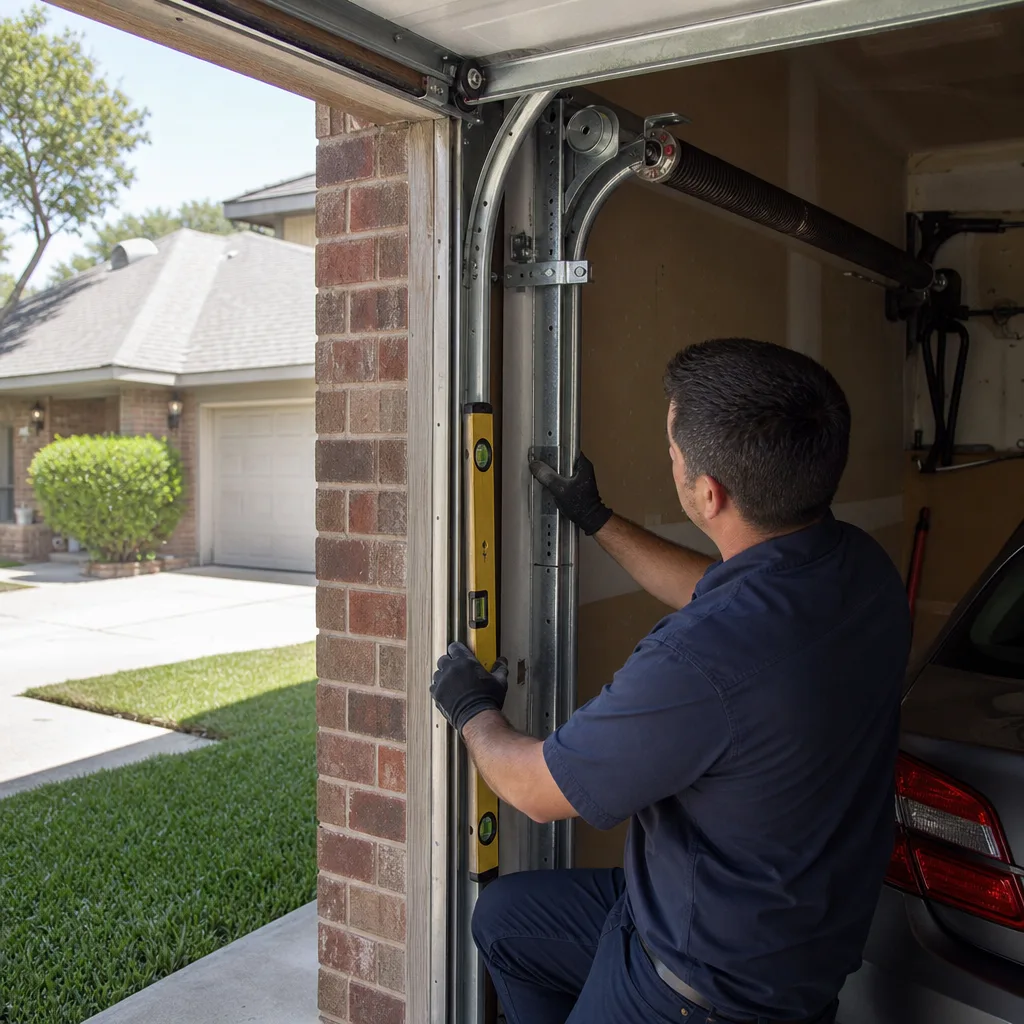
Every other home repair you can name has a recoverable failure mode. A bad drywall patch looks bad and you redo it. A leaky sink fitting drips and you tighten it. Even a poorly wired outlet trips the breaker and you call an electrician. The failure is annoying, not permanent.
A torsion spring failure is different. The failure mode is not a bad outcome you can redo. The failure mode is a metal bar flying off a winding cone at a speed measured in feet per second, into whatever part of your body is within the spring’s arc. Emergency rooms in Dallas County document these injuries with the same language they use for gunshot and crush trauma. The patients are not reckless people. They are homeowners who watched a YouTube video, measured the spring correctly, bought the right replacement part at a Garland hardware store, and made one small error in the winding sequence. One error. That’s the entire margin.
The worst part is that you won’t know you made the error until the spring unloads. Torsion springs don’t warn. They hold until they don’t, and when they don’t, the energy release is instantaneous and complete. There is no partial failure. There is no getting your hand out of the way in time. The math is done before your brain registers that something went wrong.
This is why we don’t frame the DIY-versus-professional decision around skill. We frame it around consequence. A homeowner with two decades of mechanical experience and a homeowner who’s never held a wrench face the same physics and the same failure mode. The spring does not care how confident you feel. The spring cares about foot-pounds, winding sequence, and the exact torque spec written on the spring cone - and those are things you either know with certainty or you don’t.
The Real Cost of a DIY Spring Replacement in Garland
The common argument for DIY spring replacement goes like this: the part costs $60 to $120, the labor quote is $250 to $400, so DIY saves money. That math is missing three variables, and every one of them changes the answer - our Garage Door Cost Breakdown: The Garland Homeowner’s Reference for 2026 walks through the full picture.
What a DIY Spring Job Actually Costs
- The spring itself: $60 to $140, depending on wire diameter, coil length, and whether you’re replacing one spring or both. A door with two springs should get both replaced even if only one broke - they wear at the same rate, and a mismatched pair changes the door’s balance.
- Winding bars: About $30 for a pair of properly sized cold-rolled steel bars. Not any metal rods you have lying around - bars that are under-sized will slip, and bars that are too soft will bend or snap under load.
- Additional tools you already own if you own them, or buy if you don’t: A socket set, a ladder rated for your weight plus the door’s, a drill with the right bits, and a level. If you’re buying all of this, you’re over $200 before the spring is out of the package.
- Your time: First-timers consistently take four to eight hours for a torsion spring replacement, including YouTube video rewinds, trips back to the hardware store, and setting up and cleaning up.
The Probability-Weighted Cost Nobody Puts on the Spreadsheet
Here’s what the DIY cost comparison doesn’t show you. The injury rate for homeowner torsion spring work is not published widely, but that is not because it’s low. It’s because the injuries are documented in emergency room admissions data, in worker’s compensation files from the garage door industry, and in lawsuit filings - not in consumer-facing statistics. What we know from years of working with Garland homeowners: every single technician we employ has seen or knows someone who has seen a spring-related hand, arm, or facial injury. Every single one.
An ER visit for a broken hand, torn finger tendon, or embedded foreign object will cost more than any spring replacement quote, even with decent insurance. That’s before you count the loss of a hand’s function, the months of rehabilitation, and the simple fact that medicine can’t always put back everything a torsion spring takes. And that’s to say nothing of the property damage path: a spring that unloads into a car parked in the driveway, a wall, or a ceiling joist.
We’re not arguing that professionals are magically protected. Professionals follow a process - the same process every time, in the same order, with the same tools - and that consistency is what eliminates the small error that unloads the spring. The part number matters, the winding count matters, and the order of operations matters. If you’re not certain of all three, the cost math isn’t what you think it is.
For perspective on what professional work costs, see Garage Door Repair in Garland - every quote is written, flat, and delivered before any work starts, per Clause 1 of The Haven Standard.
What You Can Do Before the Technician Arrives
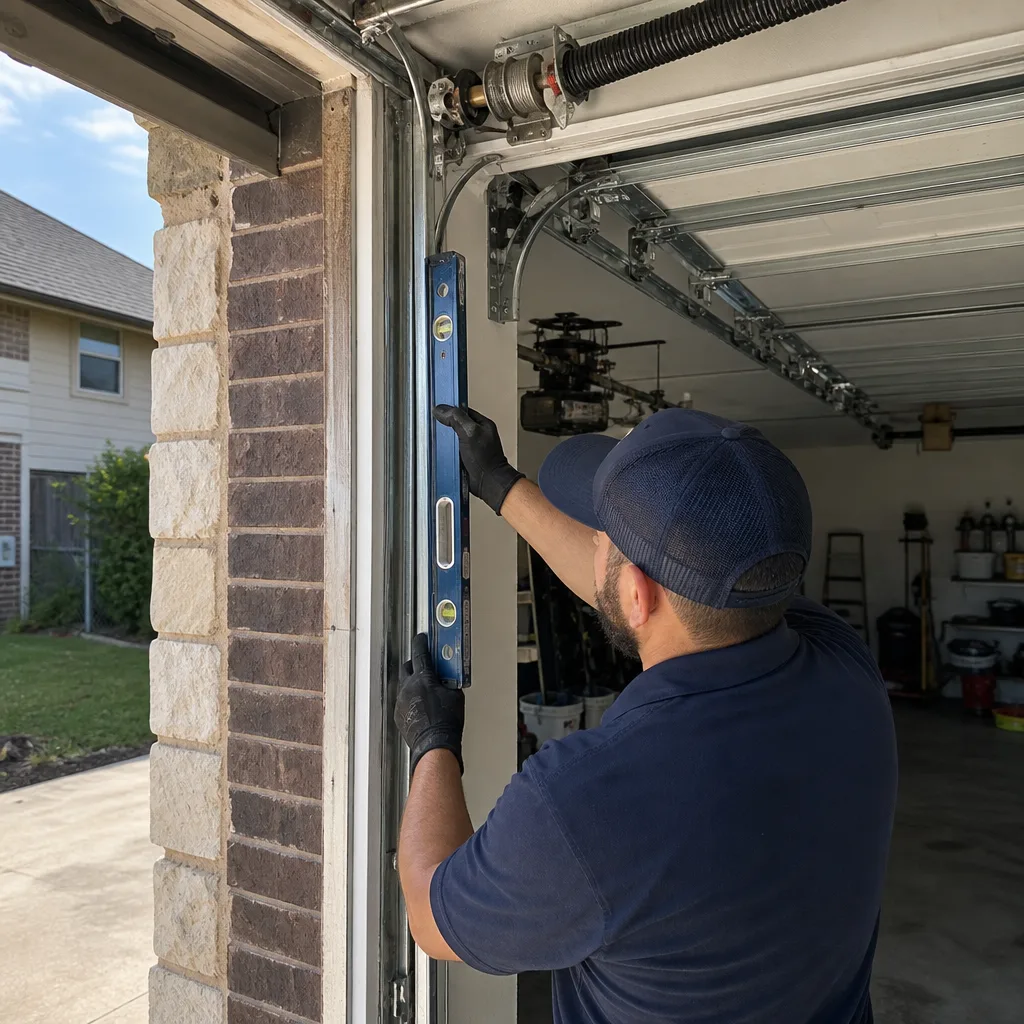
Some Garland homeowners want to be involved in the repair without doing the repair. That’s reasonable, and we encourage it. There’s a list of things you can do legitimately before any technician pulls into the driveway, and these things reduce billable labor time without putting you anywhere near the dangerous parts.
Caveat first: this list is for prep, not repair. If a spring or a cable is involved, stop at documentation and observation. Do not attempt to “loosen things up” or “get the door to move.” That well-meaning prep work sometimes creates more work, because a door that’s been forced through a partial cycle under unequal tension has often damaged the additional components you were trying to avoid paying to replace.
Here’s the legitimate prep list, in order:
- Photograph the door from the inside, at eye level, full frame. Get the spring, the cables, the tracks, the rollers, and the opener. Six to eight photos covers it. This is the single most useful thing a homeowner can do before we arrive, and it takes two minutes.
- Photograph the outside of the door, full frame, from the driveway. Dents, warping, and gaps from the outside tell a story about what the door has been through.
- Note the symptoms in writing. When did the noise start, what kind of noise is it, does the door hesitate at a particular point, does the opener reverse without cause? These observations are gold for a technician, and memory is unreliable three days later.
- Note the age of the door and the opener. If you don’t know, the serial number sticker on the opener rail and any labels on the door edge will usually carry manufacturing dates.
- Clear the area around the tracks and the door’s path, inside and outside. Move bikes, tools, boxes, and anything within three feet of each track. This is pure labor reduction and we appreciate it.
- Have your door’s brand and model information handy if you know it. Not required, but helpful. The brand name is usually on the door itself, and the opener’s model number is on the opener body.
Do not do any of the following in the name of “helping”: do not pump grease into the tracks (the rollers run on bearings and the tracks are meant to be clean); do not tighten bolts on the spring cones or the cable drums (those are under tension and tightening the wrong one changes the load); do not try to pull the release handle and force the door up when it’s stuck (a stuck door under tension means something is broken, and forcing it is how doors come off track).
Garland Heat, Spring Temper, and the Limits of Visual Inspection
Here’s a Garland-specific factor that national DIY guides never mention: your torsion spring lives in a hot box. Garland summers bring weeks of hundred-degree days, and the garage interior runs hotter than the outdoor air. That heat, cycled year after year, affects spring temper - the metallurgical property that gives a steel spring its return force.
What this means in practical terms: a spring that looks intact from the outside may be metallurgically compromised on the inside. A visual inspection by a homeowner can spot rust, visible gaps, or an obvious break. It cannot spot the temper loss that happens over years of thermal cycling, and it cannot measure the spring’s remaining load capacity. A spring that has lost temper will still look like a spring. It will just let go one morning while you’re reading the news, and you’ll hear the sound through the walls: a loud crack, like a rifle shot, followed by the metallic rattle of the broken coil collapsing.
Garland’s climate also accelerates rubber and plastic component degradation. Bottom seals dry out and crack faster in this heat than they do in cooler markets. Nylon rollers wear faster. Opener logic boards, especially in openers mounted to the ceiling of an uninsulated garage, bake through capacitors at a rate the manufacturer’s warranty math doesn’t fully account for.
What you can observe as a homeowner, and what’s genuinely useful to note:
- Visible rust on the spring coils - rust is a concentration point for stress, and a rusted spring fails sooner than a clean one.
- A visible gap in the copper or steel coil - if a spring shows a split anywhere along its length, it’s already broken.
- The door’s balance behavior - the balance test described above is a functional load test, and it’s the closest a homeowner comes to evaluating a spring correctly.
- Creaking or popping during the door’s travel - this is the spring’s coils shifting, and it indicates the spring or the bearing plates are wearing.
If any of these appear, the appropriate action is a phone call and a written quote, not a wrench. For garage door opener issues specifically, Garage Door Opener Repair & Installation in Garland covers the logic-board and motor failures we see most often in this climate.
Documenting Your DIY Work So a Future Technician Has a Real History
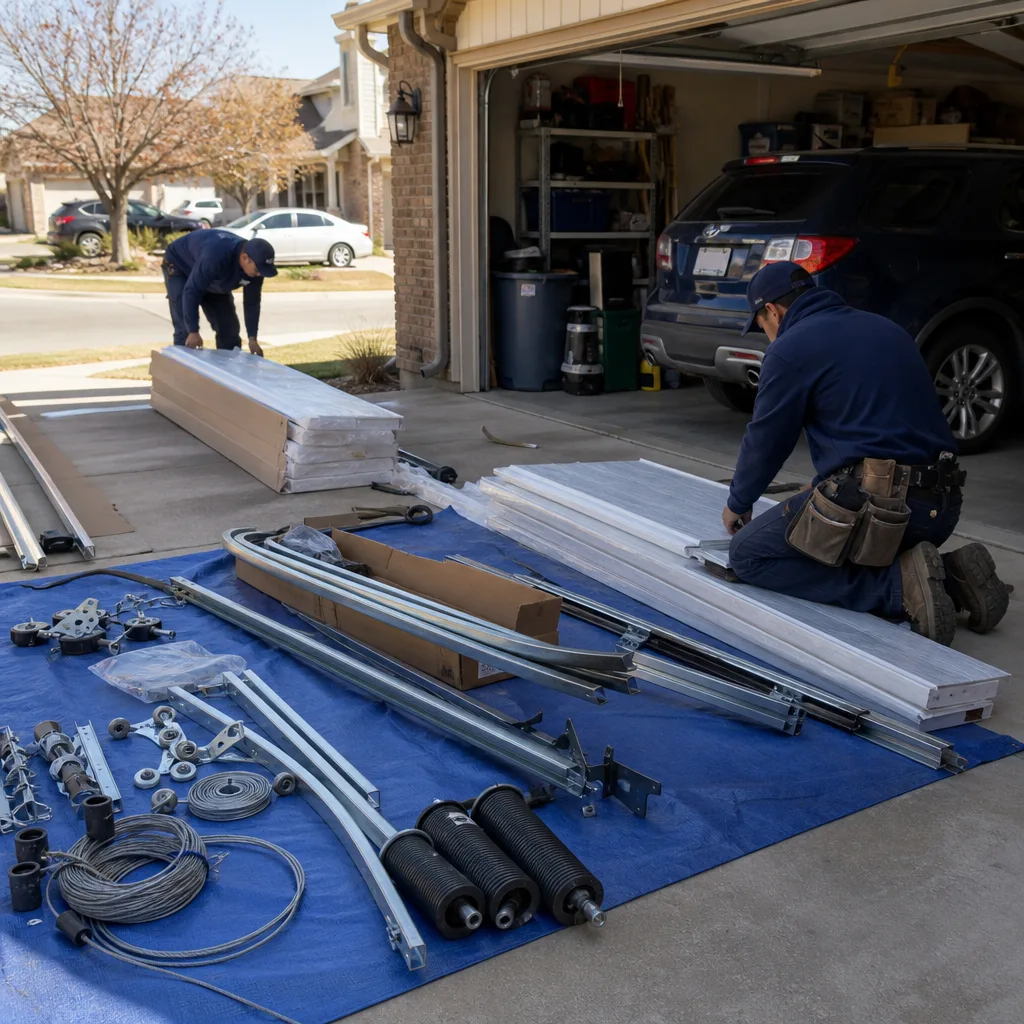
Homeowners rarely think about their garage door until it stops working, and then they’re trying to reconstruct years of history from memory. A simple documentation habit closes that gap, and it costs less than five minutes per project.
Here’s what to document, what to photograph, and where to keep it:
What to Photograph
- Every part before you install it, with the package or label visible if the label carries a part number.
- The part after installation, from the same angle, so the before/after are visually comparable.
- Any visible wear or damage you noticed while working, even if you’re not fixing it at the moment - a frayed cable, a rust spot on the spring, a crack in a panel.
- The door’s balance test result, if you’ve done one: photograph the door at the halfway point and note whether it held, drooped, or slammed.
What to Note in Writing
- The date of each DIY task, even the small ones. “Replaced bottom seal, March 2025” is the difference between a technician knowing a part is six months old versus guessing.
- The brand and model of any part you install. If you replace a remote or a keypad, note the part number on the back. This matters for programming compatibility later.
- Any behavioral changes you observe afterward: new noise, different speed, hesitation, balance shift. These are clues a technician can use to trace the cause.
Where to Keep It
A single folder in your phone’s cloud storage works. Label it “Garage Door” and dump every photo and note there. If you sell the house, pass the folder along or leave a printed summary taped near the opener. The next homeowner and the next technician will both have a real, dated history instead of a blank slate. This is the same principle behind the documented photo record we deliver on every service visit - the customer sees what we found and what we did, with evidence, not recollection. Clause 4 of The Haven Standard exists because our founder got tired of technicians making claims without proof.
The Tools You Actually Need for Legitimate DIY Work
If you’ve decided to handle the DIY-appropriate tasks from the classification above, here’s the complete tool list. None of these tools will put you near a spring or cable. All of them are available at any hardware store in Garland, and most homeowners already own half of them.
- A sturdy step ladder - rated for your weight plus whatever you’re holding. Garage door tracks run from floor to ceiling, and you’ll be working at head height.
- A socket set with standard and metric sizes - for removing and installing any bolts not under spring or cable tension, like seal retainers and weather stripping brackets.
- A flathead and Phillips screwdriver - the Phillips handles most opener and keypad battery compartments; the flathead pries old weather stripping free.
- A utility knife with a fresh blade - for cutting bottom seal and weather stripping to length. A dull blade tears rubber and produces a jagged cut that won’t sit flush.
- A level - for confirming the seal sits evenly and the tracks look square at a glance. (A level on the tracks is an observation tool, not a repair tool.)
- A smartphone with a camera - your documentation tool, per the section above.
- A cheap digital thermometer - optional but useful in Garland summers, to confirm the garage interior temperature before you spend an hour working in it.
That’s the complete list. If a DIY guide tells you to acquire winding bars, you have left DIY territory and entered the spring conversation, and that conversation belongs to a licensed, trained technician.
Brand-Specific Notes: What Changes from Door to Door
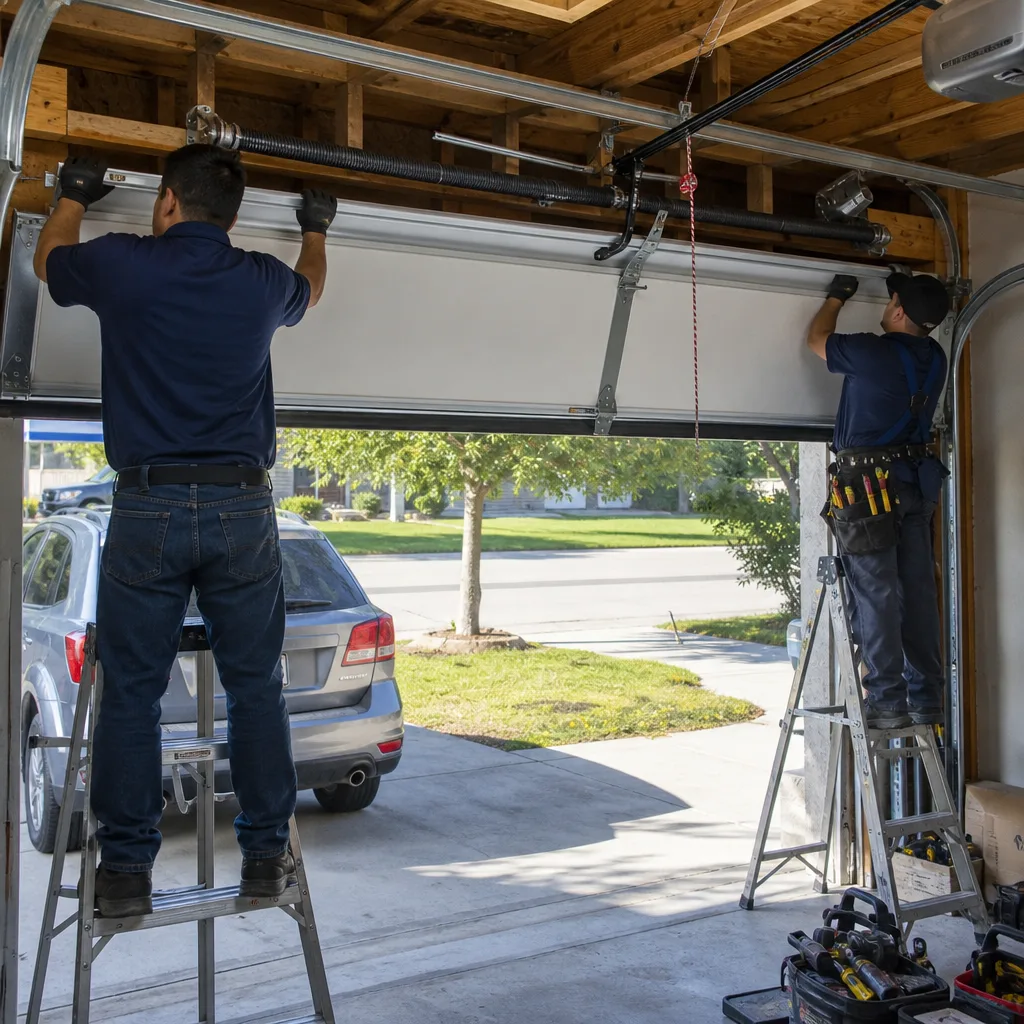
Garage doors in Garland are not interchangeable, and brand differences show up in the parts that wear, the programming steps, and the repair approach. We service all eight major brands - LiftMaster, Chamberlain, Genie, Clopay, Amarr, Wayne Dalton, Craftsman, and Raynor - and a few patterns are worth knowing before you start any DIY work.
Chamberlain and LiftMaster
These two share a parent company and a lot of opener architecture, so programming steps are similar across both. The keypad and remote programming is well-documented in the manual, and the DIY-friendly tasks (remotes, keypads, batteries) are genuinely straightforward. The thing to know: newer Chamberlain openers use a rolling code system that requires holding the learn button for an extended press to clear all codes. If you replace a remote, you’re clearing and reprogramming all remotes, not just the dead one.
Craftsman
Craftsman openers are widely installed in Garland homes built in the 2000s and 2010s, and most of them are rebadged Chamberlain or LiftMaster units under the Craftsman name. The programming instructions are the same. The parts are the same. The branding is the only difference. If your Craftsman opener is acting up, check the battery in the remote first - then check whether the opener’s date of manufacture is visible on the rail, because many of these units are approaching their service life in Garland’s heat.
Raynor and Clopay
These are door manufacturers more than opener brands, and their spring systems differ in bearing plate configuration. A Raynor door with a unique torque-master spring system (a spring inside a tube, rather than exposed on a shaft) is not serviced the same way as a conventional torsion spring, and a homeowner should not assume the YouTube video for a “garage door spring” applies. Different spring housing, different tools, different release procedure.
The point of this section: before you do any DIY task, know what’s actually on your door and opener. The brand label matters more than many homeowners realize, and the part numbers printed on the side of the opener are the single most useful piece of information you can have in hand when you call anyone. If you need a full replacement, Garage Door Installation in Garland walks through the process and the written-price approach.
Common Mistakes to Avoid
- Treating the garage door as one system instead of two. The door (panels, tracks, rollers, springs, cables) and the opener (motor, logic board, rail, trolley carriage) are separate systems with separate failure modes. A door that’s hard to lift is a door problem. An opener that reverses is an opener problem. Mixing them up leads to replacing the wrong component.
- Lubricating the tracks. The tracks are meant to be clean and dry. The rollers have bearings that need lubricant, but the track itself is simply a guide. Grease in the tracks collects Garland dust and grit, and that grit wears rollers faster.
- Replacing one spring instead of both. Springs wear in pairs. A door with two springs that breaks one spring has a second spring that is just as old and just as cycled. Replacing only the broken one means a mismatched pair, uneven balance, and a second service call sooner than you’d like to pay for.
- Forcing a stuck door. If the door won’t move, something under tension has failed. Pulling harder, using a pry bar, or inching it with the opener just adds damage to whatever is already broken.
- Ignoring a noisy door. Creaking and popping are the springs’ coils shifting. It means wear, and wear means eventual failure. The time to address a noisy door is before it fails, not after.
- Skipping the balance test. This takes thirty seconds and tells you more about the health of your springs than any visual inspection. Do it monthly while you’re taking out the trash. When the door stops holding at the halfway point, the springs are losing temper and you’re on notice.
- Assuming a visual inspection catches everything. In Garland’s heat, a spring can look intact and be metallurgically compromised. The balance test is the closest thing to a load test a homeowner can perform. Use it, and don’t be reassured by a spring that just looks fine.
When to Call a Professional
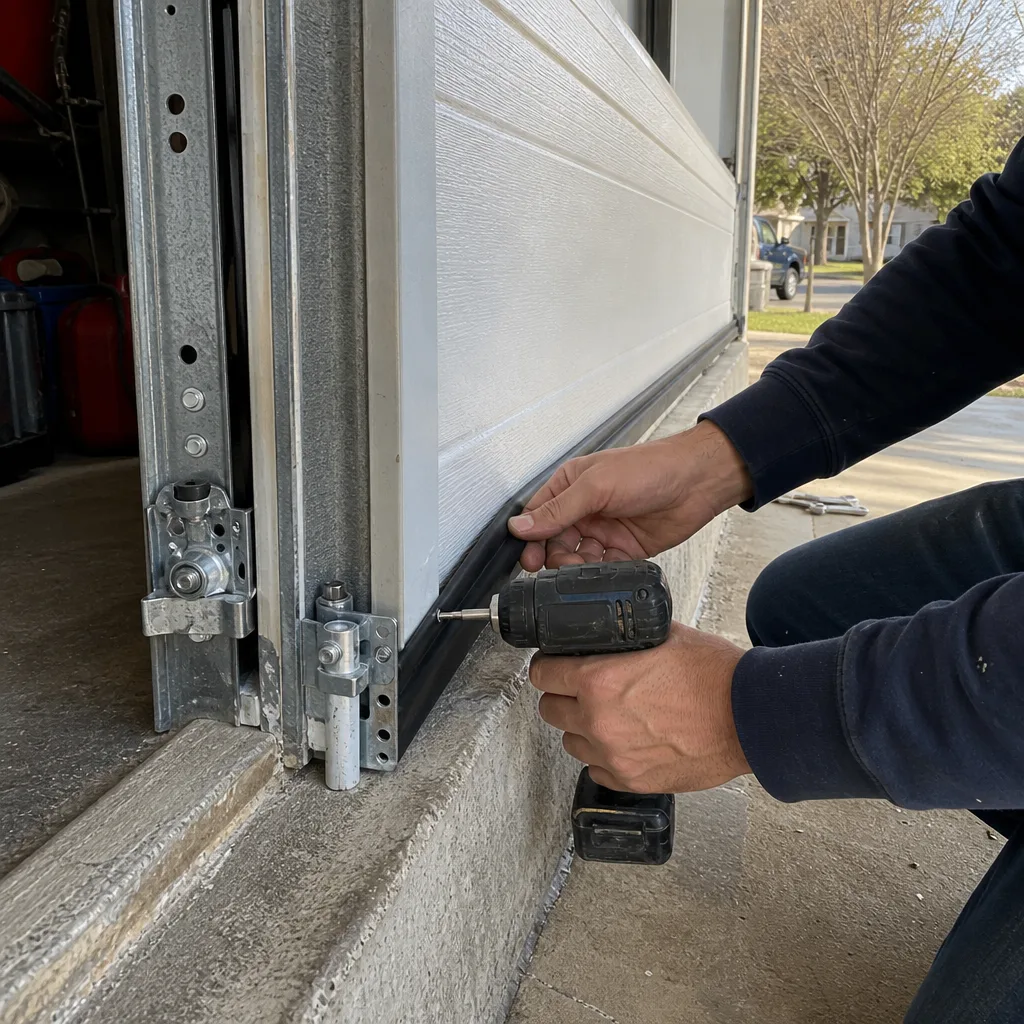
Call a professional when the job touches a spring, a cable, or a track under tension. Call when the balance test fails. Call when the door makes a sound you’ve never heard before. Call when the opener is dead and the remote battery isn’t the cause. Call when you’re not certain, because uncertainty around a loaded spring is the entire danger. Before any major work, check Garage Door Permits, Codes & Inspections in TX: What You Need to Know to stay compliant. Servo Garage Doors Garland offers free estimates in Garland - call (469) 949-6806 - and every quote is a flat, written price delivered before any work begins. You’ll know the number before you decide anything.
Frequently Asked Questions
You can physically attempt it, but the correct answer is that you should not. A torsion spring under load is the single most dangerous residential component in any Garland home, and the failure mode is a medical emergency, not a bad repair job. The spring replacement itself costs $250 to $400 professionally in Garland, and the written price is quoted before work starts at Servo Garage Doors Garland. Call (469) 949-6806 for an exact figure.
The safe DIY list includes bottom seal replacement, weather stripping, opener remote and keypad programming, and the balance test. These tasks keep you away from springs, cables, and any component under mechanical tension. If a task requires winding bars or puts your hands near a cable or spring, it is not in the safe category.
A professional torsion spring replacement in Garland typically runs $250 to $400, including parts and labor, depending on the spring’s wire diameter, the door’s weight, and whether you’re replacing one or both springs. Servo Garage Doors Garland quotes a flat, written price before any work starts, per Clause 1 of The Haven Standard. Free estimates at (469) 949-6806.
Watch for three signs: the door fails the balance test (droops or slams when you lift it to the halfway point by hand), you hear creaking or popping during the door’s travel, or you see visible rust or a gap in the spring coils. In Garland’s heat, a spring can also lose temper without visible signs, so treat the balance test as your primary diagnostic.
Do not try to open the door with the opener, and do not try to lift it by hand. The door is now under uneven tension or no tension at all, and the remaining spring or cables may be compromised. Leave the door where it is, keep people and pets clear, and call a professional for an emergency repair. Servo Garage Doors Garland answers emergency calls 24/7 at (469) 949-6806 with a live person, not a recording.
Most springs are rated for 10,000 cycles, which translates to seven to ten years of typical use for a Garland homeowner. The heat accelerates the spring’s temper loss, so the practical lifespan in Garland skews toward the shorter end of that range. If your spring is approaching or past the ten-year mark and the door is noisy or failing the balance test, replacement is the safe call.
The Bottom Line
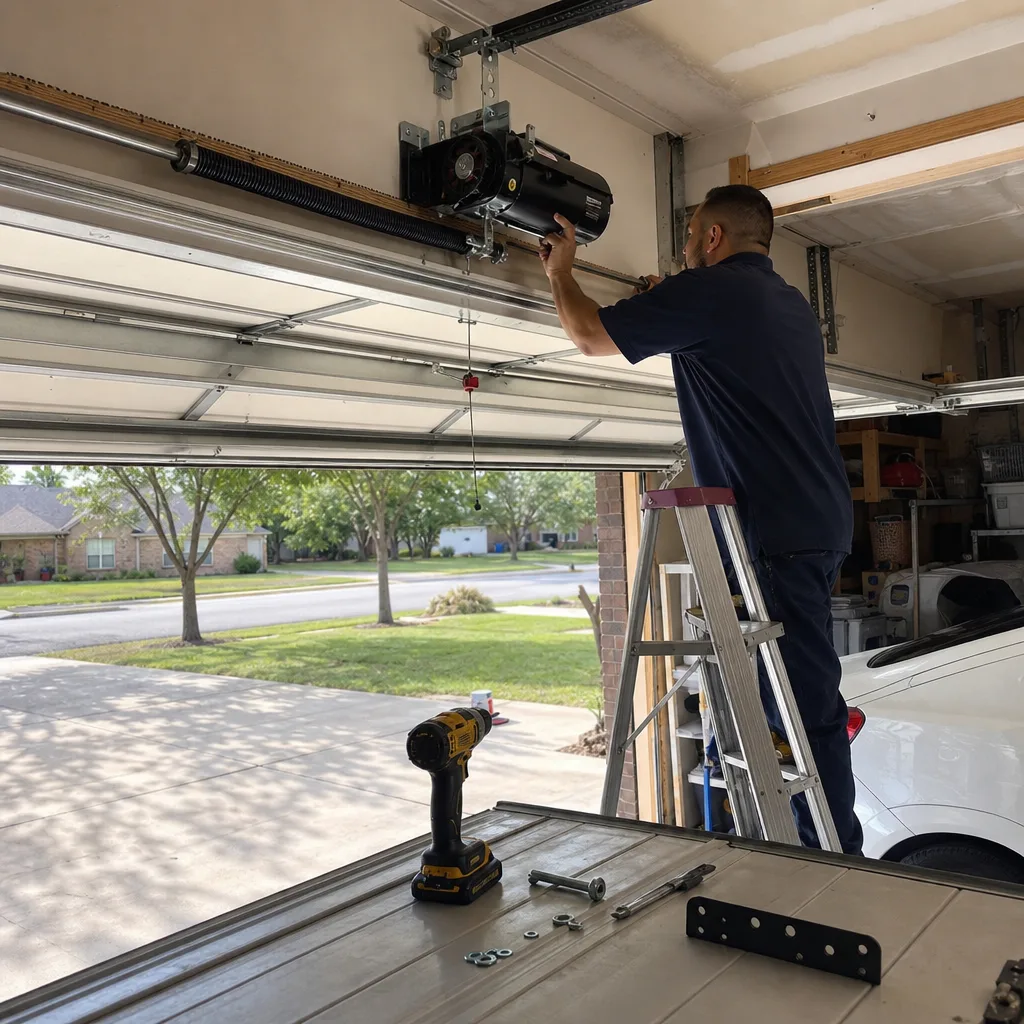
The DIY-versus-professional decision for your garage door is not about how handy you are. It’s about what’s under tension. Seals, weather stripping, and remote programming are yours to handle; springs, cables, and track realignment belong to a trained technician with the right tools and the right sequence. In Garland’s heat, springs age faster than the national average, so the balance test is your monthly early-warning system. Document what you do, photograph what you see, and know what you’re looking at before you touch anything. When the job crosses the line into professional territory, the phone number is (469) 949-6806 - and the price is written before a tool leaves the truck.
Written by Marcus Deller, Owner at Servo Garage Doors Garland, serving Garland since 2015.