
Last updated September 20, 2026
Full 25-point door and opener safety check with every visit - springs, cables, rollers, tracks, and your LiftMaster or Chamberlain opener included
You get a price before we start. It does not change when the truck arrives.
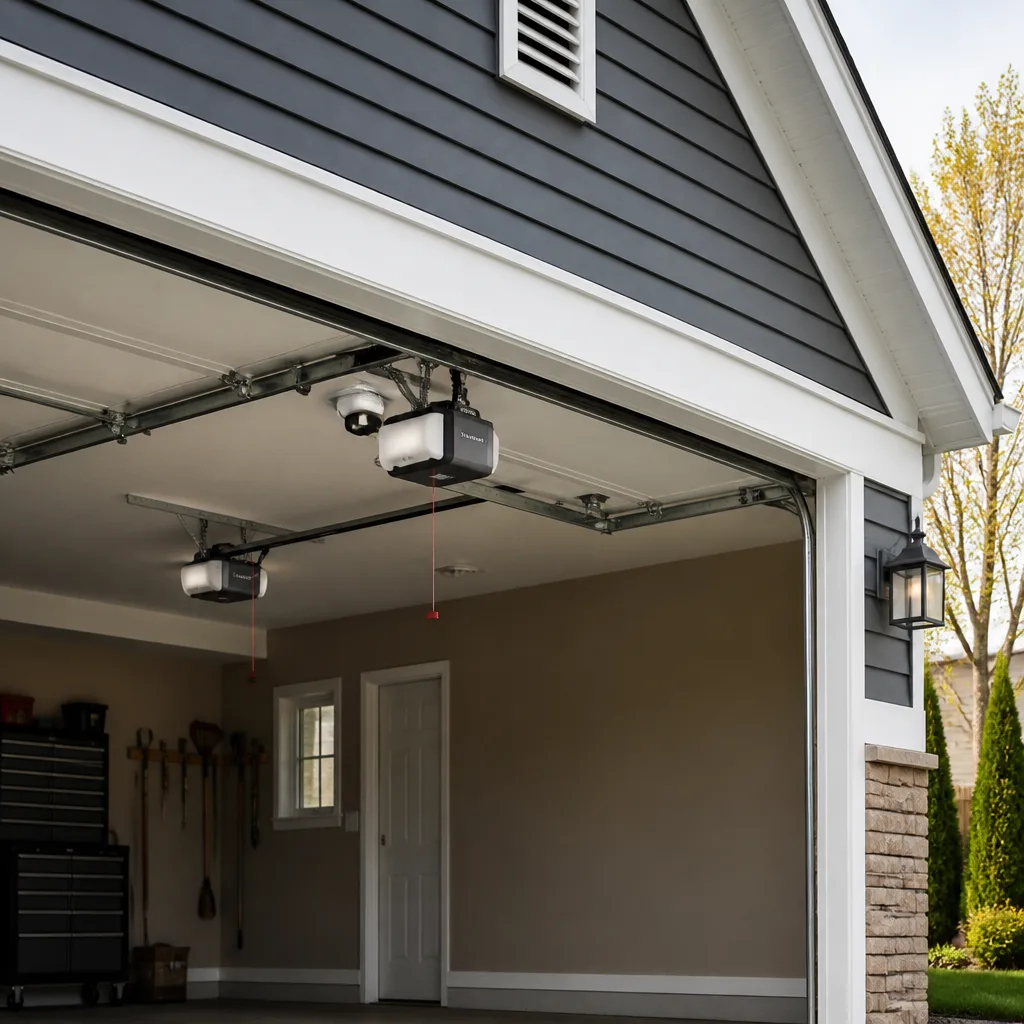
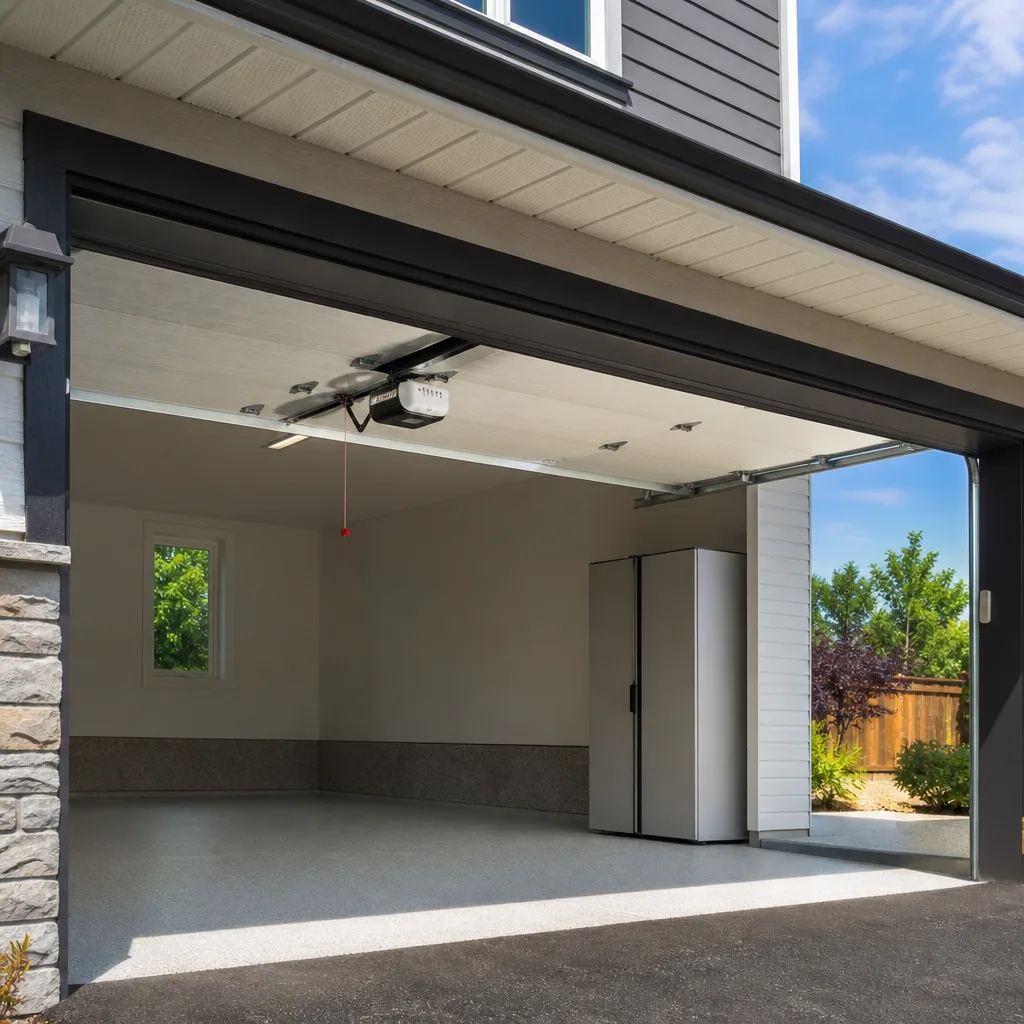
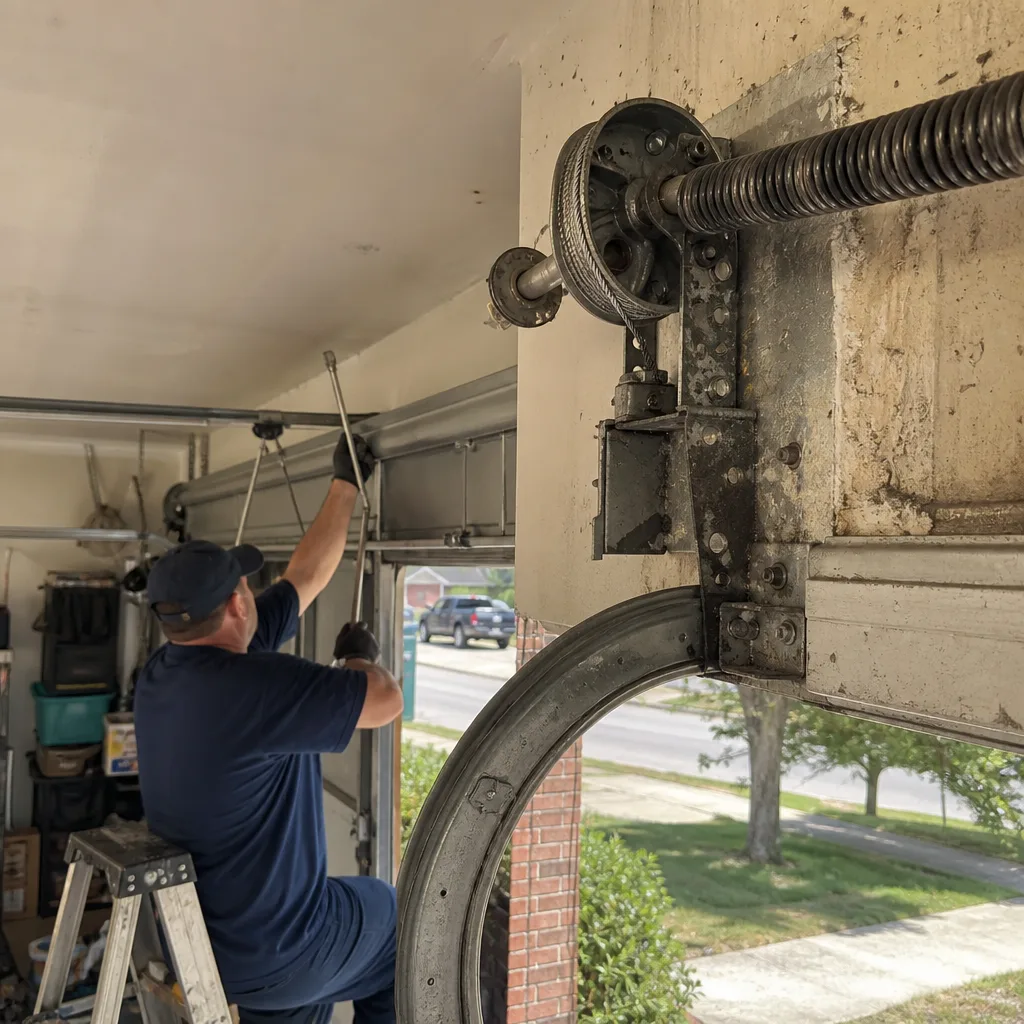 Before
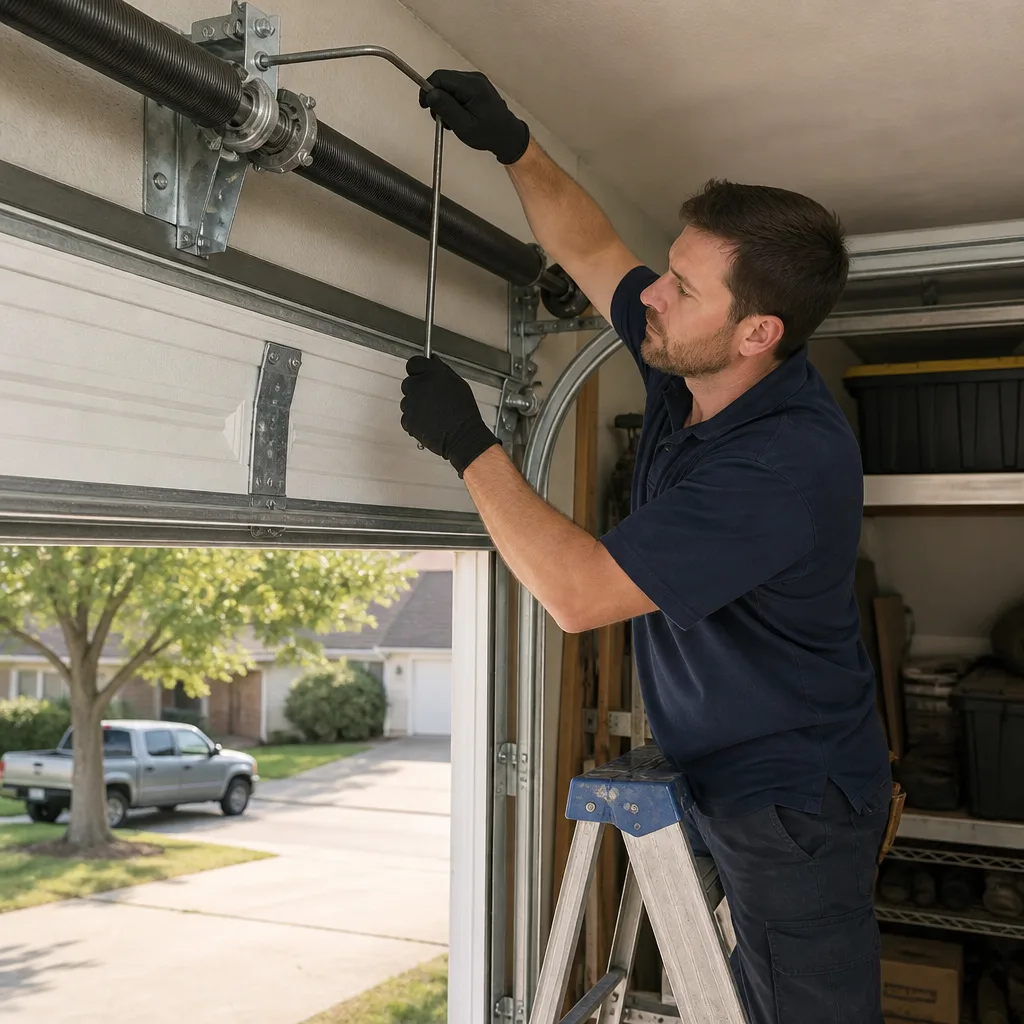 After
After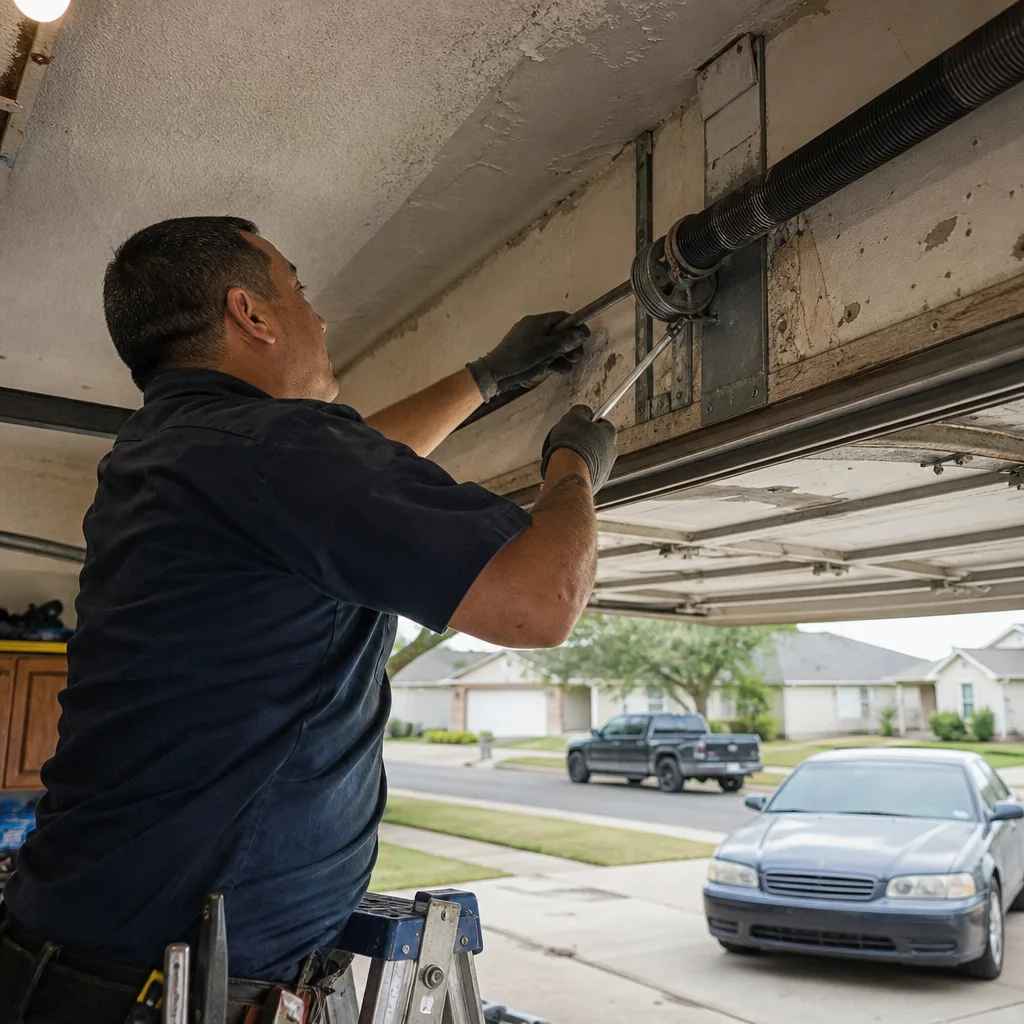 Before
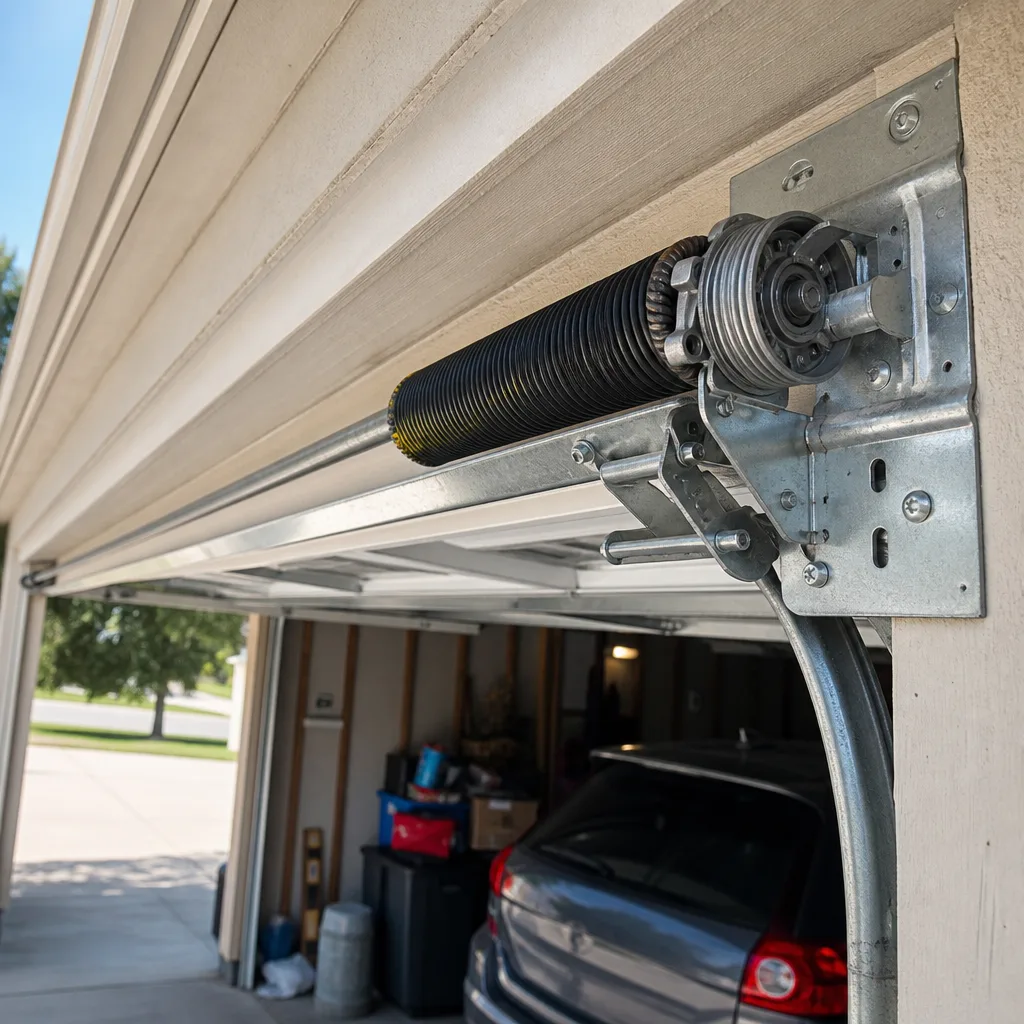 After
After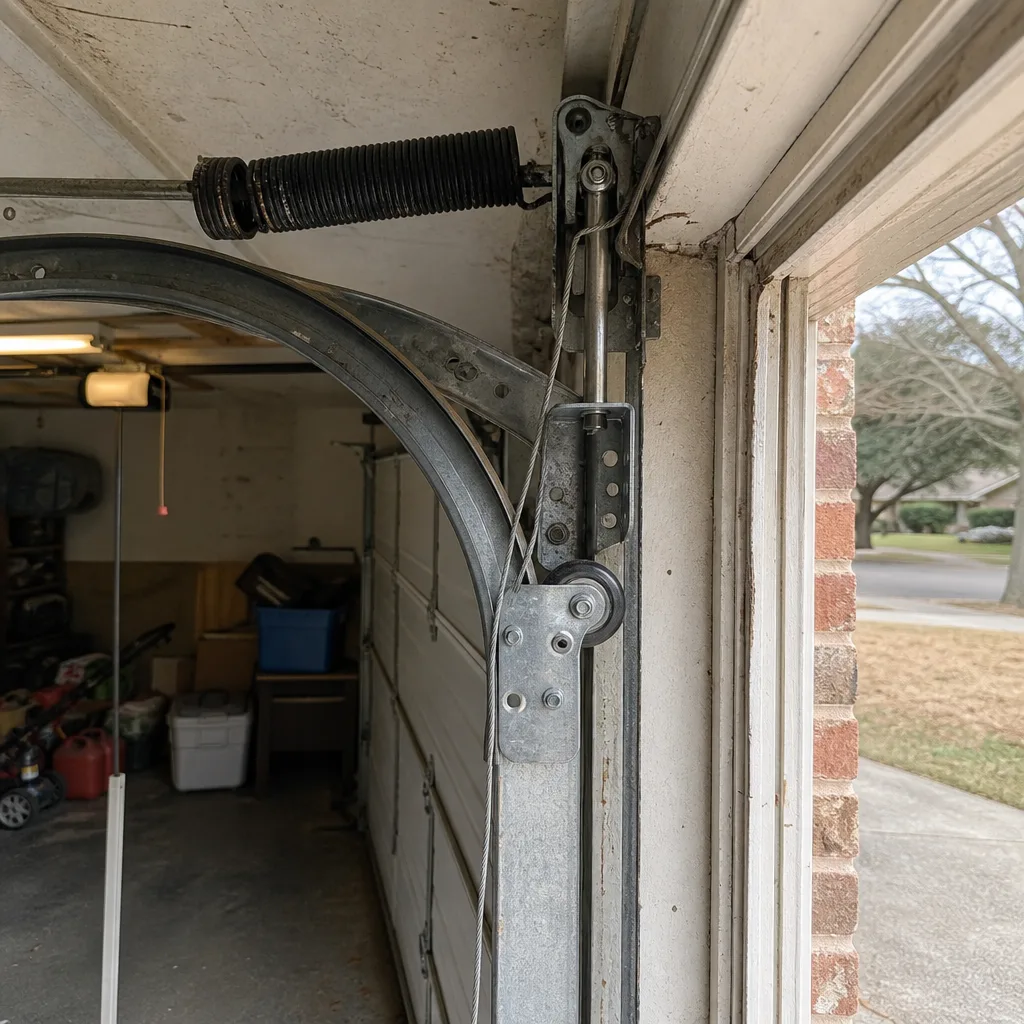 Before
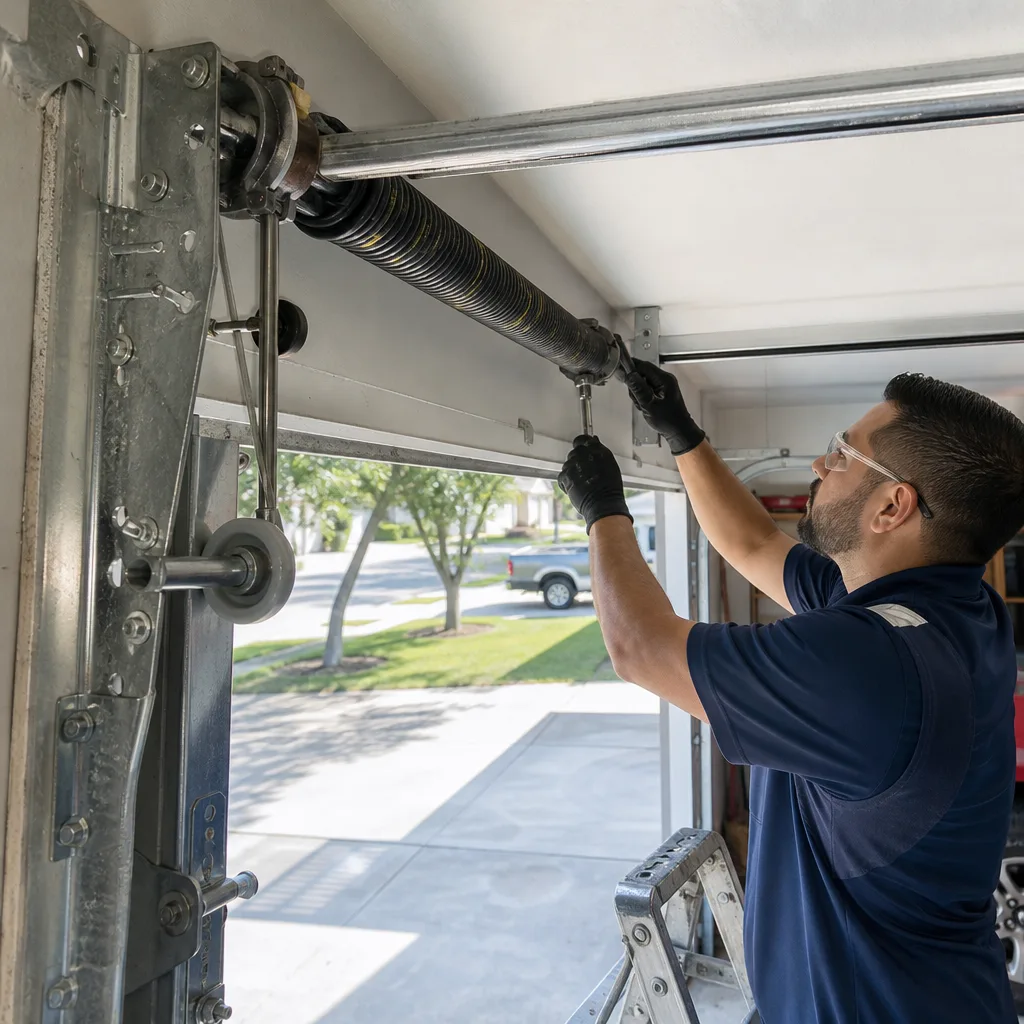 After
AfterGarage Door Repair Maintenance Checklist for Garland Homeowners
The most common cause of premature torsion spring failure in Garland isn’t age, heat, or manufacturing defects. It’s the wrong lubricant applied by a well-meaning homeowner. WD-40 on a torsion spring is a documented path to a snapped coil within two seasons. The solvent displaces the factory grease, dries out the coil friction points, and leaves bare metal grinding against bare metal under hundreds of pounds of tension. This guide is built around what actually fails first in Garland’s climate, with pass/fail criteria you can photograph, record, and use as a baseline for every future inspection. For a deeper look at symptoms to watch for, see our Garage Door Warning Signs: A Garland Homeowner’s Reference Guide.
Quick Answer
A garage door maintenance routine in Garland means inspecting the torsion springs, cables, rollers, hinges, opener force settings, and weather seal on a schedule matched to Texas heat and humidity, generally every six months with specific tasks timed to late spring and late fall. Most of the checklist is visual and mechanical, not chemical, and the goal is to document pass/fail conditions before small wear becomes a snapped cable or a sprung track. The full checklist below takes about 25 minutes and requires no specialty tools beyond a flashlight, a smartphone camera, and the right lubricant, which is not WD-40.
Table of Contents
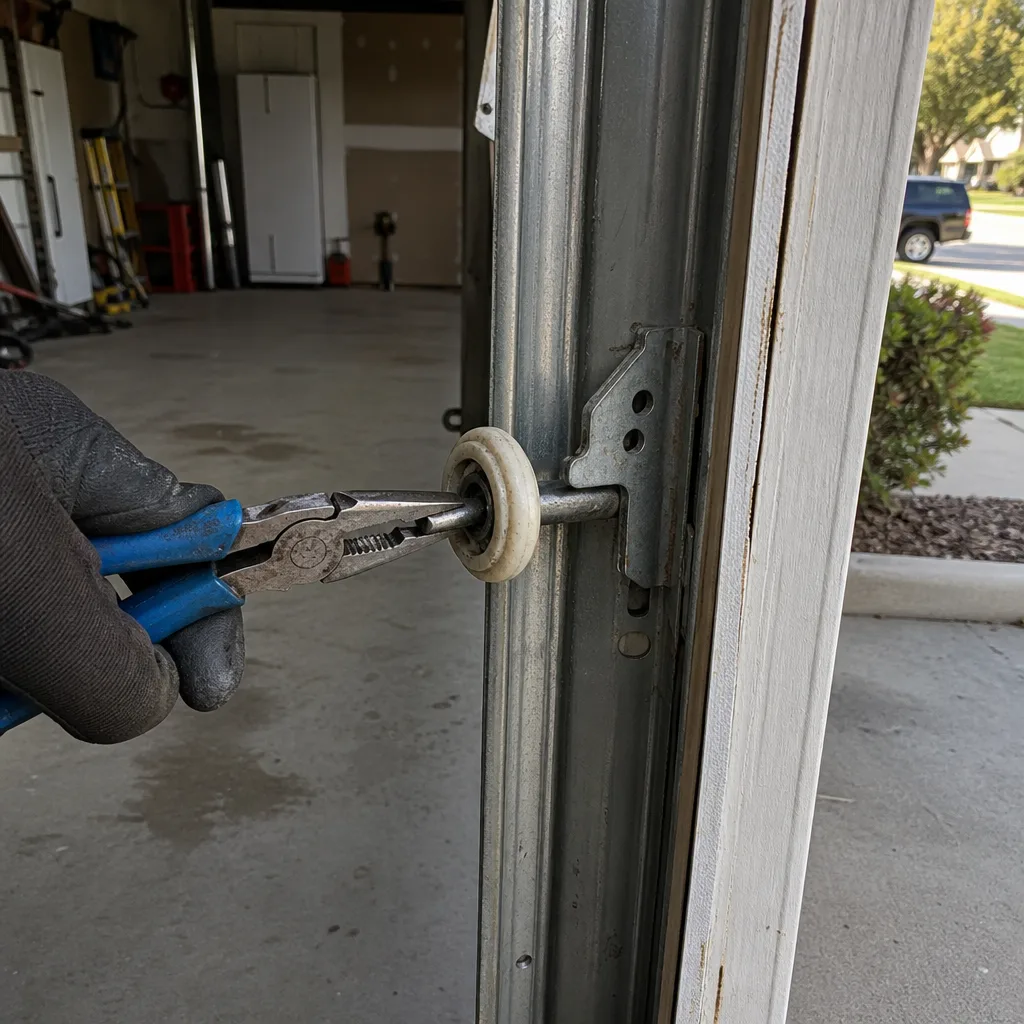
- What Maintenance Actually Means: Inspection vs. Lubrication
- Garland’s Climate Calendar: When to Do What
- The Right Lubricant for Each Part (and What Never Touches a Spring)
- Cable Inspection: Fraying Patterns That Mean Weeks, Not Years
- The Spring Balance Test: How to Record and Read Your Number
- The Documentation Habit: Date-Stamped Photos as Your Baseline
- Opener Checks: Force Settings, Limit Switches, and Safety Eyes
- Garland Heat, Humidity, and the Bottom Weather Seal
- Common Mistakes to Avoid
- When to Call a Professional
- Frequently Asked Questions
- The Bottom Line
BeforeAfterWhat Maintenance Actually Means: Inspection vs. Lubrication
Maintenance is not lubrication. Maintenance is documentation. Lubrication is one task among several, and doing it wrong is worse than skipping it. The core of a workable maintenance routine in Garland is a repeatable inspection you can record, with pass/fail conditions you can photograph and compare across seasons. Most garage door failures we see in Garland are the direct result of an unchecked condition that existed for six to twelve months before it became a breakdown. The inspection catches it. The documentation proves it. The lubrication just reduces wear.
A proper maintenance pass covers seven zones: springs, cables, rollers, hinges and brackets, opener force and limits, photo eyes, and the bottom seal. Each zone has specific things to look for, and none of them require touching anything under tension. The physical checks are done from the floor. The one tool you need is a camera. In our experience at Servo Garage Doors Garland home, a homeowner who photographs their springs in March and compares that photo in October will catch a deteriorating component weeks before it fails.
Garland’s Climate Calendar: When to Do What
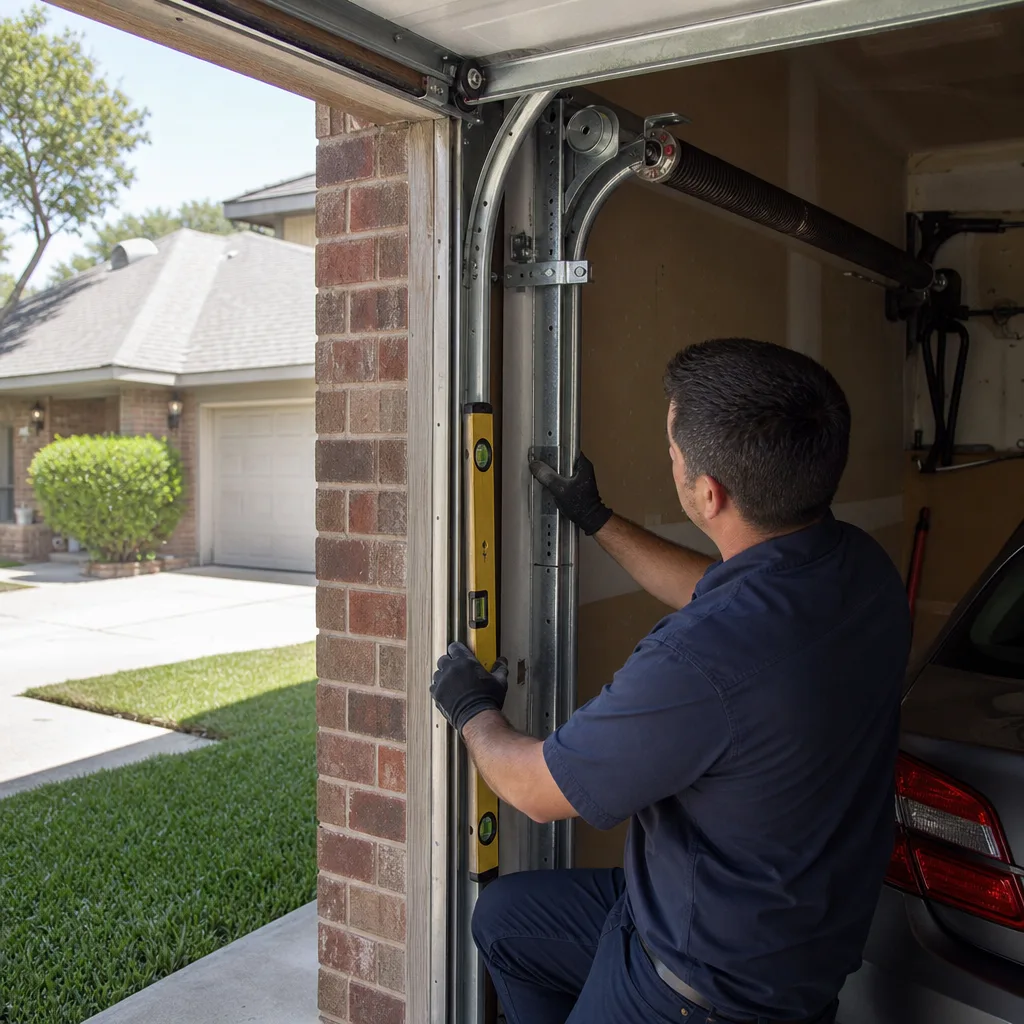
Garland’s climate does not follow a four-season template. We have three actual seasons: a long hot stretch from May through September, a short mild fall from October to early December, a variable winter and early spring from January through April. Maintenance tasks cluster around the transitions, not the solstices.
Late May to early June (pre-summer):
- Inspect torsion springs for corrosion, gaps, and coil separation. Heat accelerates metal fatigue.
- Check the bottom weather seal for hardening. Garland summer temps above 100°F bake rubber seals and cause cracking within two to three seasons.
- Lubricate rollers and hinges. Heat thins grease; the pre-summer application matters most.
- Test opener force settings. Heat expansion changes tolerances on metal tracks and can cause false obstruction reversals.
- Photograph cables at each drum. The pre-summer photo is your baseline for the year.
Late October to mid-November (post-summer, pre-winter):
- Repeat the full inspection. Garland’s summer heat cycle is the most aggressive wear period of the year.
- Check the top of the door panels for heat-bleaching and seal separation.
- Re-lubricate torsion springs with the correct product. One application, sparing, at each end coil.
- Test the door balance again. Record the number. Compare against spring numbers.
- Inspect weather seal for cracks that will leak cold air and keep warm air inside during the short Garland winter.
January through March (variable cold snaps):
- Cold weather makes broken springs more common. Not because cold breaks springs, but because cold reveals a spring already near failure by increasing metal brittleness at the micro-crack level.
- If the door feels heavier in January than it did in October, do not adjust the spring yourself. Call for an inspection.
- Check the opener’s force and travel limits after any freeze-thaw cycle. Condensation in the opener logic board can reset stored limits.
Here’s a condensed version of the season pass in list form:
- Every six months: full inspection, spring photo, cable photo, balance test, lubrication.
- Monthly (60 seconds): open and close the door once, listen for changes, watch the door move in the tracks.
- After any storm or high-wind event: check track alignment and cable seating on the drums.
- After any spring repair or cable replacement: re-run the full inspection within 30 days to catch installation drift.
The Right Lubricant for Each Part (and What Never Touches a Spring)
The wrong product on the wrong part is not a minor mistake. It’s an accelerated failure mechanism. Here’s the Garland-specific field guide to lubricants for garage doors. These recommendations come from a decade of seeing what works and what fails in North Texas garages, including our work across Garage Door Repair in Garland.
Torsion Springs
Use a dedicated garage door spring lubricant. The two we recommend are a white lithium grease spray, or a silicone-based lubricant specifically labeled for torsion springs. The standard we’ve seen work best is a spray lithium grease applied in one thin pass along the top coil, at both ends of each spring. The goal is to coat the coils where they rub against each other, not to soak the spring. One short pass per spring, twice per year. Nothing more.
Rollers
Use a silicone spray on nylon rollers and on the roller stem where it enters the hinge. Do not use lithium grease on rollers. Lithium grease attracts dust, and Garland dust plus lithium grease makes a grinding paste inside the bearing. For steel rollers a lightweight machine oil on the bearing is acceptable. Nylon rollers with sealed bearings need no lubrication; adding oil to a sealed bearing flushes out the factory grease.
Hinges and Brackets
Use the same white lithium grease as the springs, one small dab at each pivot point, wiped clean. Hinges are low-tension, low-friction pivot points. Excess lubricant runs and collects dust.
The Opener Track
Nothing. The opener track is a guide rail, not a bearing surface. The trolley carriage rides on the rail with its own lubricated bushing. Lubricating the opener track attracts dust, gums the carriage, and causes the opener to work harder, heat up, and eventually trip the thermal overload. If the opener track looks dirty, wipe it with a dry rag. If it’s greasy, someone lubricated it by mistake, and that grease should be cleaned off with a mild degreaser, then left dry.
What Never Touches Any Part
- WD-40 or any penetrating oil. It is a solvent, not a lubricant. On a torsion spring it strips manufacturer grease and accelerates coil friction failure. On a roller stem it washes out packed bearing grease. On nylon rollers it can degrade the polymer.
- Motor oil. Viscosity is wrong, it slings at operating speed, and it’s unmatched to the temperature range.
- Cooking spray or silicone kitchen spray. These are food-grade products designed for a different temperature and viscosity envelope. They degrade and leave a polymer film that attracts dust.
- Graphite powder. Messy, inadequate for springs, and it migrates onto the photo eye lenses, causing intermittent obstruction faults.
Cable Inspection: Fraying Patterns That Mean Weeks, Not Years
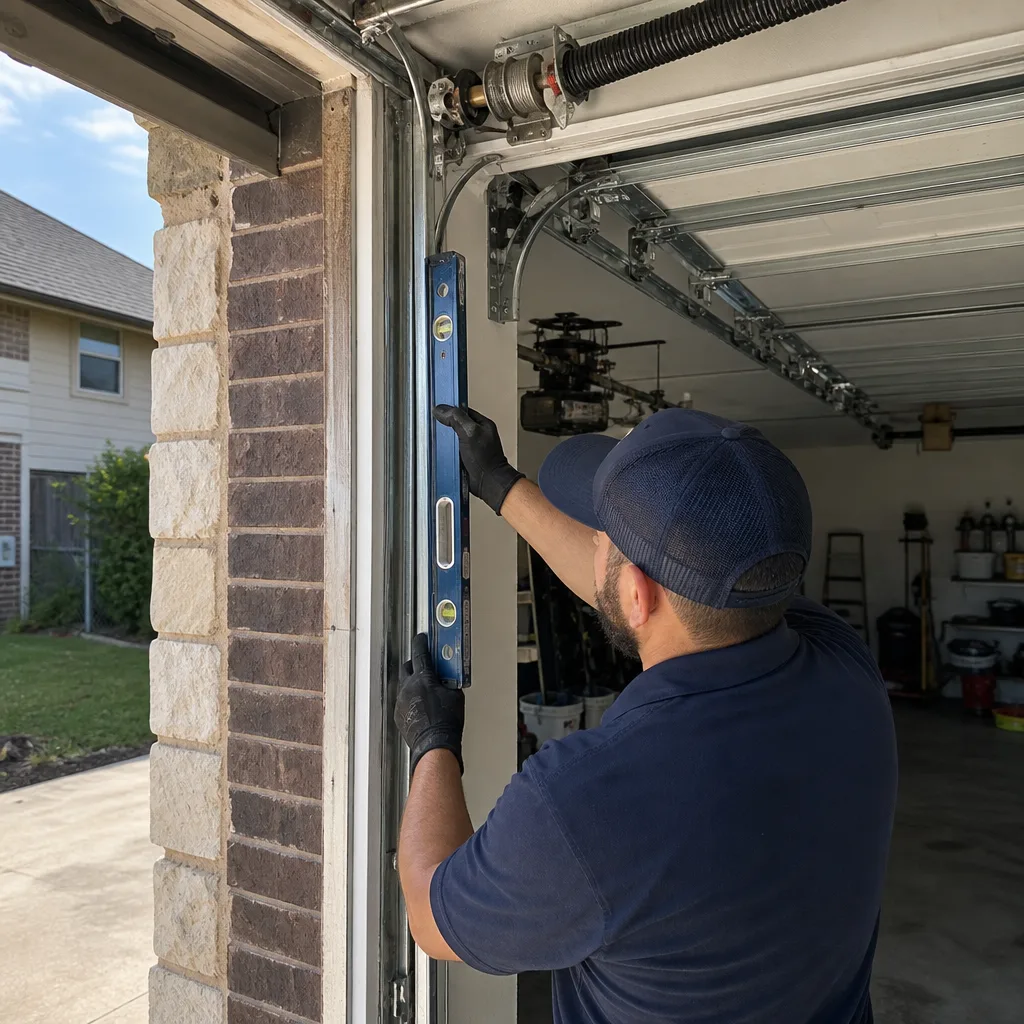
Garage door cables fail on a predictable timeline, and the visual warning signs are specific. A cable with minor surface corrosion can last years. A cable with a localized fray in the wrong location can part within weeks. The difference is in the pattern, and the pattern is readable from the floor with a flashlight.
What to look for:
- Fraying at the bottom bracket anchor point. This is the highest-stress point on the entire cable system. The cable bends sharply around the anchor and takes the full lifting load every cycle. Fraying here means individual wire strands have started to break. A fray at this anchor is not years away from failure. It can part on the next cycle. Fail. Call for replacement.
- Fraying along the drum seating surface. The cable wraps on the drum, and if the drum groove has any burr, wire strands catch and snap. A fray here is a leading indicator of drum wear. The cable may have weeks or months, but the drum is damaging every cable you install, so both need attention. Call for inspection.
- Uniform rust-colored surface discoloration without broken strands. Surface corrosion from Garland humidity. This is cosmetic and can be monitored. Not a failure condition. Pass, but photograph.
- Kinking or zigzag deformation anywhere along the free length. A kink means the cable took a shock load at some point, likely from an unbalanced door or a failed spring. A kinked cable can be load-bearing today and snap tomorrow. Call for replacement.
- Black oxide powder or dark residue on the cable near the drum. This is cable wear debris mixed with lubricant. It means cable is riding on something it shouldn’t be, typically the drum flange. Call for inspection.
Document any fray with a photo from two angles: one close-up of the damaged area, one wide shot showing location along the cable. That second photo tells a technician exactly where the defect is without needing to hunt for it. When we run a service call in Garland, a homeowner who can show us that photo has already cut the diagnostic time in half.
The Spring Balance Test: How to Record and Read Your Number
The spring balance test is the single most informative maintenance check you can do yourself, and it requires no tools. It tells you how much remaining lifting capacity the torsion spring system has. The test is done with the opener disengaged, the door moved by hand.
The test:
- Pull the red emergency release handle to disengage the opener from the door. The door should now move by hand.
- With the door fully closed, lift the door slowly to waist height, then to shoulder height, then let go. The door should stay where you left it, or drift no more than a few inches in either direction.
- Lower the door to halfway. Let go. It should hold. If it drops, the spring system is under-lifting the door weight.
- Raise the door to fully open. Let go. It should stay. If it wants to keep climbing, the springs are over-lifting.
- Record the result as a simple pass/fail with a note on drift direction and distance in inches.
How to read the result:
- Door holds at waist, shoulder, and half-height with minimal drift. Springs are in serviceable range. Pass.
- Door drops more than six inches from any test position. Springs are weakening. The door is under-balanced. A heavier-than-designed door wears the opener, the rollers, the hinges, and the cables at an accelerated rate. Call for inspection within 30 days.
- Door climbs noticeably from the half-height position. Rare, but it happens after a spring has been over-wound. The opener is fighting the door’s tendency to rise on its own. Call for inspection.
- Door is difficult to lift by hand at all, or feels like lifting 150+ pounds. One or both springs have lost tension or snapped. Do not force the door. Reconnect nothing. Call for service.
Record the drift in inches along with the date. A three-inch drift in March that becomes a seven-inch drift in November is meaningful. You’re watching the spring’s slow decline, and you’re doing it with a number, not a feeling. This is the exact discipline we apply on every Garage Door Installation in Garland, and it’s a habit worth adopting at home. If your reading fails, call (469) 949-6806 and tell us the drift number. It makes the diagnostic call a five-minute conversation instead of a guess.
The Documentation Habit: Date-Stamped Photos as Your Baseline
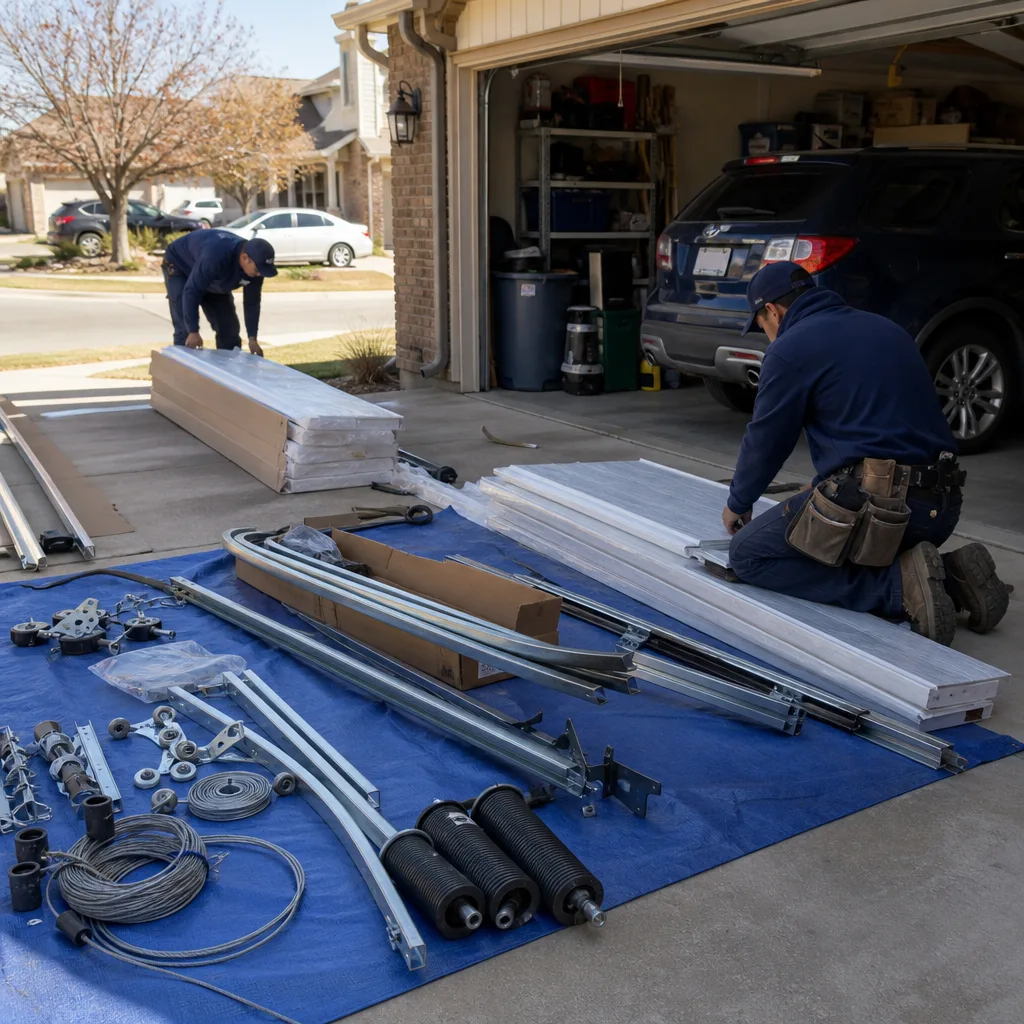
The most useful maintenance tool you own is the camera on your phone. Not a torque wrench. Not a specialty lubricant. The camera. Because the difference between “I think it looked different last year” and “here is the spring in March, and here is the spring in September” is the difference between catching a failing component early and calling for emergency service after it breaks at 8:00 on a Sunday night.
The protocol we recommend, and practice ourselves on every visit:
- Photograph the torsion springs, both sides, close enough to see coil gaps and surface condition. Include a reference point in the frame so scale is visible: the end bearing plate, the center bracket, or the spring cone.
- Photograph the cables at the drum and at the bottom bracket anchor. The two highest-stress points. Wide shot, then close-up.
- Photograph the bottom weather seal at the center and at both corners. Seals degrade from the ends inward.
- Photograph the opener rail, the trolley carriage, and the photo eye lenses. Dirt, grease, and alignment problems are visible in photos even when they’re not obvious in person.
- Photograph the door in the open position once, from inside the garage. It shows track alignment, spring position, and any panel deformation.
- Store the photos in a dated folder. Phone photos have metadata, but a folder labeled “Garage Door – March 2025” makes comparison trivial eight months later.
This is the exact principle we built into our own Garage Door Repair services at Servo Garage Doors Garland. Every visit closes with a documented photo record of findings and completed work, delivered to the customer. The founding rule was simple: the customer sees the failed part before anyone quotes a replacement. Clause 4 of The Haven Standard codifies that rule. If it’s worth doing on a professional service call, it’s worth doing as a homeowner maintenance habit.
Opener Checks: Force Settings, Limit Switches, and Safety Eyes
The opener is the most misunderstood component on the door. Most homeowners assume the opener does the lifting. It doesn’t. The springs do. The opener just moves the door along the track and controls the cycle. When openers fail in Garland, it’s usually one of three things: force settings that drifted, limit switches that lost their calibration, or photo eyes that misaligned due to track movement in the heat.
Force setting check: Place a roll of paper towels flat on the garage floor under the door’s closing path. Close the door. The door should contact the towel roll and immediately reverse without crushing it. If the door crushes the roll, the force setting is too high, and you have a safety problem that needs attention. If the door reverses when it touches nothing, the force setting is too sensitive, and the door will refuse to close on humid days or windy days. Both conditions indicate a force adjustment is needed.
Limit switch check: Close the door and look at how it sits on the floor. It should contact the concrete or seal evenly, no gap on the left, no gap on the right. Open the door and check the top of the panel. It should stop level with the header. If the door stops too soon or runs too far, the limit needs recalibration. On LiftMaster and Chamberlain openers this is done at the control board with the travel limit screws or the wall console, depending on model. Genie openers have the limit controls on the powerhead. The exact procedure varies by model and generation, and the manual is the authority. If the limit drifts again after you set it, that’s an indicator of wear in the drive gear or the trolley carriage, not a control board fault.
Photo eye check: The safety eyes sit on each side of the door, about six inches off the floor, at the track base. Close the door and wave a broom handle through the beam between the eyes. The door should reverse immediately. If it doesn’t, the eyes are misaligned, dirty, or one has failed. Clean the lenses with a dry cloth, check alignment by looking for the indicator light on each eye (LiftMaster and Chamberlain use a steady green or amber light), and re-test. If the door still doesn’t reverse, the obstruction sensor circuit needs attention.
We see more false-obstruction calls in Garland in summer than any other season. Heat expansion shifts the track, the eye moves a quarter inch, and the door refuses to close. Most of these are alignment, not component failure. The broom test tells you which one you have. We cover opener diagnostics and repair in depth on our Garage Door Opener Repair & Installation in Garland page if you need the full picture.
Garland Heat, Humidity, and the Bottom Weather Seal
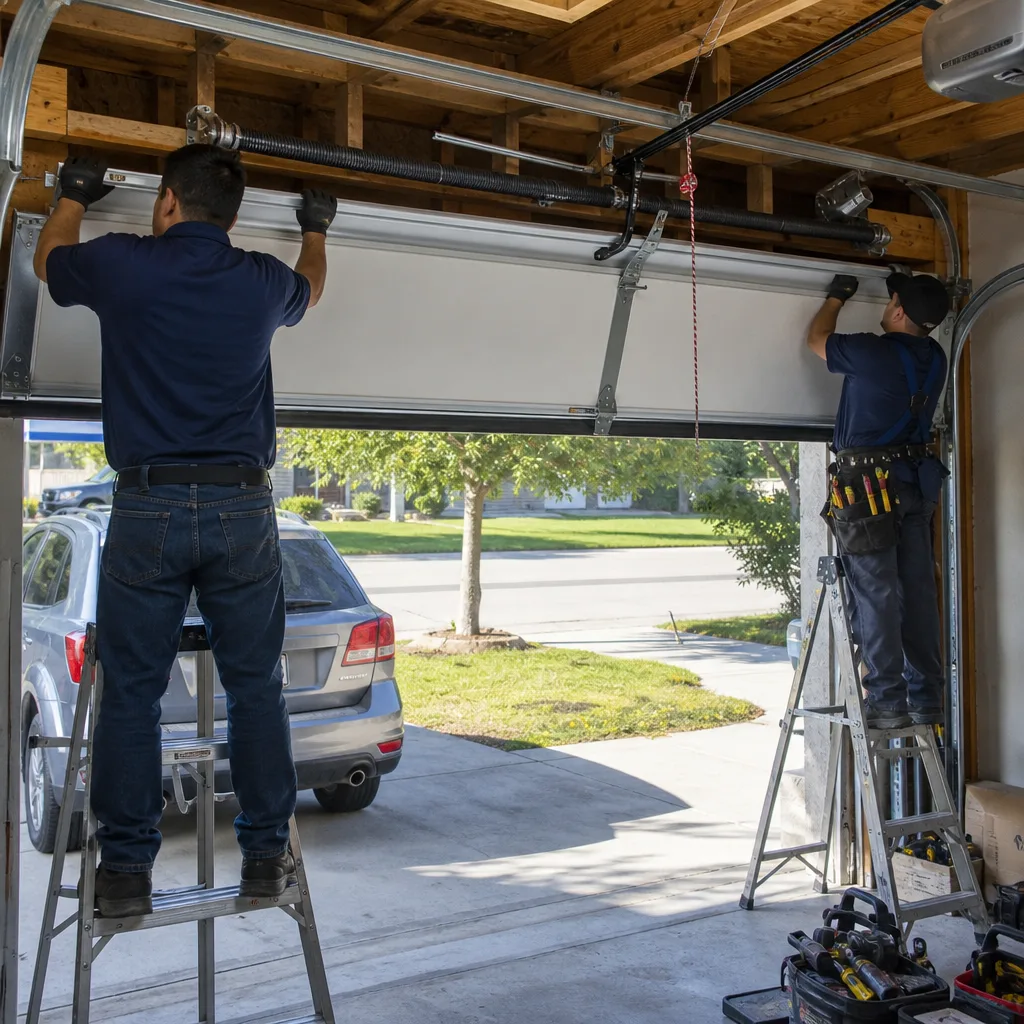
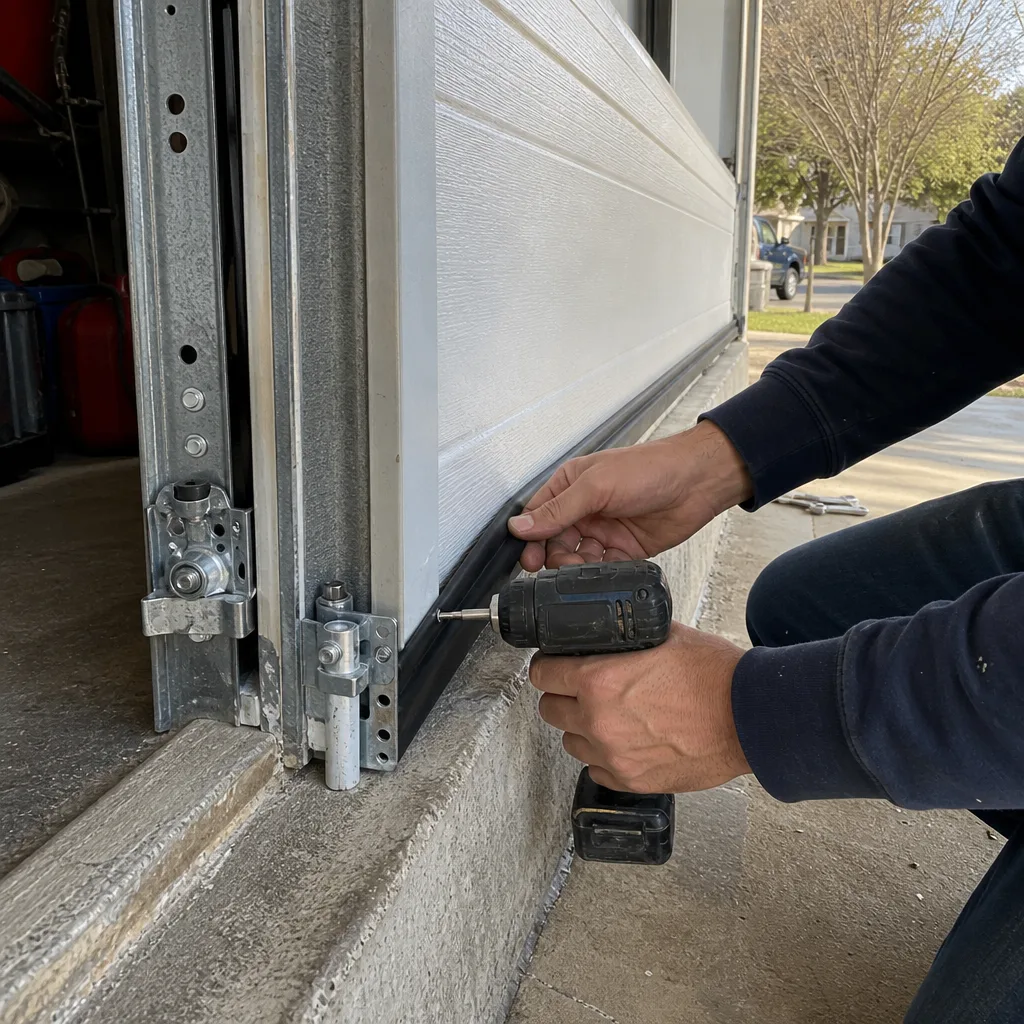
The bottom weather seal on a Garland garage door lives the hardest life of any component. In August, the seal sits against concrete that’s been baking in 100-degree sun all day, while the bottom edge of the door radiates heat back down. The seal material, typically vinyl or rubber, hardens, cracks, and loses its compression memory within two to three seasons. A failed bottom seal is the most common cosmetic failure we see in Garland garages, and it’s also one of the easiest to diag.
The test: Close the door. Look at the gap between the bottom of the door and the concrete floor from inside the garage with the lights off. If you can see daylight, or feel air movement, the seal has failed. Run your hand along the seal from left to right. Cracks, flattening, or the seal lifting away from the aluminum retainer channel are all fail conditions.
Why it matters beyond energy: A failed bottom seal in Garland is an open invitation for pests. Field crickets, ground beetles, and the occasional snake enter through the gap under the door. The seal also keeps rain and storm drainage out during the spring and fall rain events. And in winter, the seal retains the warmer air inside the garage, which matters if the garage shares a wall with the house.
Bottom seal replacement is a parts-and-labor job that takes about 20 minutes for a technician with the correct profile seated into the retainer channel. The seal profile must match the retainer channel on the existing door; an incorrect profile will seat loosely and pull free again within weeks. If you’re unsure what profile your door has, photograph the channel end-on and compare it against a seal profile chart. There are about six common profiles, and the wrong one is worse than no seal at all.
Common Mistakes to Avoid
- Lubricating the torsion spring with WD-40. This is the number one cause of premature spring failure in Garland garages, and it’s entirely preventable. The solvent displaces factory grease and accelerates coil-on-coil friction. If you’ve already done this, a professional can sometimes save the spring by re-lubricating correctly, but any coil damage already done is permanent.
- Lubricating the opener track. The track is a guide rail, not a bearing. Grease on the track attracts Garland dust, gums the trolley carriage, and eventually causes the opener motor to overheat and trip its thermal protection. Dry metal, clean metal.
- Adjusting the spring set screws without a winding bar. Never do this. The torsion spring is under several hundred pounds of torque. A screwdriver or rod inserted into the winding cone is not a winding bar, and if it slips, the release of that torque is explosive. Spring work is the one thing on this list that genuinely requires a trained professional. No checklist item, no YouTube video, no homeowner-sized tool substitutes for the correct winding bars and the experience to use them.
- Ignoring a slow drift in the balance test. A door that drifts down slowly from the halfway position is telling you the springs are wearing. Ignoring it for a year turns a $100 spring replacement into a snapped cable, a bent track, and an emergency service call.
- Photographing without a date reference. A photo of a spring with no way to date it is almost useless. Use your folder system, or better yet, hold a piece of paper with the date in the frame for one shot per zone. It sounds excessive. It takes four seconds. It makes the record court-admissible, if it ever comes to that.
- Replacing one broken spring on a two-spring door. Both springs share the load and the same cycle life. When one snaps, the other is usually weeks or months from the same failure. Replace both as a set, have the new springs balanced together, and reset your documentation baseline. The marginal cost is modest; the avoided second service call is significant.
- Waiting for a problem to do any maintenance at all. The single most common phone call we get in Garland is the emergency call from a homeowner who has never once photographed their springs, tested the balance, or looked at the cables. The maintenance checklist above costs nothing but 25 minutes and a can of the correct lubricant. The emergency call costs more and happens at the worst possible time.
When to Call a Professional
Most of this checklist is homeowner-appropriate and safe when done exactly as described. There are hard lines. The torsion springs themselves are off-limits for adjustment, replacement, or repair. The spring system is under enormous stored energy, and the consequences of an incorrect adjustment or a failed tool are severe. If the balance test fails, if a cable is frayed, if a spring shows a visible gap or coil separation, stop and call. Cables under tension are the second hard line. A snapped cable under load can cut. These are the two components where the value of a trained, insured professional outweighs any saved service fee, every time. For help finding the right one, see How to Hire a Garage Door Contractor in Garland: A Step-by-Step Guide.
Servo Garage Doors Garland offers free estimates in Garland, and we document what we find. Call (469) 949-6806. Every visit includes a written, flat-price scope before any work starts, per Clause 1 of The Haven Standard, and closes with a documented photo record of what we found and what we did. No urgency theatre. No “call for a quote.” Just the price, the scope, and the evidence.
Frequently Asked Questions
Every six months, timed to late May or early June and late October or early November. This matches Garland’s heat cycle, which is the dominant wear factor for seals, springs, and opener electronics. The full inspection takes about 25 minutes. Call (469) 949-6806 if any zone fails and we’ll give you an exact quote for the fix.
White lithium grease spray, applied one thin pass to the top coil at each end of the spring, twice per year. A silicone spray labeled for torsion springs is an acceptable alternative. Do not use WD-40, motor oil, or any penetrating oil. If you’ve already used the wrong product, call (469) 949-6806 and we’ll tell you whether the spring is salvageable or needs replacement.
The inspection, lubrication, balance test, and documentation are all homeowner-appropriate. The spring adjustment and any cable work are not. Springs are under extreme tension and require specialty winding bars. Cables under load can cut. The hard rule is: inspect it yourself, document it yourself, but never touch the spring set screws or the cable anchor points. If you find a problem in those zones, call (469) 949-6806 for a free estimate.
Three signs, in order of reliability: a visible gap in the coil, a door that fails the balance test with a downward drift of more than six inches from the halfway point, and a sudden loud bang from the garage followed by the door refusing to open. The first sign is a replacement window. The third is a replacement emergency. If you photograph your springs on a schedule, you’ll see the first sign before it becomes the third. Call (469) 949-6806 if you’re unsure whether a condition warrants replacement.
A diagnostic visit typically runs $49-$89, though our flat-price estimate is provided before any repair work starts, in writing. Typical spring replacements in Garland run $180-$340 depending on spring size and door weight; cable replacements $120-$190; opener repairs $110-$260; opener replacements $350-$650 installed. These are the written ranges you should expect from any reputable Garland shop, and your price should be quoted and agreed before any work begins. If someone quotes you a range and then changes it after “seeing the door,” stop and get a second opinion. We’ll give you a free second opinion on any written estimate from another company. Bring the paperwork.
Yes, and the mechanism is specific. Garland’s summer heat softens and bakes rubber seals, which is why bottom seals fail here in two to three seasons. The same heat accelerates metal fatigue in springs by amplifying the microscopic expansion of any existing coil crack. Humidity accelerates corrosion at cable anchor points. The maintenance calendar in this guide is built around those documented patterns, not a generic four-season template. If your door is showing heat-related wear, call (469) 949-6806 and we’ll walk you through what we’re seeing.
The Bottom Line
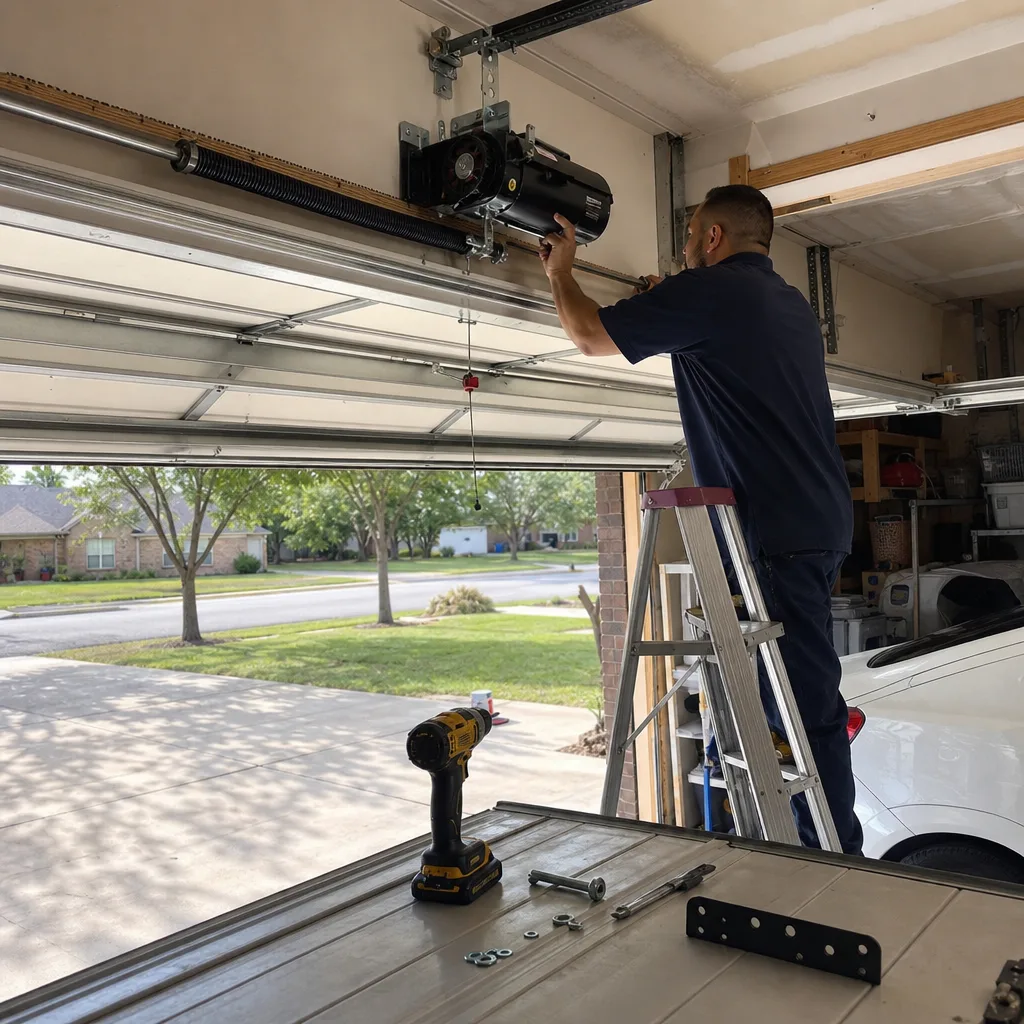
Garage door maintenance in Garland comes down to three disciplines: inspect on a climate-matched schedule, document everything with date-stamped photos, and never apply the wrong chemical to any component. The torsion spring is the highest-failure-cost item, and it fails early when well-meaning homeowners lube it with WD-40. The balance test gives you a number you can track. Cable inspection gives you a pattern to watch for. The photo record ties it all together. Twenty-five minutes, twice a year, at the right time of year, with the right lubricant, keeps a Garland garage door running years past its expected service life. And when something does fail, document it, then call (469) 949-6806 for a free estimate and a written price before any work begins. For more guides & resources, visit our blog.
Written by Marcus Deller, Owner at Servo Garage Doors Garland, serving Garland since 2015.