
Full 25-point door and opener safety check with every visit - springs, cables, rollers, tracks, and your LiftMaster or Chamberlain opener included
You get a price before we start. It does not change when the truck arrives.
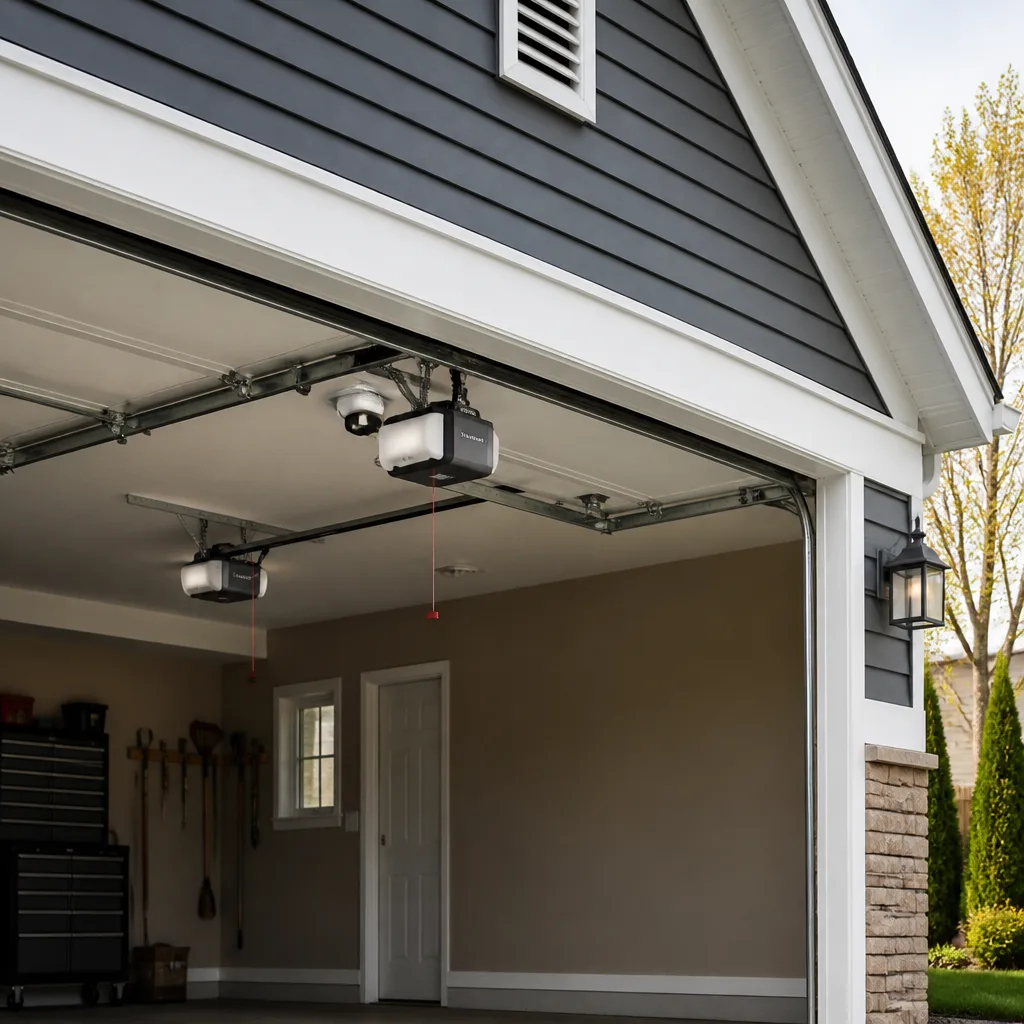
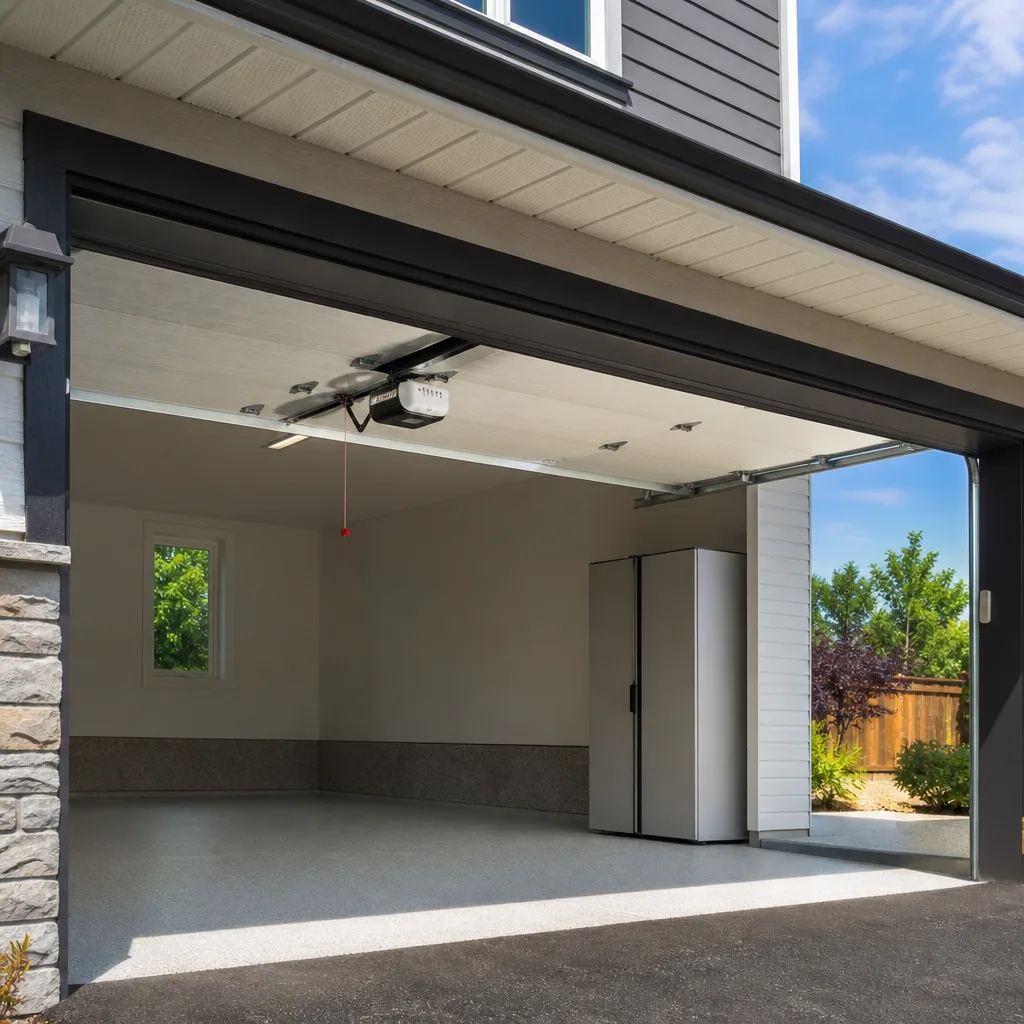
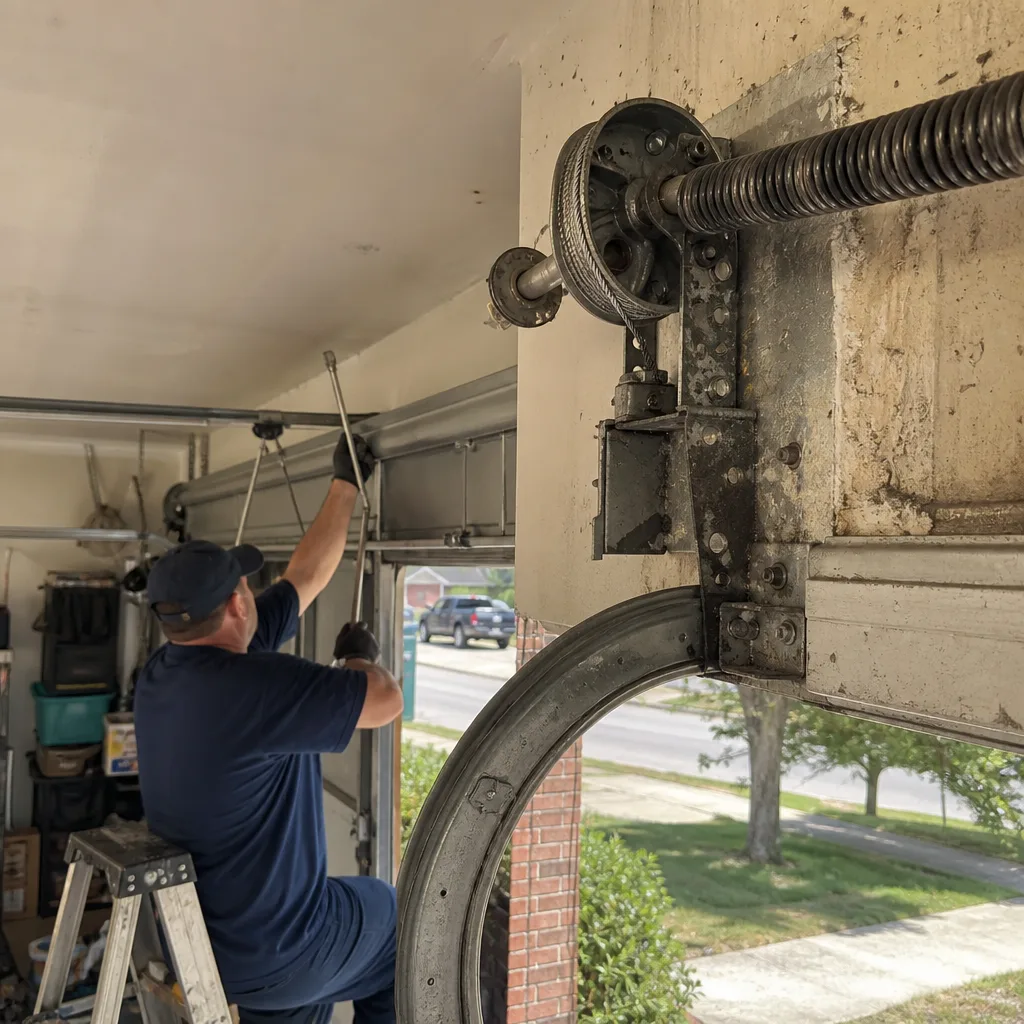 Before
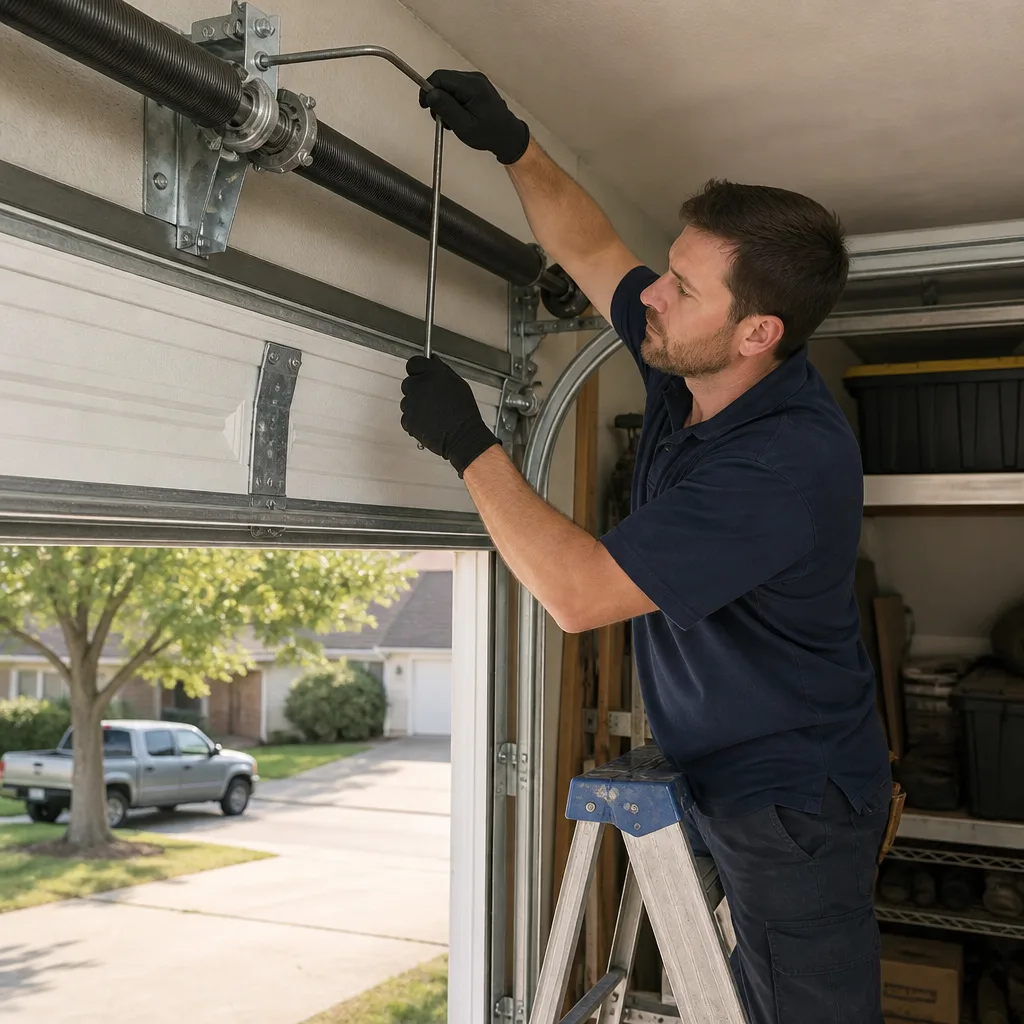 After
After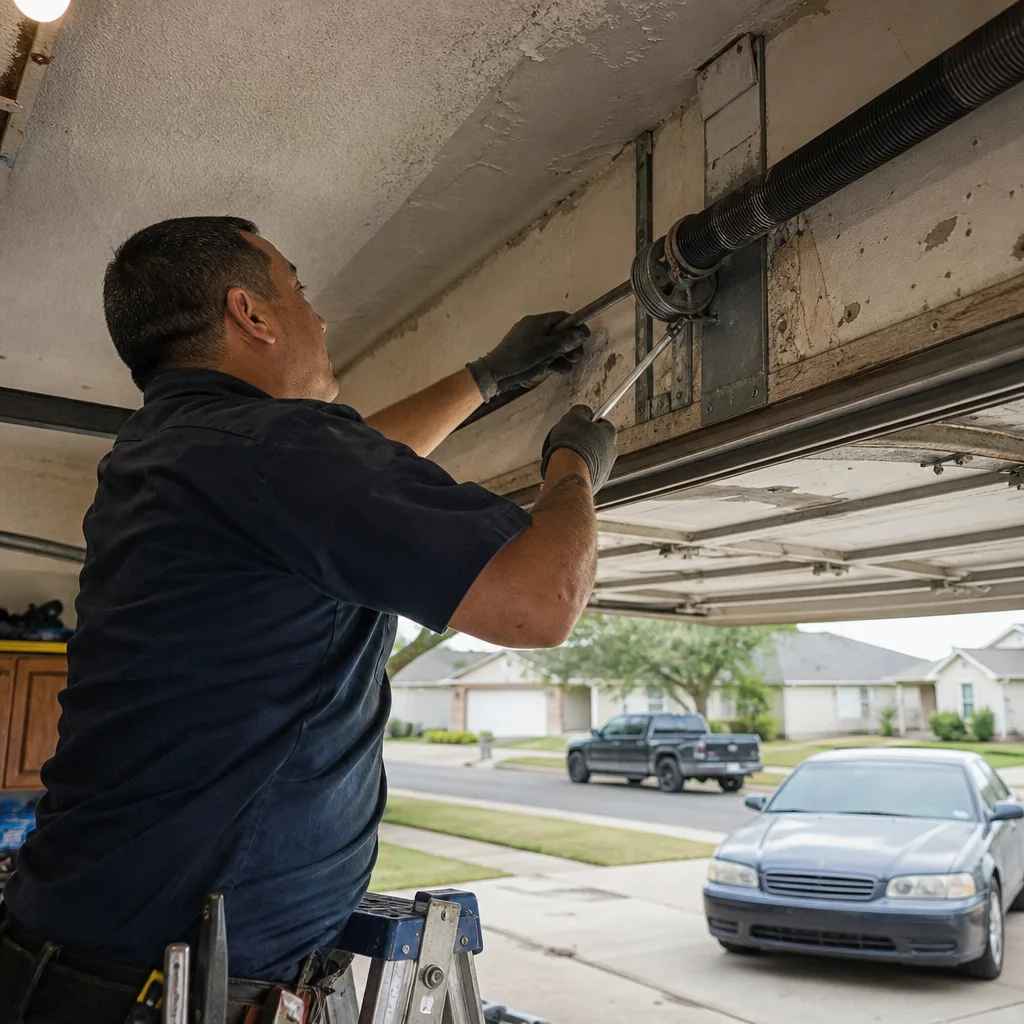 Before
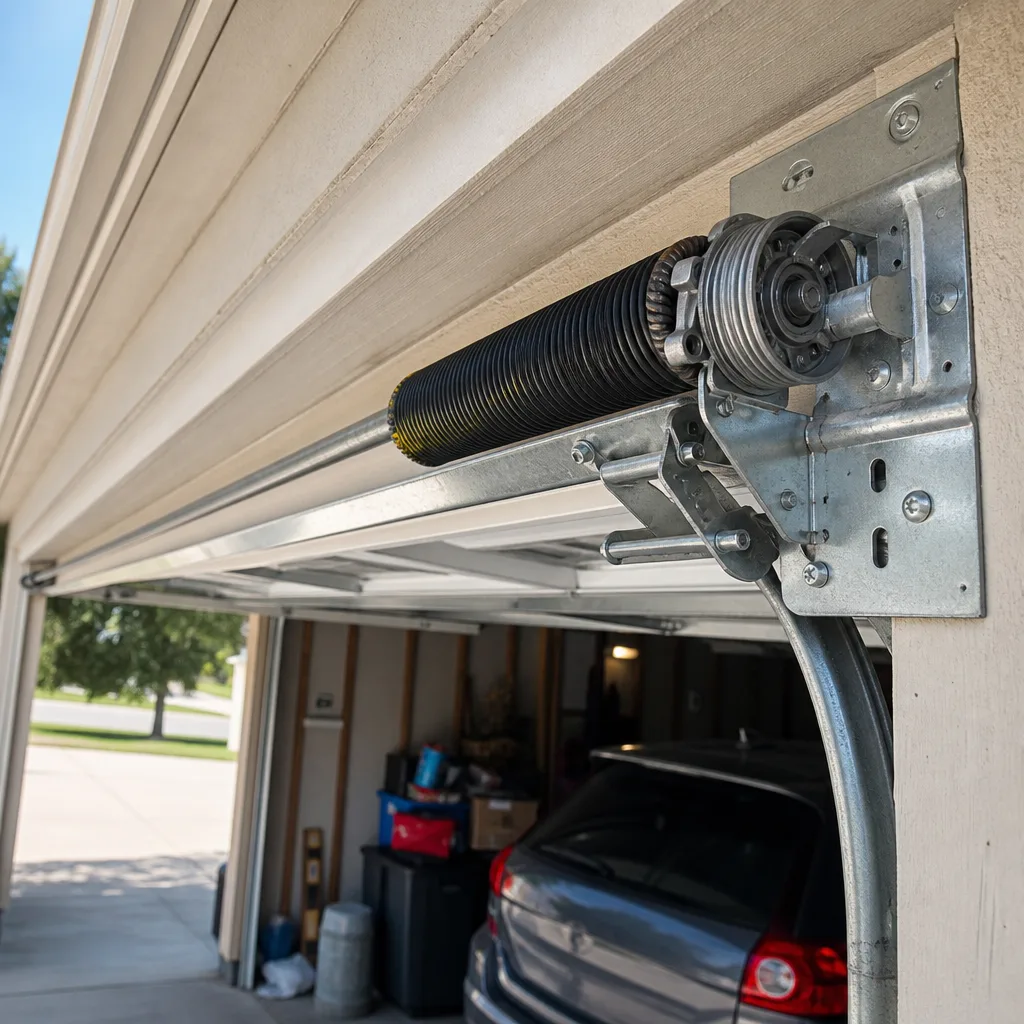 After
After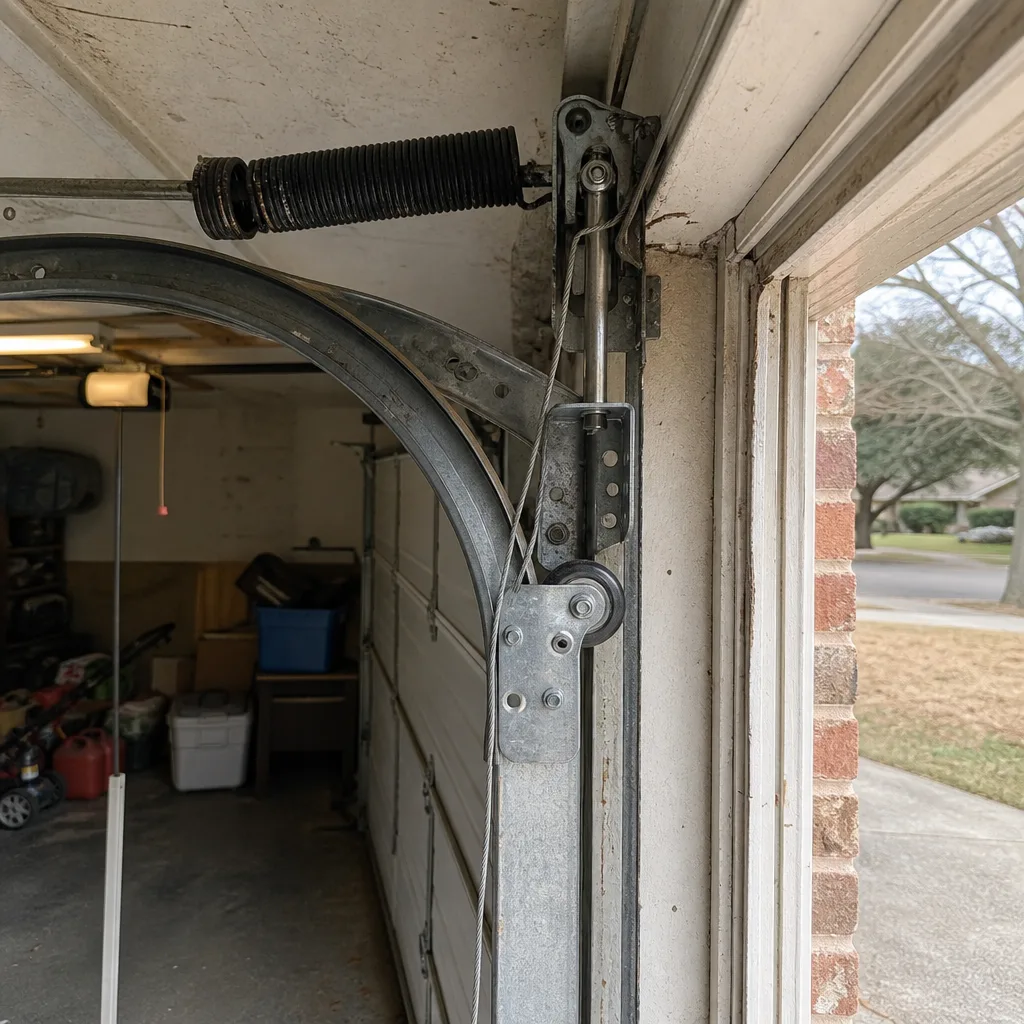 Before
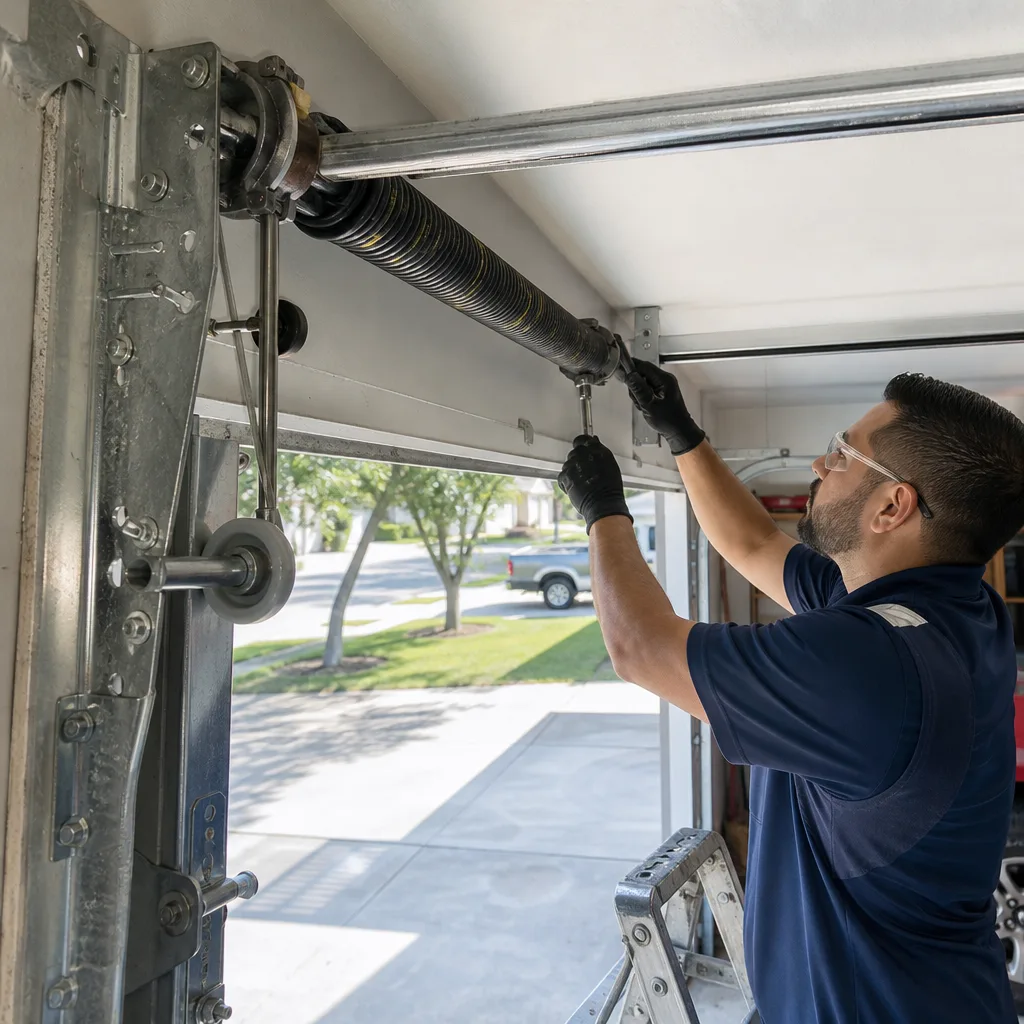 After
AfterLiftMaster Opener Logic Board Repair: The Garland Owner’s Guide
A LiftMaster opener logic board repair in Garland typically runs $120 to $320 installed, and we stock boards for most LiftMaster models made in the last 15 years on our trucks. The logic board is the circuit panel inside your opener’s housing: it reads the signal from your wall button or remote, decides what to do, and tells the motor to move. You usually discover it’s failing when the opener starts acting like a car with a bad computer: it works sometimes, ignores you other times, or moves when nothing asked it to.
Most Garland homeowners call us after trying the easy fixes first, fresh remote batteries, reprogramming the keypad, unplugging the unit for a minute. When the problem survives all three, the logic board is the usual suspect. This page names the failure, prices the fix, and tells you exactly what happens when we arrive. No mystery, no upsell, just the part and the number.
Which LiftMaster Models This Applies To
LiftMaster has used the 41A family of logic board part numbers across most of its residential lineup since the early 2000s. The Security+ and Security+ 2.0 lines (roughly everything built after 2011, including the 8500, 8550, 8355, and the newer belt- and chain-drive units in the 8000 series) share a common board architecture with model-specific programming. The quickest identification is the label on the side of the motor housing: LiftMaster prints the model number and the date code there, and we match the board from that sticker, not from memory.
When a customer asks whether to go OEM LiftMaster or aftermarket, we lay both on the table. OEM is the safe play for doors with MyQ connectivity or battery backup, because the board has to communicate with those systems on a proprietary protocol. For an older opener without MyQ, a quality aftermarket board often performs identically for less money. The decision hinges on what the opener actually has in it, which is why Clause 1 of The Haven Standard matters: we quote both options in writing before touching a screw, so you choose with the numbers in front of you.
We service all major brands, including Chamberlain and Genie, and stock parts for those as well. Servo Garage Doors Garland is an independent service provider; we’re not affiliated with LiftMaster, and our warranty comes from our shop, not from the manufacturer.
Signs Your LiftMaster Opener Logic Board Repair Is Failing
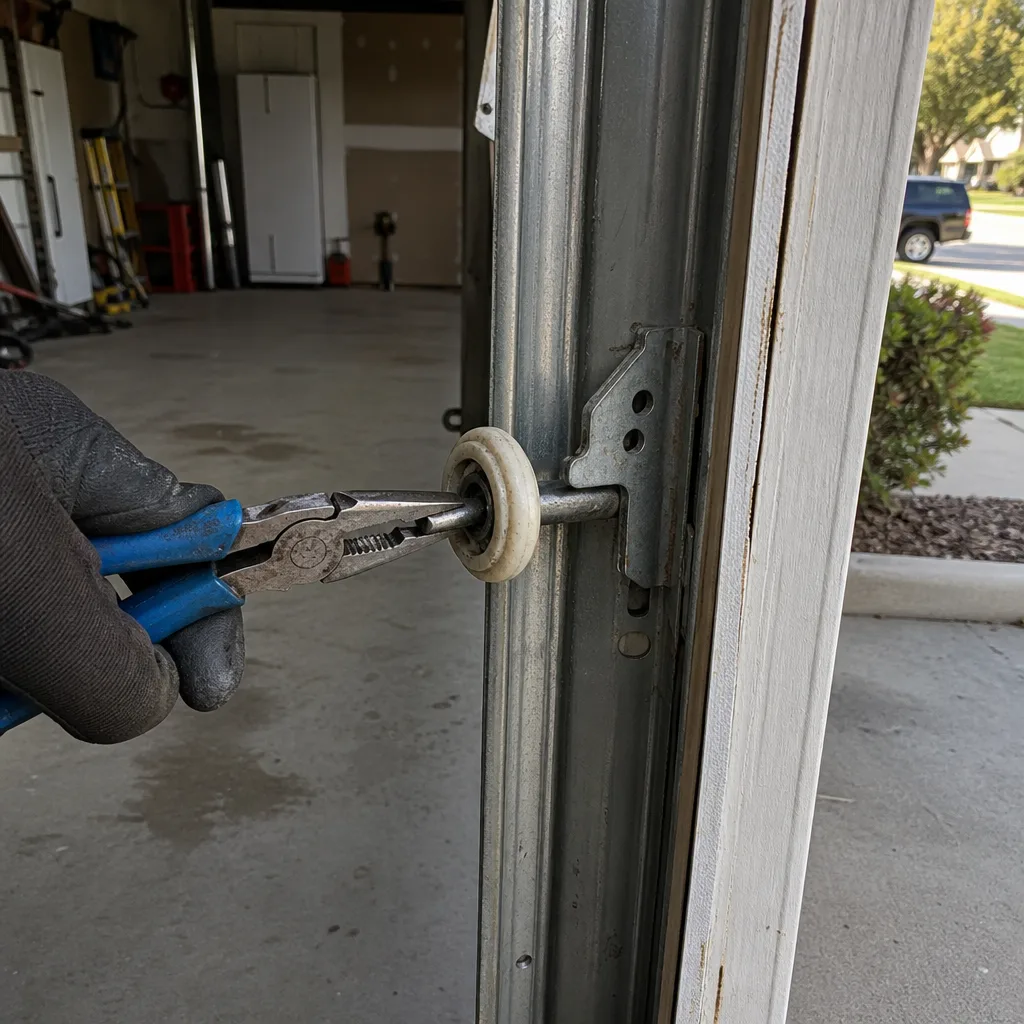
- The opener only responds sometimes. You press the wall button and nothing happens. Then five minutes later it works fine. Intermittent failure like this is the logic board’s signature move in Texas heat, where solder joints expand and contract until a micro-fracture forms across the relay circuit.
- The door reverses for no reason. A healthy opener reverses when the safety sensor beam is broken. A failing board reverses because it’s misreading that sensor’s input, which is why the sensors can be clean, aligned, and perfectly lit, and the door still backs up mid-travel.
- The opener runs when no one presses anything. This is a phantom signal, and it’s usually a failing capacitor or MOSFET on the board spitting out a false run command. We’ve had Garland customers call after finding their garage door open at 6 a.m. with no remote touched all night.
- Fresh remote batteries don’t help. You’ve replaced the batteries, reprogrammed the remote, and the remote still won’t pair or drops its pairing after a day. The board’s receiver circuit is the problem, not the remote.
- The lights flicker or the LED blinks in a pattern you’ve never seen. LiftMaster boards use diagnostic blink codes, and an erratic, non-standard pattern (one that doesn’t match the chart in the manual) often means the processor logic itself is corrupt, not that a sensor is tripped.
BeforeAfterReplacement Cost & What’s Included
Installed logic board replacement in Garland runs $120 to $320. The spread comes from two variables: whether we use an OEM LiftMaster board or a quality aftermarket equivalent, and how old the opener is, since board availability and price drift as units age out of production.
| Item | Typical Installed Range |
|---|---|
| Aftermarket logic board replacement | $120 – $190 |
| OEM LiftMaster logic board replacement | $220 – $320 |
| Opener repair (general, parts + labor) | $120 – $320 |
Every quote is flat and written before any work begins, per Clause 1 of The Haven Standard. You know the exact number before the technician touches the opener, and that number doesn’t move. The written scope includes the board part number, the install labor, and a reprogramming of your remotes and keypad so everything speaks to the new board. Warranty on the labor is covered by our 365-Day Done Right Promise: if it isn’t right, we make it right. No fine print, no handshake. The terms are on the page.
DIY or Call Us?
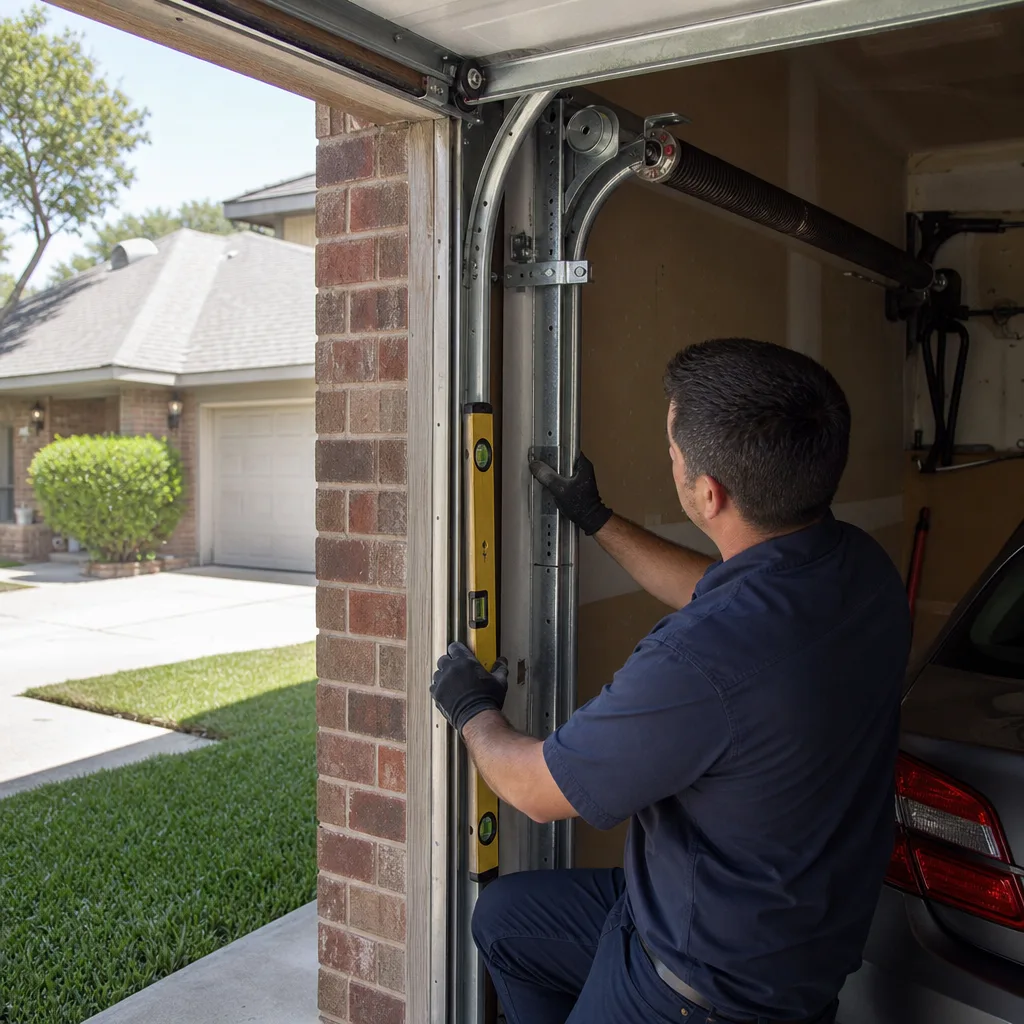
A logic board swap involves line-voltage wiring, which means electrocution is on the table if you work on the opener without unplugging it properly. We’re happy to tell you what you can safely check: confirm the opener is plugged in, check the breaker, make sure the sensor lenses are clean and aligned, and replace remote batteries. Those cost nothing and solve real problems.
What we don’t recommend is opening the motor housing and swapping the board yourself. The board receives 120 volts in some wiring configurations, a shorted capacitor can hold a charge after unplugging, and one wrong wire placement turns a $180 repair into a $500 opener replacement. If the easy checks don’t fix it, call (469) 949-6806. We’ll name the part, quote the number, and do the work, that’s Marcus Deller’s signature phrase and the way we run every job in Garland.
FAQs
A LiftMaster logic board typically lasts 10 to 15 years, but Garland’s summers, where garages routinely exceed 110 degrees in July and August, accelerate capacitor aging and shorten that range to 8 to 12 years for openers installed on west-facing garage walls. If your opener is past the ten-year mark and showing intermittent symptoms, the board is statistically the first thing to go. Call (469) 949-6806 and we’ll diagnose it in person, written price before any work starts.
Component-level repair (reflowing solder joints, replacing individual capacitors) is possible but rarely cost-effective for residential openers. The labor to chase a micro-fracture on a $30 relay typically exceeds the price of a full board. We replace; we don’t rebuild boards in the field. But we’ll show you the failed board, photographed per Clause 4, before you authorize anything.
Most logic board replacements take 45 minutes to an hour, including reprogramming remotes, keypads, and MyQ settings. If we have your board on the truck, the job is done in one visit. If your model predates our common-stock range, we’ll order the correct board and return within a few days to install it.
We stock logic boards for the common LiftMaster models made since 2010 in our Garland service vehicles, including the Security+ 2.0 family. Older boards and specialty models (jackshaft units, certain commercial configurations) may need a one- to three-day order. We confirm stock before we arrive and tell you exactly which board we’re bringing.
Get the Part, Get the Number, Get It Done
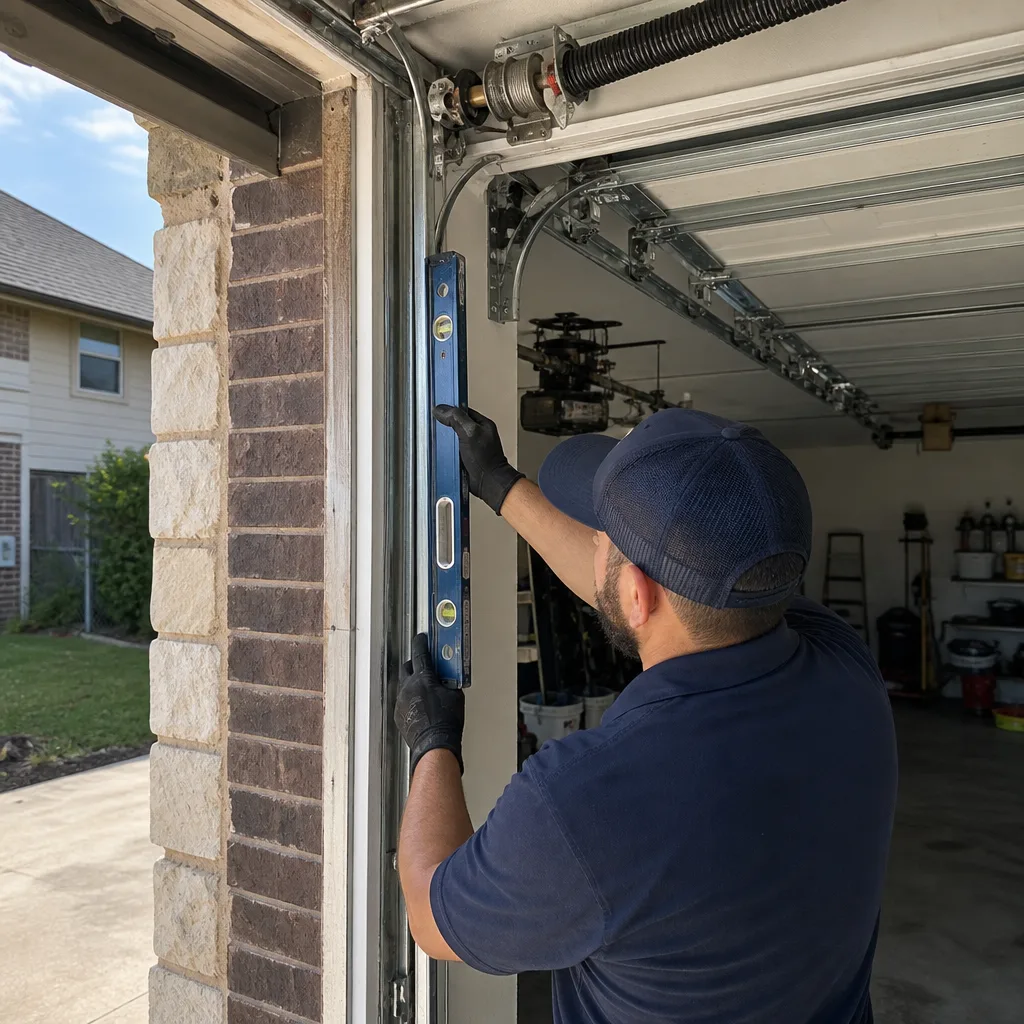
If your LiftMaster opener is failing and the symptoms match what we’ve described here, call (469) 949-6806 for a free estimate. We answer live, 24/7, even for emergency garage door calls. You’ll get a written price with the board identified before anything gets touched, and a documented photo record of the failed part and the finished work when we leave. That’s been the Servo standard since 2015, in Garland and the surrounding subdivisions including the older neighborhoods around Firewheel Town Center where aging openers are a predictable Tuesday.
Written by Marcus Deller, Owner, Servo Garage Doors Garland at Servo Garage Doors Garland, serving Garland and nearby areas.